I'm in Love - DEFOCUS - DaVinci Resolve 19 OFX
One of the iconic Hollywood-style effects is the soft, creamy edges often seen in movies like The Batman. While much of this effect was achieved on set using practical techniques, we’re going to recreate it during post-production.
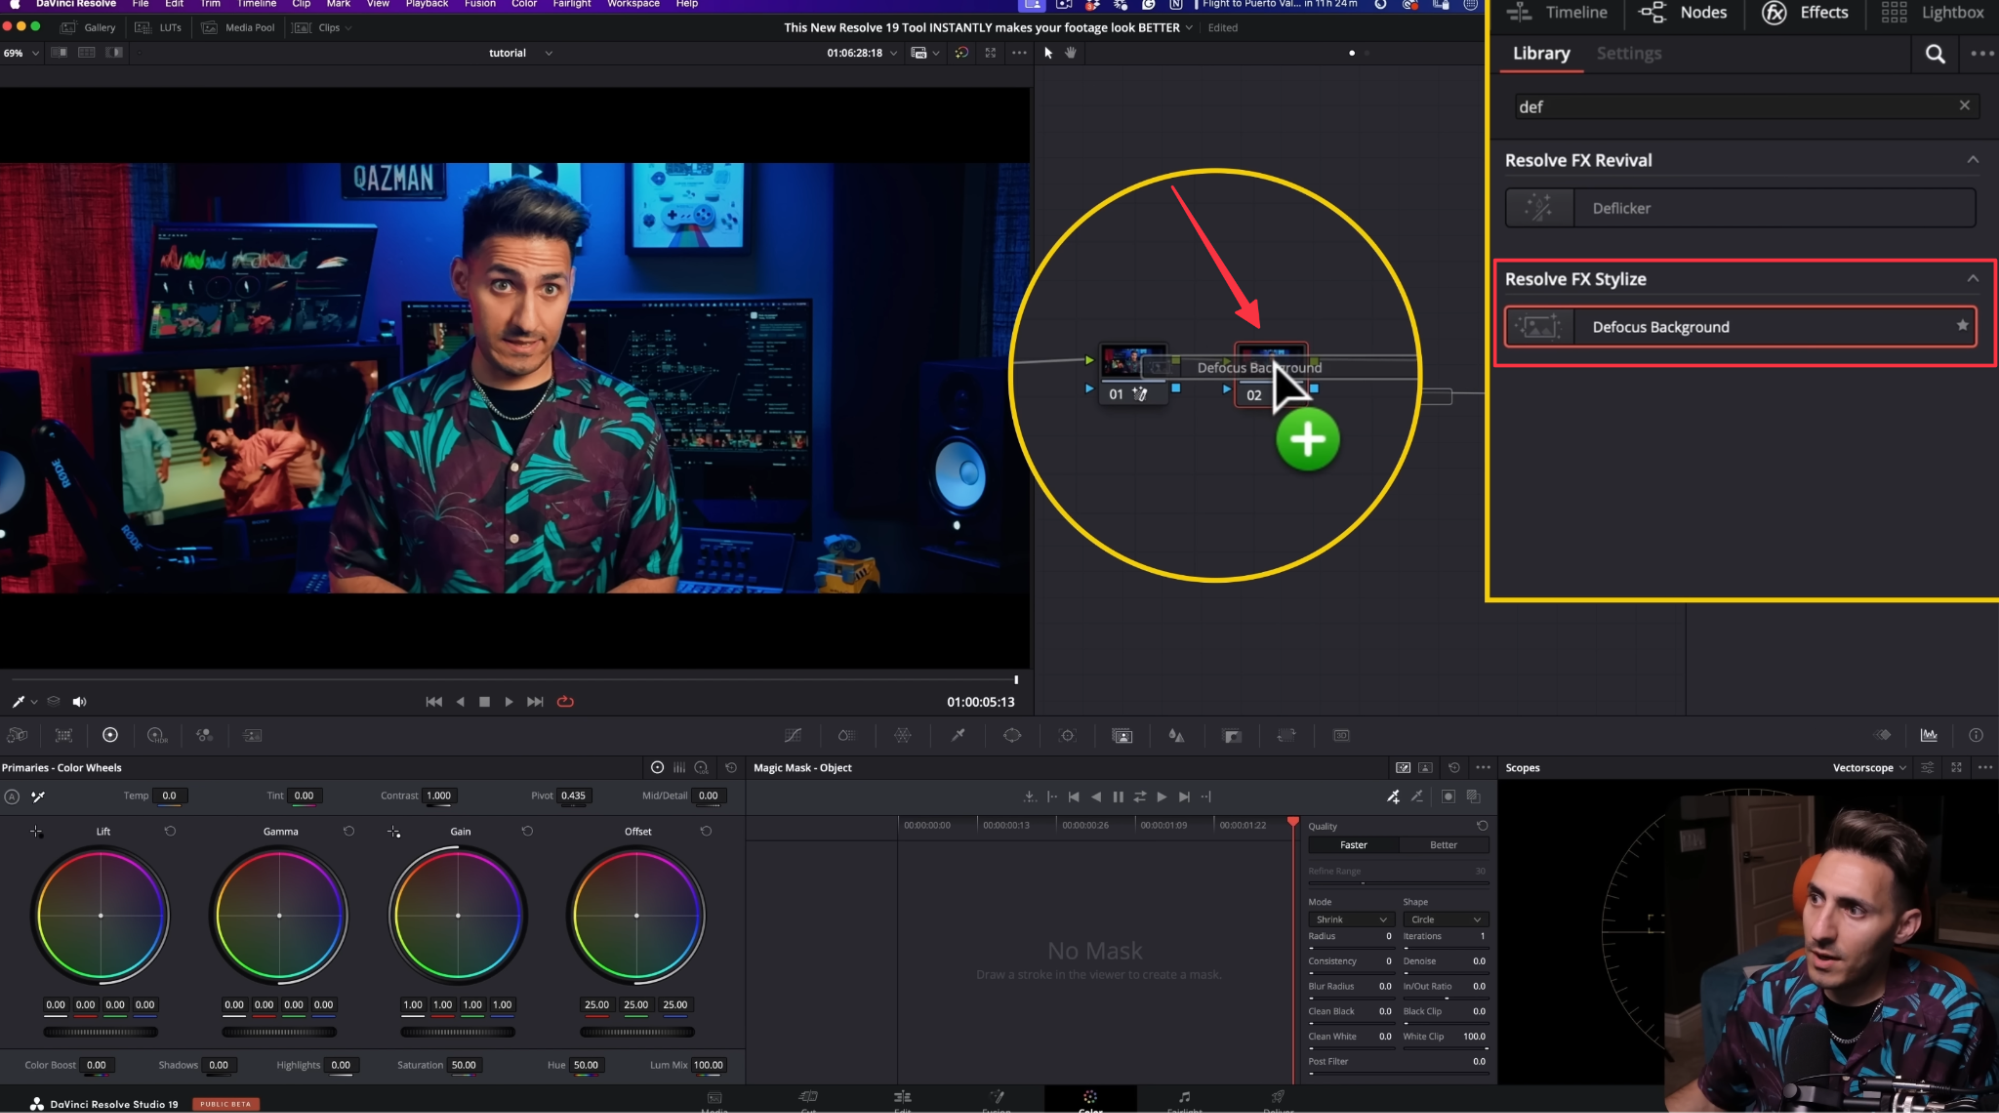
First, apply the Defocus Background effect to your node.
When you apply it, nothing happens initially because the effect requires input data from tools like Power Windows, Depth Map, Magic Mask, or similar options.
By applying just a single node in DaVinci Resolve, we’re already achieving a beautiful bokeh effect, which is fantastic. Now, let’s dive deeper into the available options to maximize its potential.
First, I’ll create a window like this and set the Softness to approximately 31. A soft falloff is crucial for creating a realistic and convincing effect. This subtle transition is what truly sells the look.
Now, we’ve achieved something that looks like this.
Let’s enhance the effect by exploring some of the features in the Defocus Background OFX.
Blur
The Blur setting allows you to either increase the intensity of the blur or reduce it, depending on the desired look.
Saturation
The Saturation control allows you to adjust the intensity of the colors, either by increasing or decreasing the saturation, as needed.
These features make this tool far more powerful and versatile than a standard blur effect.
Colorize
The next feature is Colorize, which effortlessly creates a split-toning effect, adding a dynamic and artistic touch to your footage.
You can also use Colorize the way I do—by applying a dark color, effectively transforming it into a vignette.
If we examine certain scenes from The Batman, we notice how the edges are intentionally darkened, creating a dramatic and moody effect.
Blur Types
For the Defocus Background effect, we have different blur types to choose from:
Gaussian
Lens
We’ll skip Gaussian and opt for Lens instead, as it’s what makes this tool truly stand out, delivering a more cinematic and realistic effect.
What makes this effect even more cinematic is the Anamorphism feature, which adds a stunning and unique touch to the image.
Now, let’s take a moment to reflect on our progress.
Here’s where we started:
And here’s where we are now:
The great thing about the Defocus Background effect in DaVinci Resolve is that, since it uses a window, we have complete control over how it’s applied.
Now, let’s test this on iPhone footage to see how it performs.
We’ll use the Magic Mask tool to isolate our subject since we only want to affect the background and add depth to the scene.
First, select your subject with the Magic Mask tool and then track it.
Now, we need to add some blur to the background and apply denoise for a cleaner and more polished look.
Now, it’s time to apply the Defocus Background effect to our node.
Next, we need to add the Key Detail to our node.
Now, we activate the effect and make the necessary adjustments. We reduce the Blur slightly and add Anamorphism for a cinematic touch.
Here’s the result:
The ability to instantly add such a sophisticated bokeh effect to your footage, seamlessly integrated using the powerful tools within DaVinci Resolve, is truly a game changer.
Feeling inspired but need professional help with your project?
Contact us for expert color grading services that bring your vision to life.


