
Must Have Color Grading Tool | SHOTDECK

Hello and welcome to another tutorial! Today I want to touch base about a question I get asked a lot, and that is “Where do you get your reference images?”
Before I get into all of this, I have never done a job where I was not given references and the tools. I have created a specific thing:

Let me explain. You need to first spend 1-2 hours on research and prep. The first thing you are going to do is analyze.

Really figure out the brand and the back story. Figure out the why behind the brand.
Then, you need to prep.

This is the process of researching and looking up inspiration.
Then you need to execute.

This is where you are going to take your research and the reference image(s) and execute the final project with whatever footage you get.

Up until now there really hasn’t been a tool for colorists to do their research or find reference images. To fill that void, that’s where our tool comes into play.
What really puts this website lightyears ahead of the competition, is the search engine. This is the google of movie searching databases.

This website was founded by Lawrence Sher.

He is a cinematographer in the field. He gave me a walkthrough of the website and he gave me the future of the website.
Alright, now first I want you to open up your browser of choice and type in “shotdeck.com.”
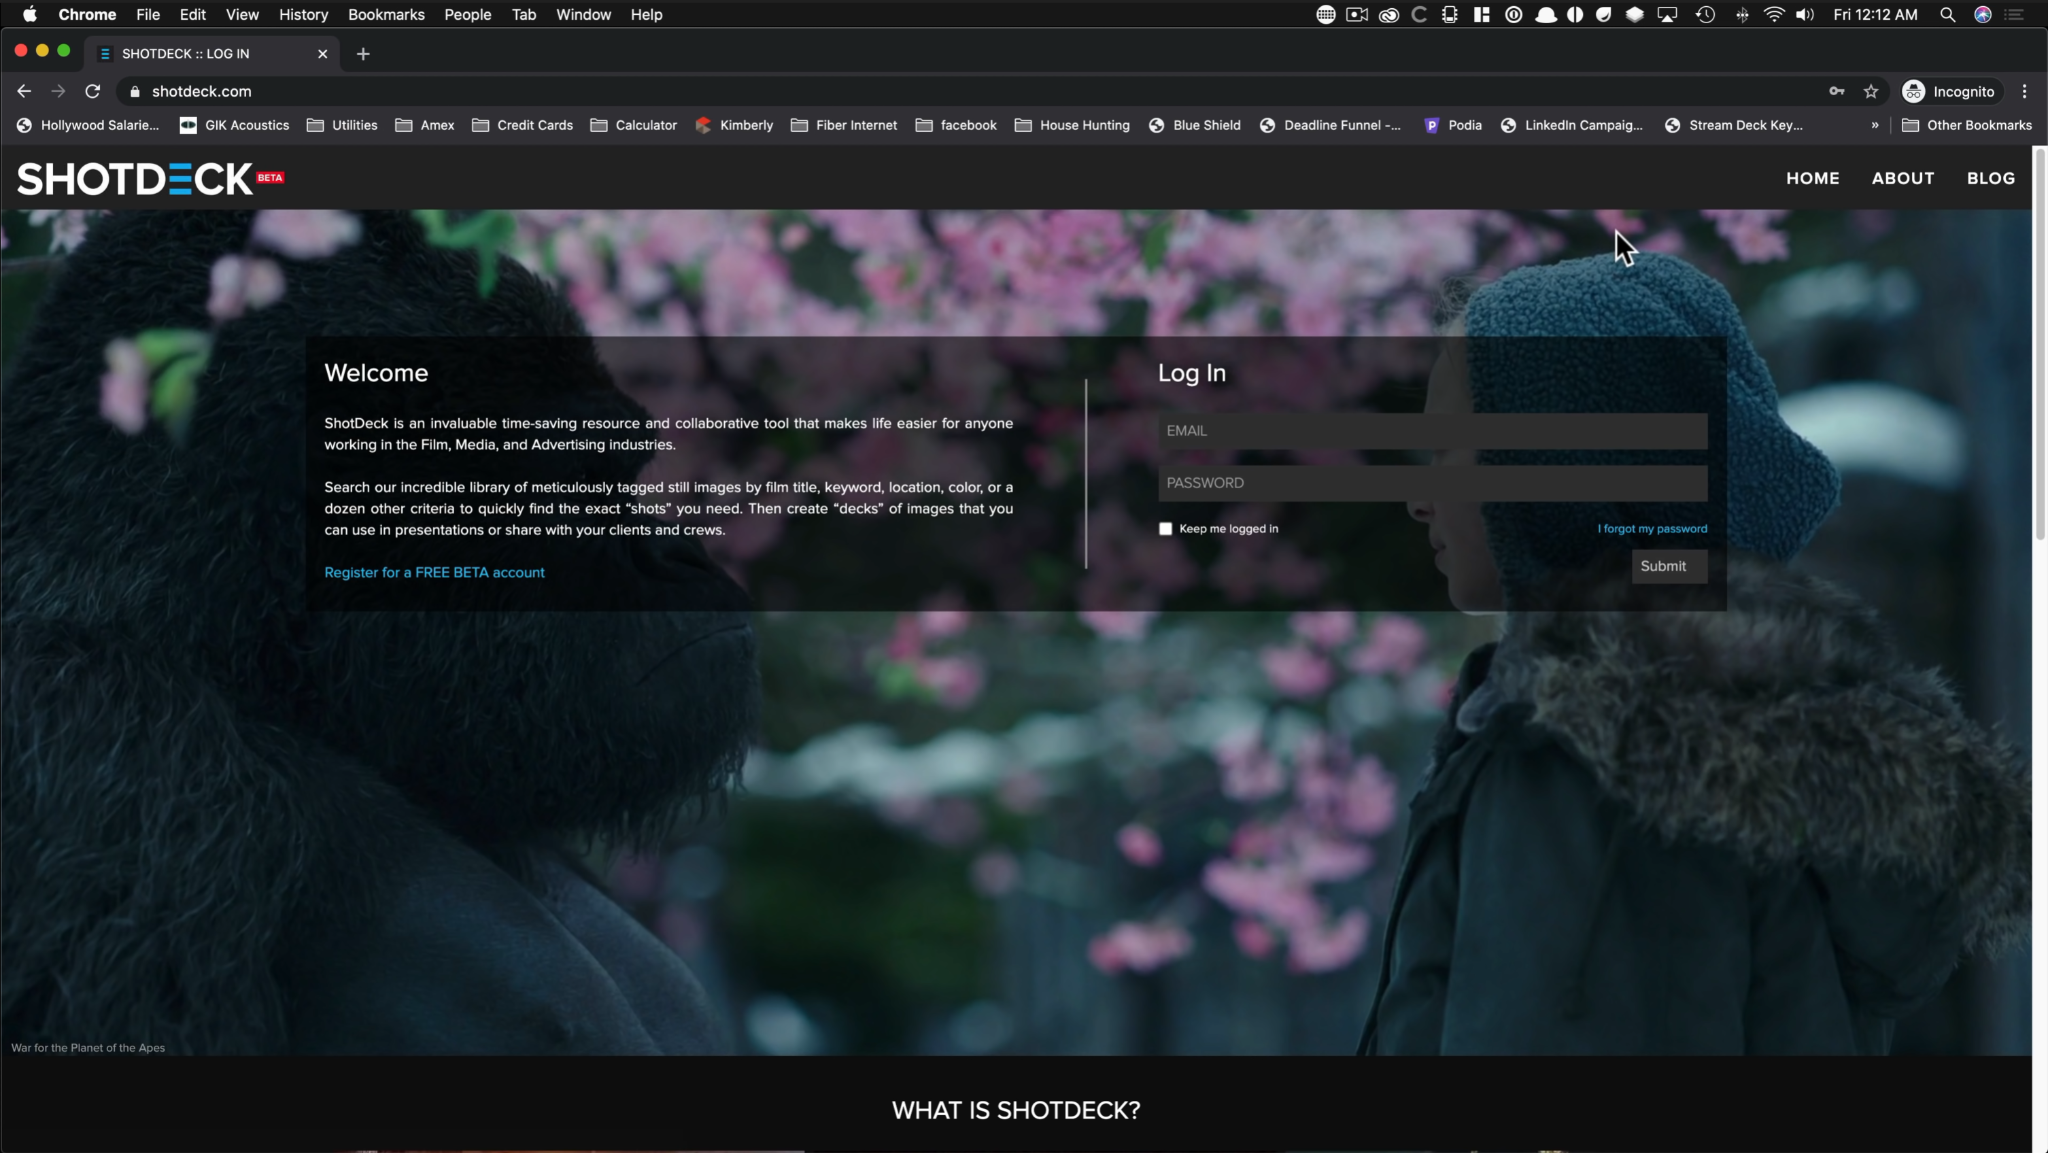
The first thing we are going to be covering is how to sign up.


I would recommend putting in your real information because it could cause problems down the road, but also they are not selling your information.
Now let’s go over the home page. You can browse, go to the blog, find help, or even make changes to your account.

Then lower down they have some more helpful information.

Let’s take a look now at the first category.

When you first click on it, this is the page you will see.

It is organized by the most popular.
Our next category is the top results.

This section is great for people who don’t know specific cinematographers or things, they just want to find what is trending.

Third function is search.


This tool is really helpful. It gives you all the information you need in choosing the film you are searching for. Once you select the right title, you get so much information about each film. And to help out even more, at the top there are tags that help you know what you’ve searched.


Now let’s talk about metadata.

This site has tons of data about each shot. If you click on one shot specifically, you can find a whole host of things about that movie.

What’s awesome is all of these tags are searchable too. You can click on one and it’ll add that tag to your search.
Now moving into one of my favorite features, image quality. All of these stills are pulled from blu-ray. Some are even from 4k blu-ray. There are no compromises when it comes to these stills. You are getting full quality from this website.
Alright, the next part is actually one of my favorites. I know I keep saying that, but when you take a still and you just think, I wish I could see that in movement, that would be awesome. Well, shotdeck has a pre-roll.

If you click on this little film strip in the corner, it gives you a 20 second pre-roll.

Now let’s move onto filters, and how they can be used to search for stills.

These filters can help you refine the search to specifically what the client is looking for. That way you can find the perfect stills to piece together for the whole look. With these filters, the possibilities are endless.
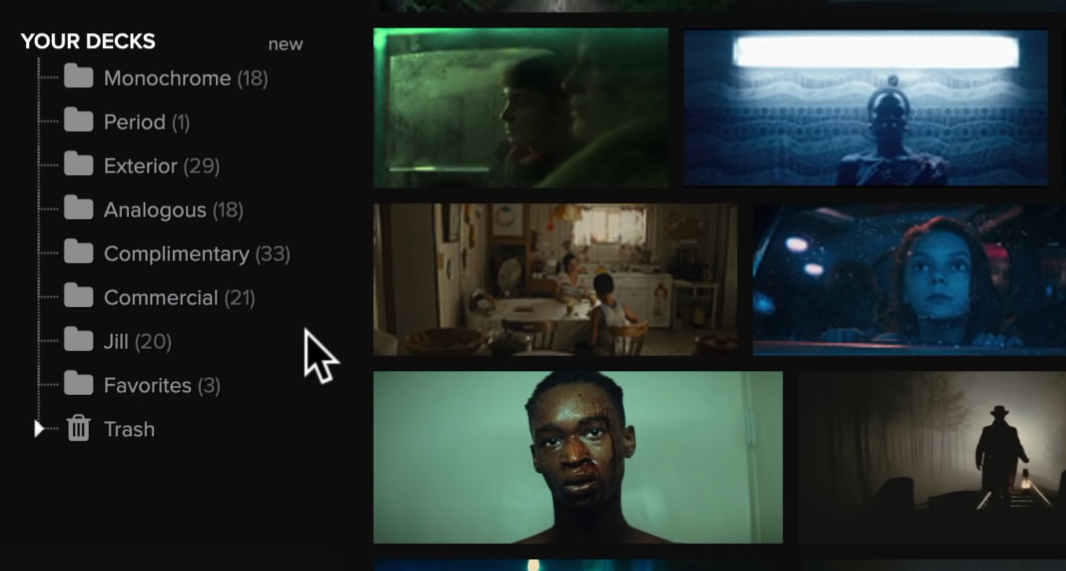
Now let’s talk about your deck.

This is a section where you get to create your own folders that are readily available.
Another epic feature is the stream now function.


You can stream the movies from the website. This way, if you want to watch the movie while looking at stills, you can watch from the website.
Now moving onto the filters overview. I want to deep dive into these to show you how to best use these as a colorist.

Let’s start with color.


You can use these filters to nail down the perfect shots to put in your shotdeck. It is super important to use these. Be super particular in what you are looking for, that way you can nail down the perfect result. Using references is the best way to give yourself permission to push the image.
Moving into our second filter, time of day.

It is very useful because it can help you see all the colors, all the exposures that can come from different types of day. For example, dawn. Looking at all these images, did you know that dawn has these many colors. Or these many different exposures?

Moving onto the time period filter, it is very essential.

Say you are working on a piece from the 60s. You can just select the 1960s, and get both films that were shot in the 60s, but also, newer films that are period pieces about the 60s. This can help you see the super distinct look that came from that time period.

Now moving onto one of my personal favorite filters: lighting type.

For this, we are going to select mixed light.

So many beginner colorists think that when you are working under RGB lights, or working with colored lights, that you have to get the skin tone to look like skin. But that’s wrong. As these shots show, if RGB lights are on the skin, that’s natural for the skin to take on that color and reflect the light that is hitting them. It looks amazing to let it be.

MORE LIKE THIS


