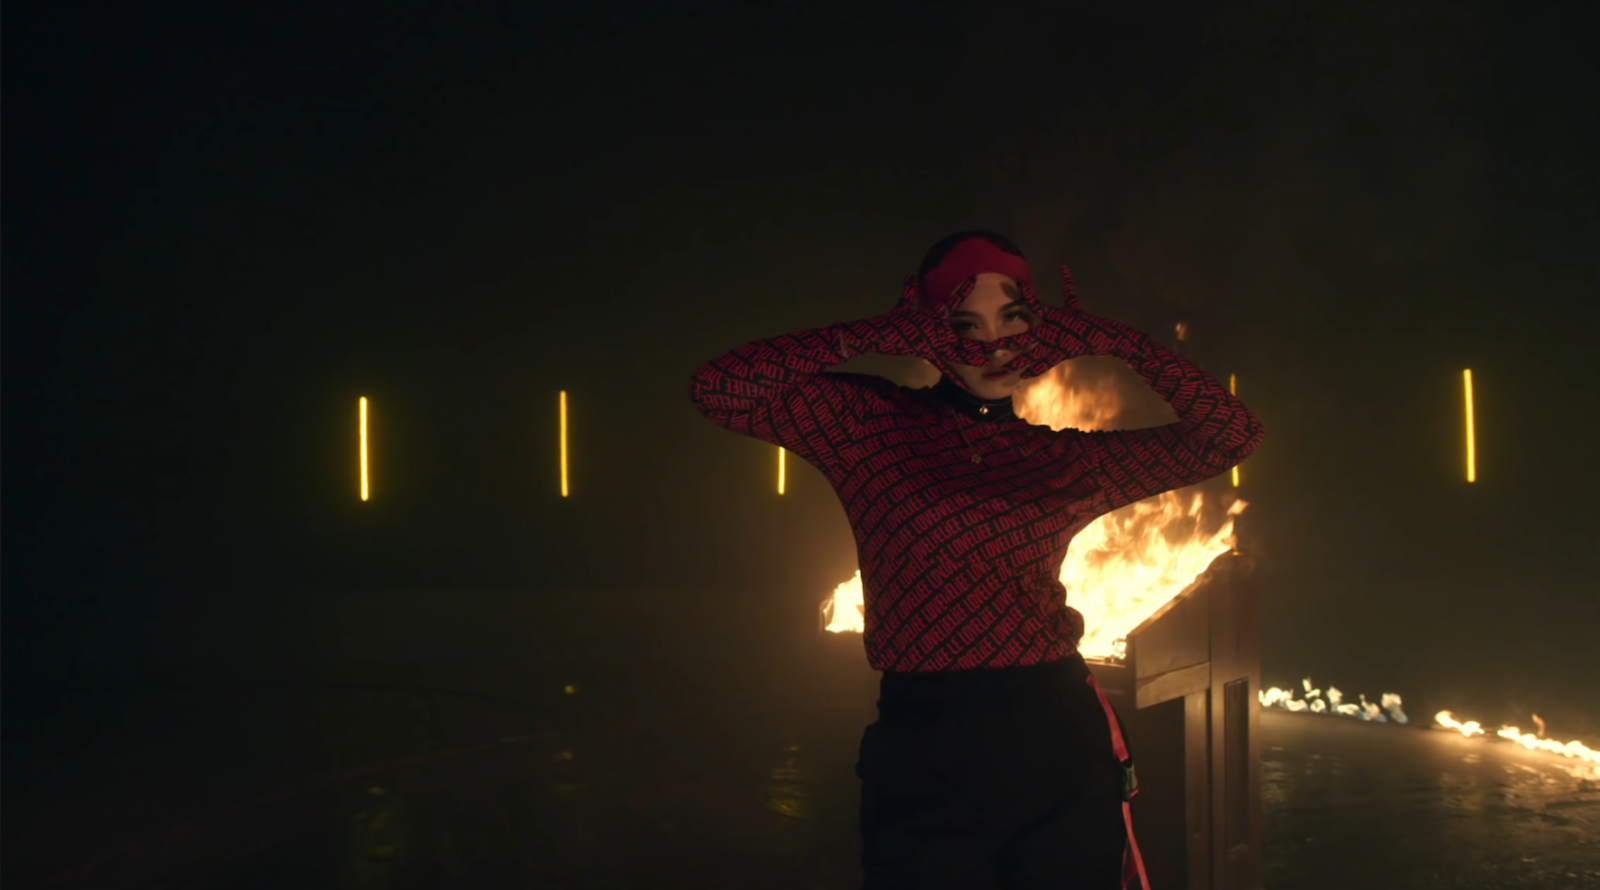
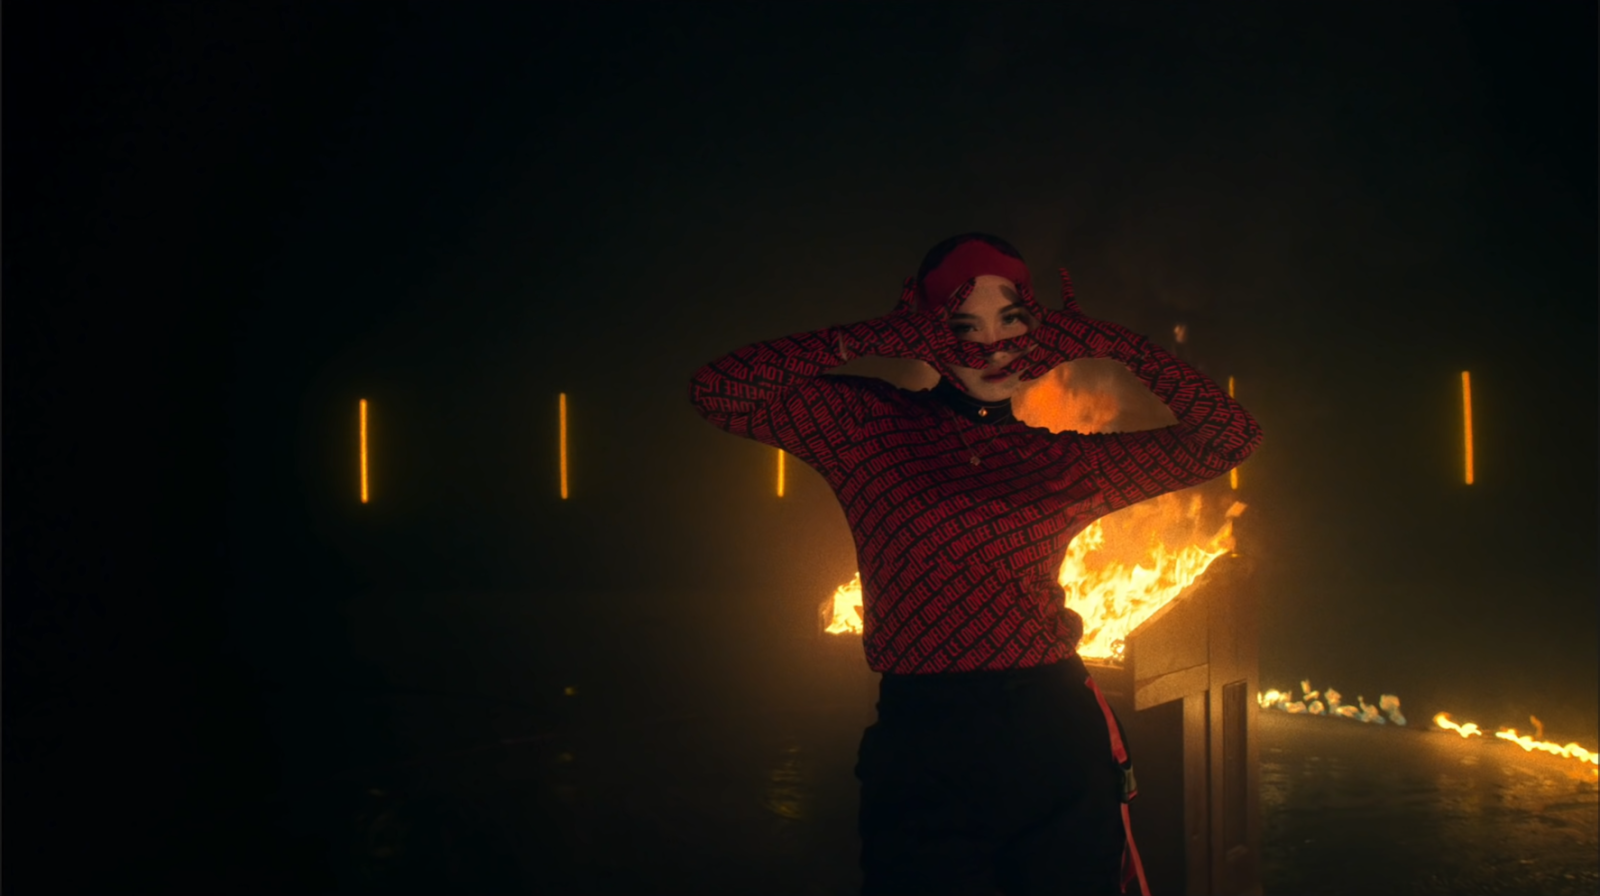
2 Easy Steps to get a Film Look | DaVinci Resolve 17 Tutorial
What’s going on everyone! Welcome back to another epic video in this new two minute Tuesday series. This time I am going to be showing you two easy steps to get a film look.
Alright, let’s get started! This is not a full on color grading tutorial, so I just want to focus on the two easy steps to get the film look. To get the image into the space to use these two steps, I started off with my primaries just to balance everything out.
By doing that it threw off my yellows and oranges, so I went into my HSL curves and I tried to bring back some of that information to look realistic.
Then I went and added some contrast by using the contrast and pivot.
Then we moved on with our log wheels to get our black points looking right.
Then we grabbed the skin and pulled it out a bit using the HDR palette.
Then we added a vignette to just kind of suck everything out that is not important to the image or story.
It also cleans up the cables and stuff on the ground that we don’t need to see.
Then I did a look adjustment because there was still a lot of red sitting in the image and I want to neutralize that more.
Then the most important node is the first node: highlight recovery. I am using the HDR palette to achieve this and just look at what it does.
Okay so this is where we sit right now. Let’s start on these two steps, starting with step number one. I am going to create two more nodes and pull them under the rest. Now this first step is glow. In my glow node, I am going to add some glow and mess with the parameters. We first have to change the glow to softlight under the composite mode. Then we want to crank back the threshold.
Now the final step is going to be our film grain. We are going to drop our film grain OFX. I am going to exaggerate it for YouTube, so you guys don’t have to push it this much. We are going to start with our favorite preset, 35mm 400T. Then I am going to crank up my grain size and strength.
Just a quick little extracurricular thing we can do is to take the output of our skin node, and match it with the input of our glow node, then invert it. What this does is says affect everything except my skin. That way we keep the beautiful skin we had before the glow node.
Just look at that. We are able to keep that beautiful skin, and the beautiful film look. Now, let’s check out the look in full screen.
MORE LIKE THIS


