
Color Grading Made EASY | Ep 2 | DaVinci Resolve 16 Tutorial
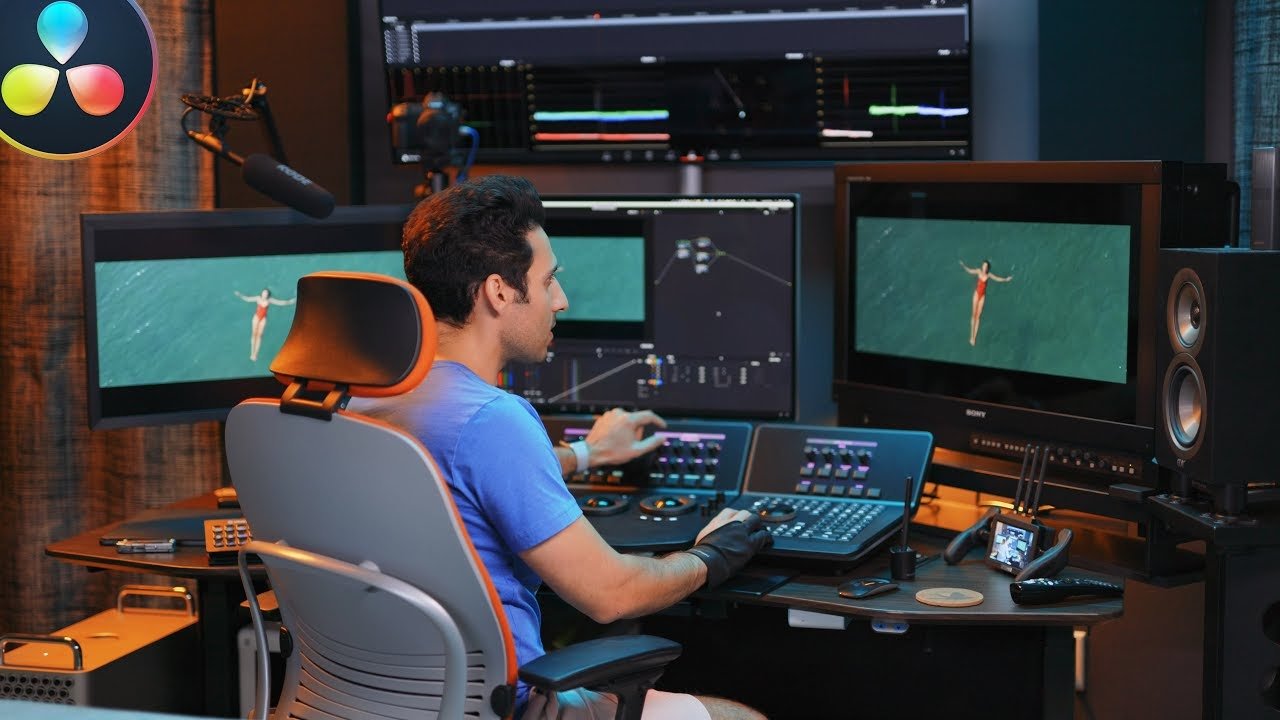
What’s going on everyone! Welcome to another awesome tutorial. In this series we are making color grading easy. We are breaking down one shot into 3 different looks. As a colorist, you are only limited by your imagination. That is one major fact, but there are always little hurdles. Sometimes deadlines are tight. So you won’t always have a lot of time and it will be challenging to whip out a bunch of looks, so how can you come away with lots of options? Well that’s what this series is here to do.
We are going to create 3 looks. The first one will have darker water, with a feel of jaws. The second will have that gross murky water. The third one is that she’s on a vacation in fiji. Let’s get into it.
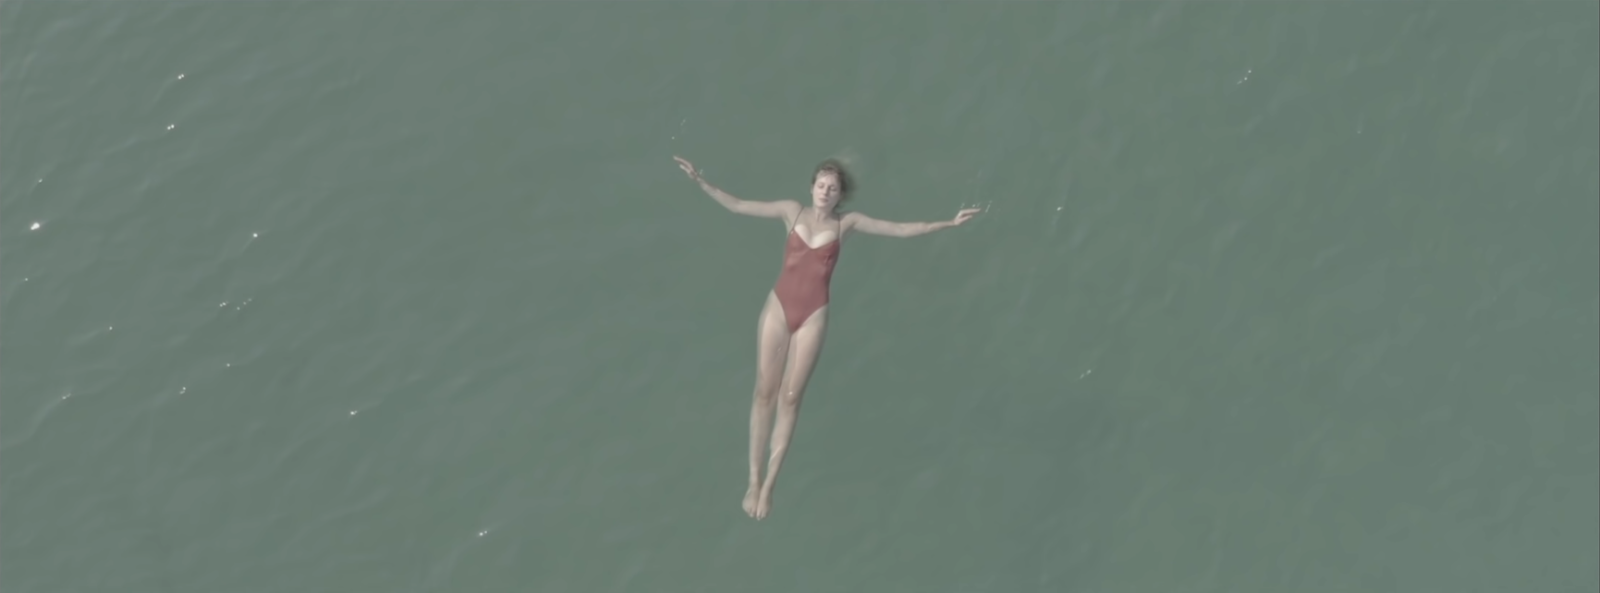
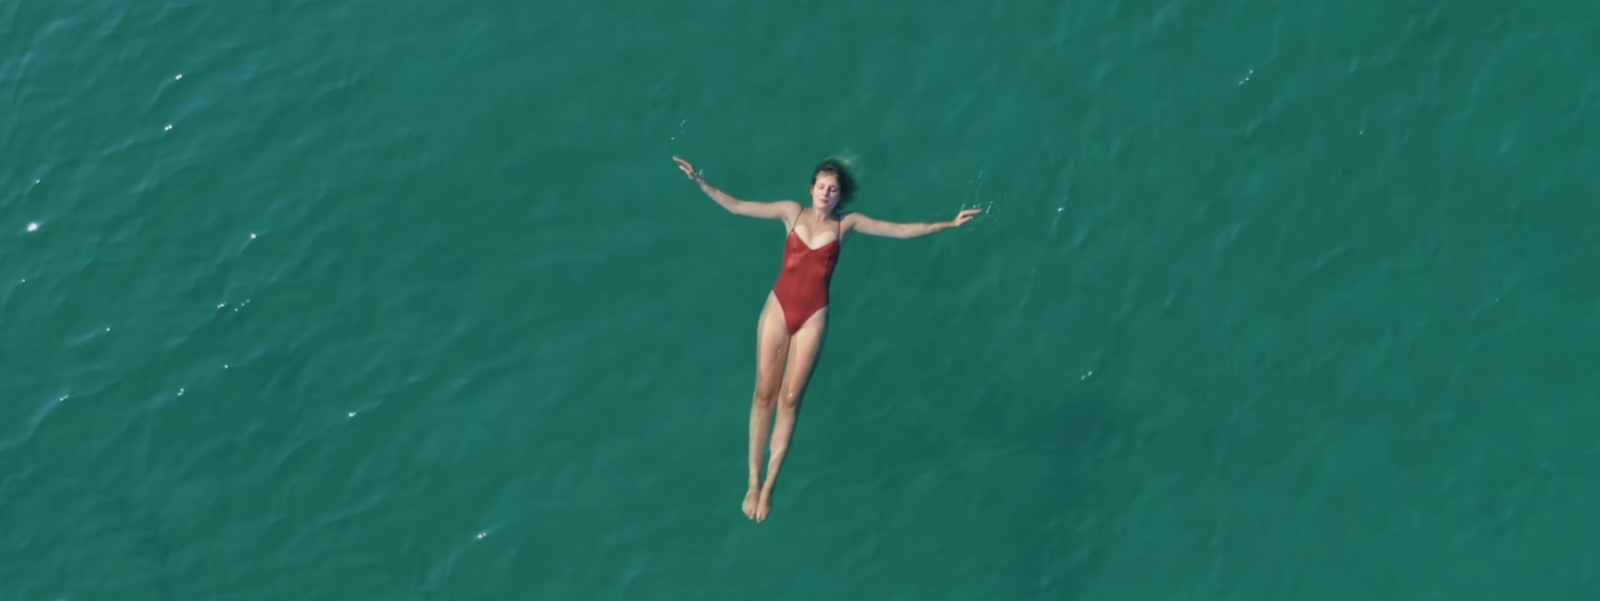
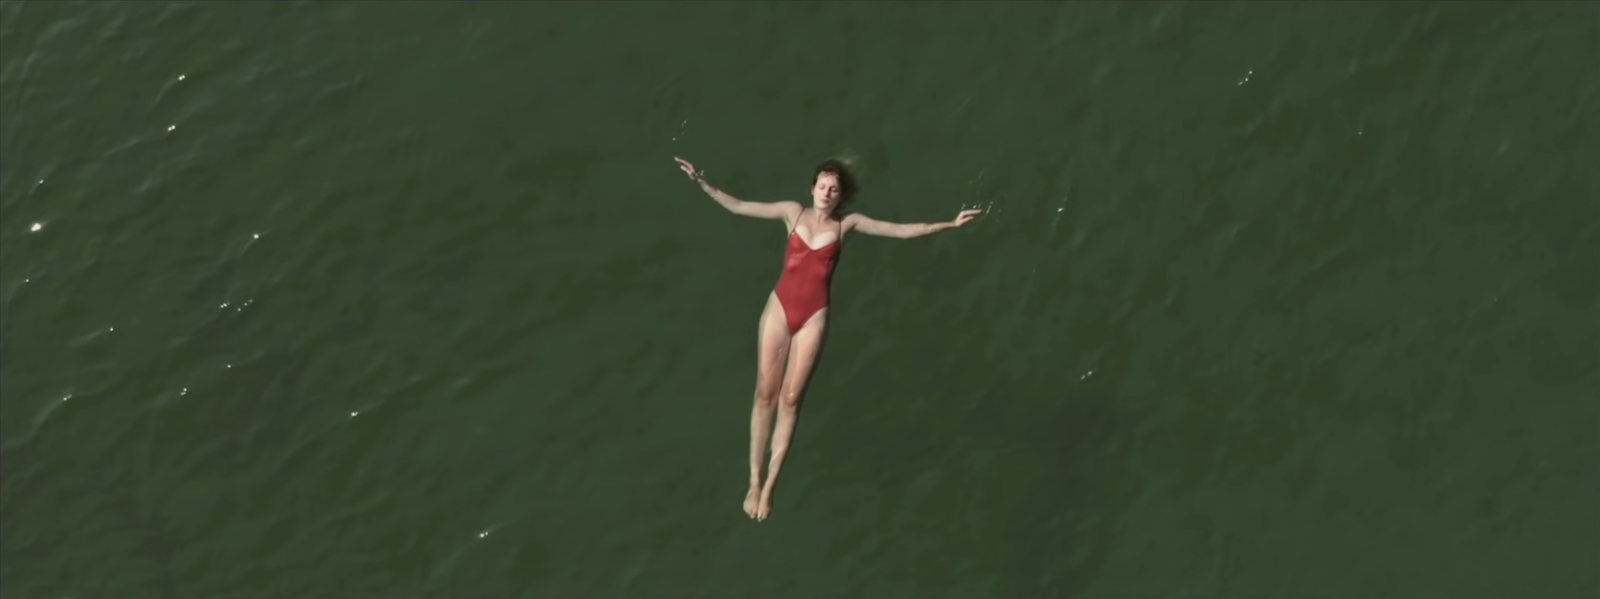
We need to first determine our hero frame. I like this shot.
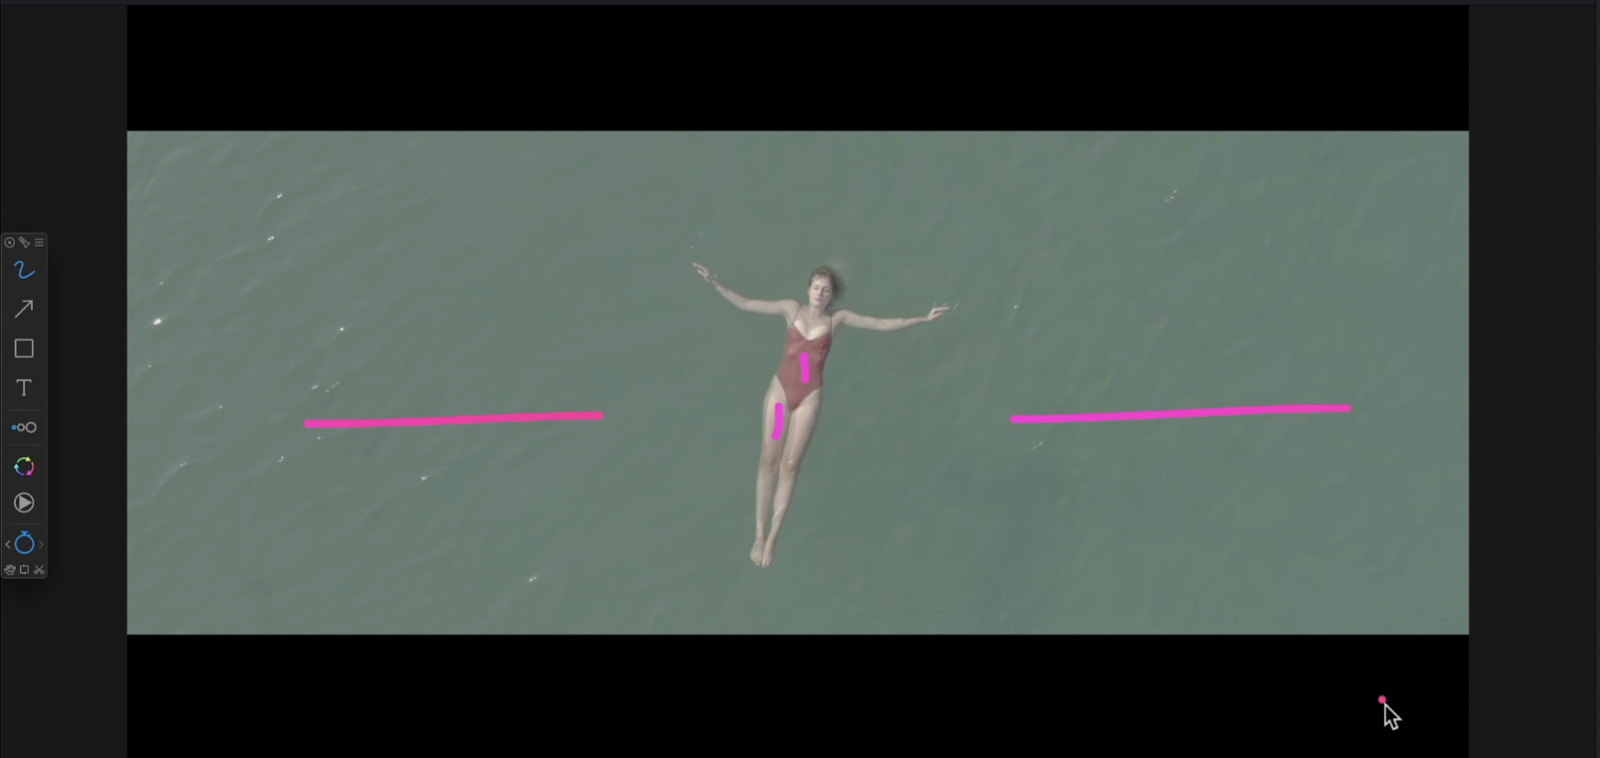
Next, we want to analyze the image. We need to determine the anchors. What is our anchor here? Ours will be the dress and skin. If I keep those two things in check, I can do anything as long as that looks natural.
Let’s go ahead and build out our node tree now.

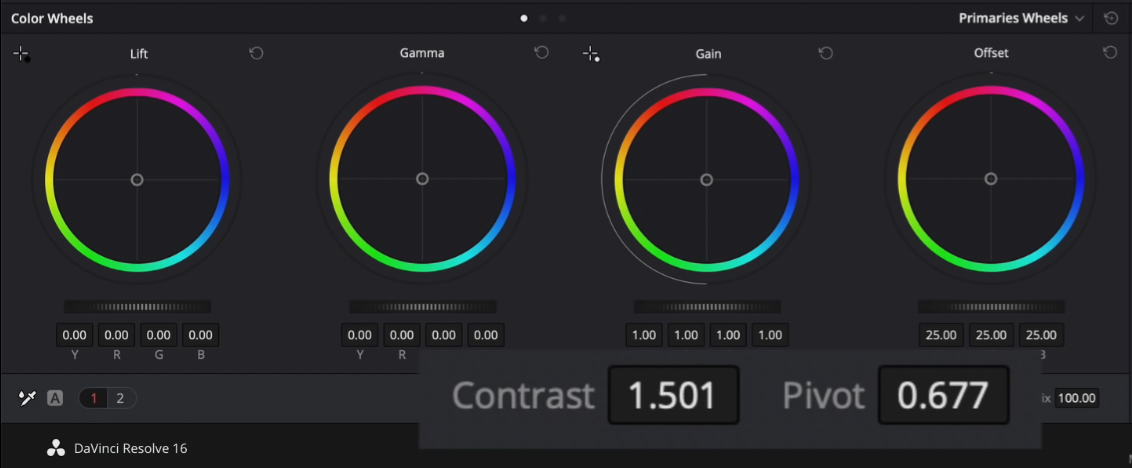
Starting in our base node, we are going to give it some contrast and pivot. I am going to add contrast, then drop the pivot. Then I am going to add saturation to about 70ish.


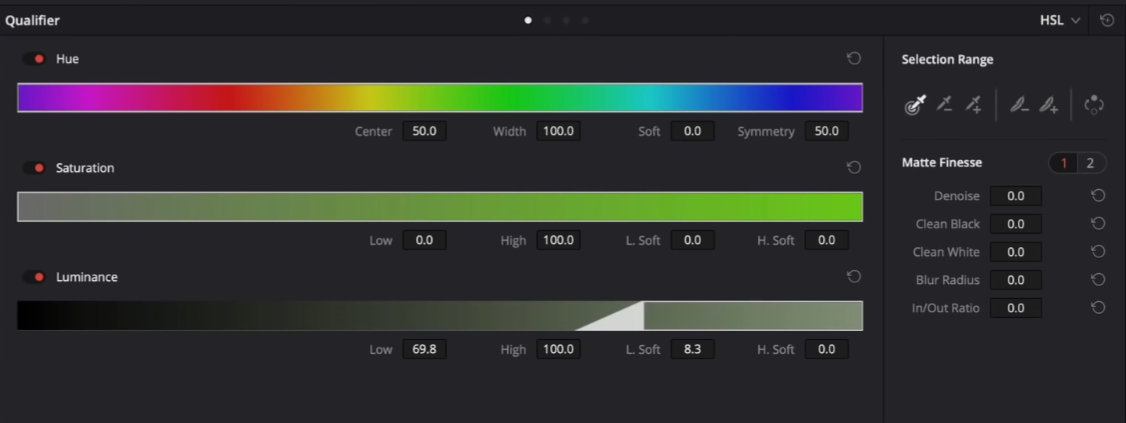
Now I am going to move into my highlight node and I am going to use the luminance qualifier to grab her skin.

Then I am going to take down my highlights to around -42.


Now moving back to our base node, we are going to select her skin.


Now I am going to use temp and tint to nail the skin tone. I am going to start by cooling it off a tiny bit, then add some magenta. Then I want to add a bit more juice to the image by using my contrast.


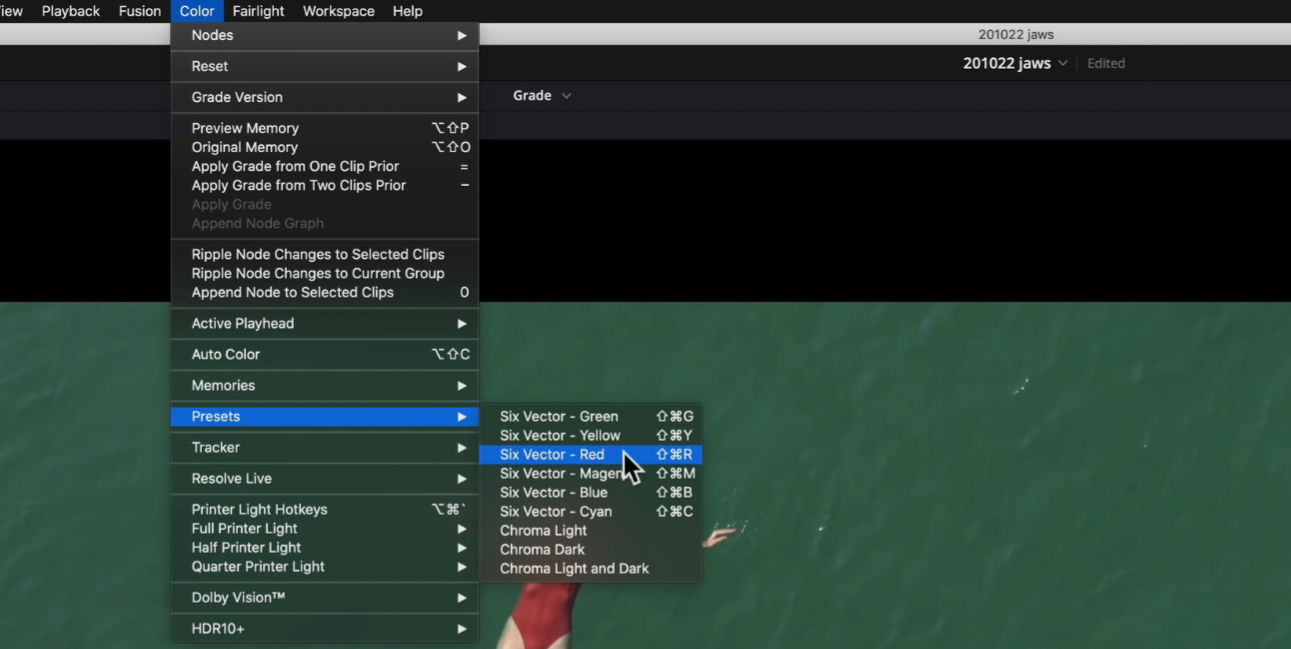
Now, on our third node, I am going to create a layer mixer. Then on my bottom one, I am going to go under color -> presets -> red.
That grabbed exactly what we needed. Next I am going to do another qualifier on another node, just to be safe. I am going to use this to strictly grab her skin.

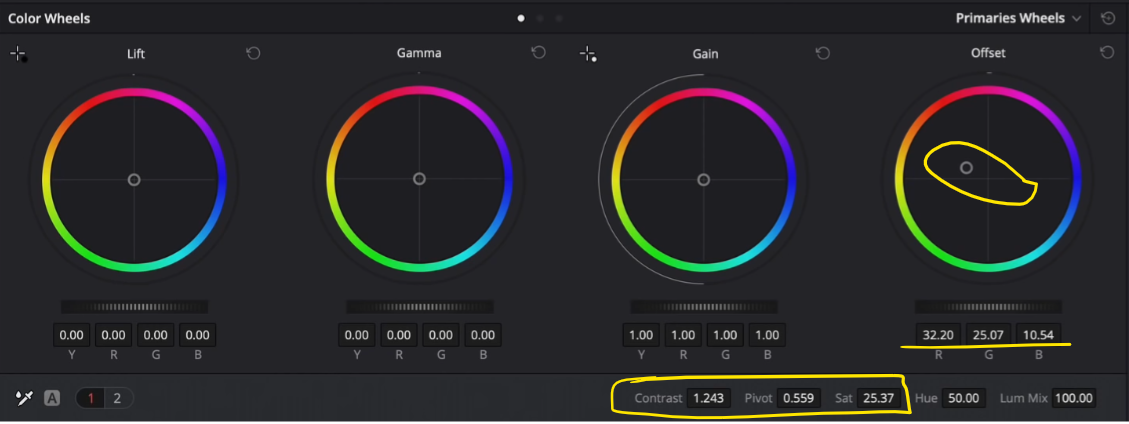
Now we can start dialing in our looks using that top layer mixer node. The first look we are going to go for is our fiji look. I am going to start by going into my contrast and add contrast, then raise my pivot. Then I want to go under my offset and make it more teal, similar to the water in those holiday photos. I also want to add some saturation.

Boom, that's our first look already.
Now we are going to add another version and reset the look node so we can start creating our second look.
I first want to bring down my saturation to around 25ish. Then I want to take my offset into the orange/yellow world. Then I am going to add some contrast, and bring my pivot down to darken up the image.
Now that is our swampy look.
Again, I am going to create a new version and reset the node to start in on our last version.
We are going to start by bringing down our saturation again. Then I want to add some contrast, and really darken it by bringing the pivot down. Then I want to go into my offset and go in the mindset of taking out color by bringing it towards the teal/blue space.


Now I didn’t get into any power windows or vignettes, I just kept these simple. Once you determine the direction you want to take the look, then you can go in and mess with the skin, power windows, etc. This is just to get some ideas out there to determine the direction you want to take them.
Now that we are all done, let’s look at all these looks together.


My goal is to show you different ways to color grade so that it becomes more than a color science or the little things you learn elsewhere.
Hopefully this was an eye opener and fun for you guys to see how much wiggle room we have, regardless of the bit depth we have. I hope you guys learned a lot and can take away stuff from this video!
MORE LIKE THIS


