
How to Get the Cinematic Look in 3 Minutes

In this tutorial, we will be creating a Steely LA Cinematic Look in under 3 minutes. But first, a pro tip, have a better understanding of the project before building a creative look. It’s supposed to help the story and evoke emotions.
A little disclaimer, this is for people who know their way around this software. If you are a beginner, check out the earlier videos in this series
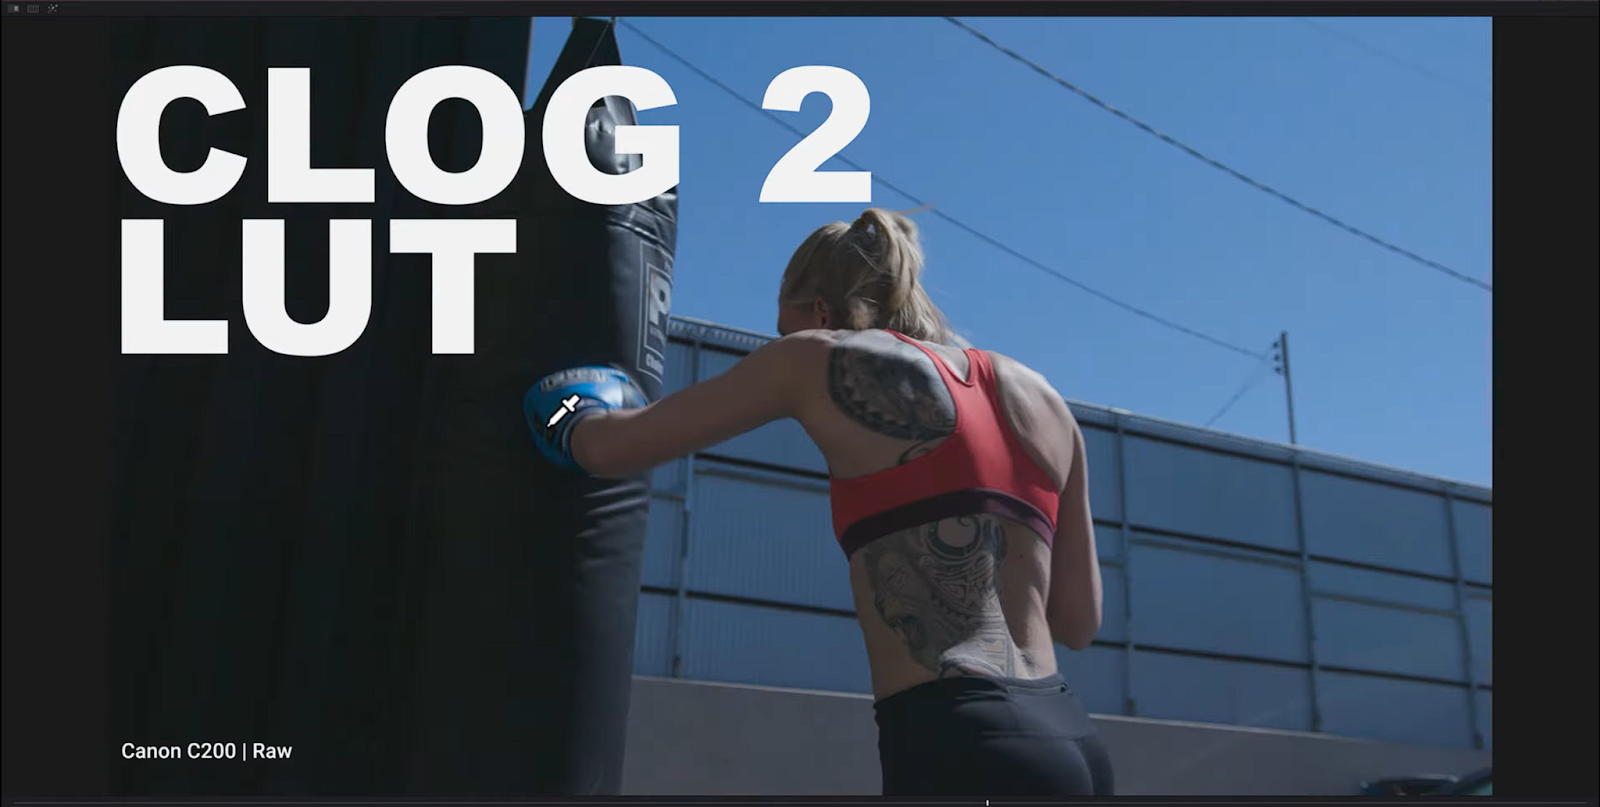
Alright, let's get into this look! Start by creating 3 nodes. On the third one, drop your conversion LUT. For this tutorial we will be using the CLOG 2 LUT as this was shot on a Canon C200 Mark II.

The second node is reserved for our primaries. This is where we will do most of our work before we get creative. This is coming straight from the LOG image, so there will be less breaking in the image

Once you are done with your primaries, create a fourth node after the LUT. For this example we will be messing with the blues. Go into the hue vs saturation and pull down the greens, cyans, and blues. In the shot, when we pull down the blue, some of the blue comes out of the boxing glove. This is not good. Reset the blue key and start pulling it down but adjusting it so that it leaves the glove alone.

Now add a fifth node and open up the normal curves. Check on the editable splines and pull down the shadows and pull up on the highlights. This will add some pop, a little zing to the image that will help sell the look. From here, go into the first node which was created for noise reduction. Add that secret sauce we talked about (settings in picture below). Not only does this help clean the image up, but it also desaturates the noise making it more grainlike.

In a sixth node, Create a power window to separate the subject from the background. In this example we want to focus on the arm and tattoos since her back is to the camera. We aren’t going for a traditional look; we are trying to add drama and make it look cool. Once you create the window, give the window a lot of softness. We want this vignette to blend very well, so it helps us focus on her rather than the vignette.

Now push it. We are trying to go for that “wow factor.”

BOOM. It looks dramatic. It looks cool.
Let's recap. We started with a LOG image from a Canon C200 raw file.

We dropped the CLOG 2 LUT onto it.
Then we made corrections with our primaries before our node with the LUT.

Then we developed our creative look after the node with our LUT.

Next we added curves to add some contrast to the image.

Finally, we added a window to bring it all together.

And there you have it. A cinematic look created in under 3 minutes, with only 6 nodes.
MORE LIKE THIS


