
The Biggest Secret to Removing Noise in DaVinci Resolve 17

What’s going on guys! Welcome to another epic tutorial. Today we are going to be discussing the biggest secret to removing noise in DaVinci Resolve 17. This could be the reason you buy the studio version of DaVinci Resolve, or even switch from Premiere Pro or Final Cut Pro.
Let’s get started. Since this is not a full fledged color grading tutorial, I went ahead and did the grade first.
Now that the grade is done, let’s punch in and show you the noise.

Digital noise is there on an RGB level. Noise is this embedded red gunk you see in the image. So how do we control it? You can see it’s everywhere. We are going to take care of this in two simple steps.
First we are going to go into our motion tab, which is the second to last tab.

In the noise reduction tab we are going to start by adding 1 frame, with the faster preset. Then we will take our temporal threshold to 5. Then going into our spatial threshold, we will break the chain and adjust the chroma value. This will help attack the noise sitting in the RGB channels. So we will take that chroma slider to 6.8.


Now look at the difference in the image already. Obviously there is still noise, but we will fix that.
One tip is to always start with the lowest, then increase because this will be very taxing on your system.
Now because it didn’t remove all the noise, we are going to change some of the settings. Starting with our chroma, we are going to take that to around 12-13 range.


Now look at that. That is looking so much better. But we can make it look even better. Now we are going to take our temporal threshold to about 10ish.


The difference in this is just huge. We went from a gross image filled with noise, to a very beautiful noiseless image.
Now by adding noise reduction, you soften the image a bit so you have to counter that. To do this, I go under sharpening and take the blur radius to about 0.47.


Now let’s switch to another shot to show another example.

Here is the noise we are dealing with.


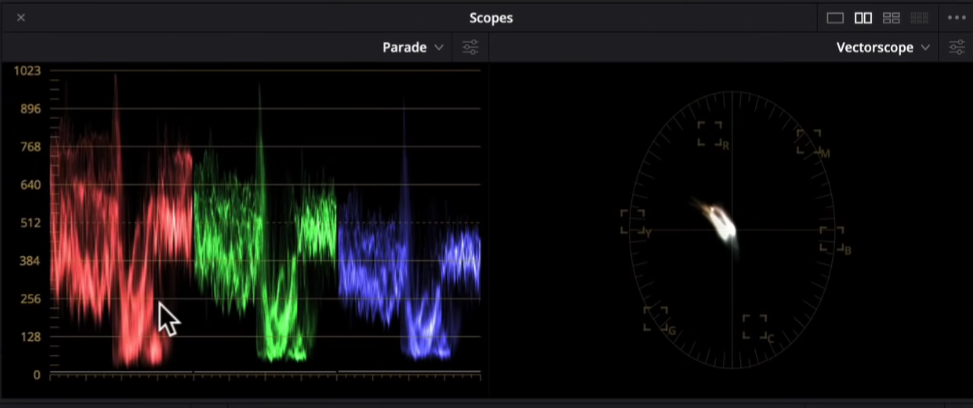
We are already looking a lot better. You can even see it in the scopes.
Before:
After:

It is okay to have more black and white noise in the image, as that looks more like film grain, but what we really are trying to focus on is removing that RGB noise. That’s what shows the digital camera noise.
Now moving onto our last shot.

You can see this one has a lot of noise, so we are just going to follow the same steps as we did previously.


So this gives you an overview of how similar your parameters can be to get a good look, without sacrificing any important detail in your image. I wanted to give you multiple different clips to show you that sometimes you have to play around a little bit to really dial in the noise reduction on a per shot basis.
Noise reduction is the main reason why I would buy DaVinci Resolve Studio, or switch completely.
So there you go! Now you are in on the secret to removing noise inside DaVinci Resolve! So with that, I hope you took something away from this video!
MORE LIKE THIS


