
How to get THE BOYS look | DaVinci Resolve 17 Tutorial

What’s going on everyone! Welcome back to another epic color grading tutorial. Today we are going to be recreating the look from The Boys. So sit back and take notes!
First, let’s go ahead and take a look at the technical specs of this. This was shot on a Sony Venice 6k Digital Motion Picture Camera. It shoots in 16-bit RAW with 15 stops of dynamic range. They used the Panavision T Series Anamorphic Lenses that are known for their high contrast and glare control. It was graded by Company 3.
Now let’s get into the look analysis. Starting off with our anchor points, our highlights are sitting in a very cyan world. Same with the shadow. The image in general is very much on the cyan side, but the skin is closer to the natural look, yet still not natural.
Our shot is very different from the look we are trying to get.

Ours is obviously a lot brighter, so there is a long way to go to get it to where we need it. Not to mention it was shot in Sony A7III in 8-bit 4:2:0, and SLOG_3.
To start off, I am going to change my color management to DaVinci YRGB Color Managed and my color management preset to DaVinci Wide Gamut.

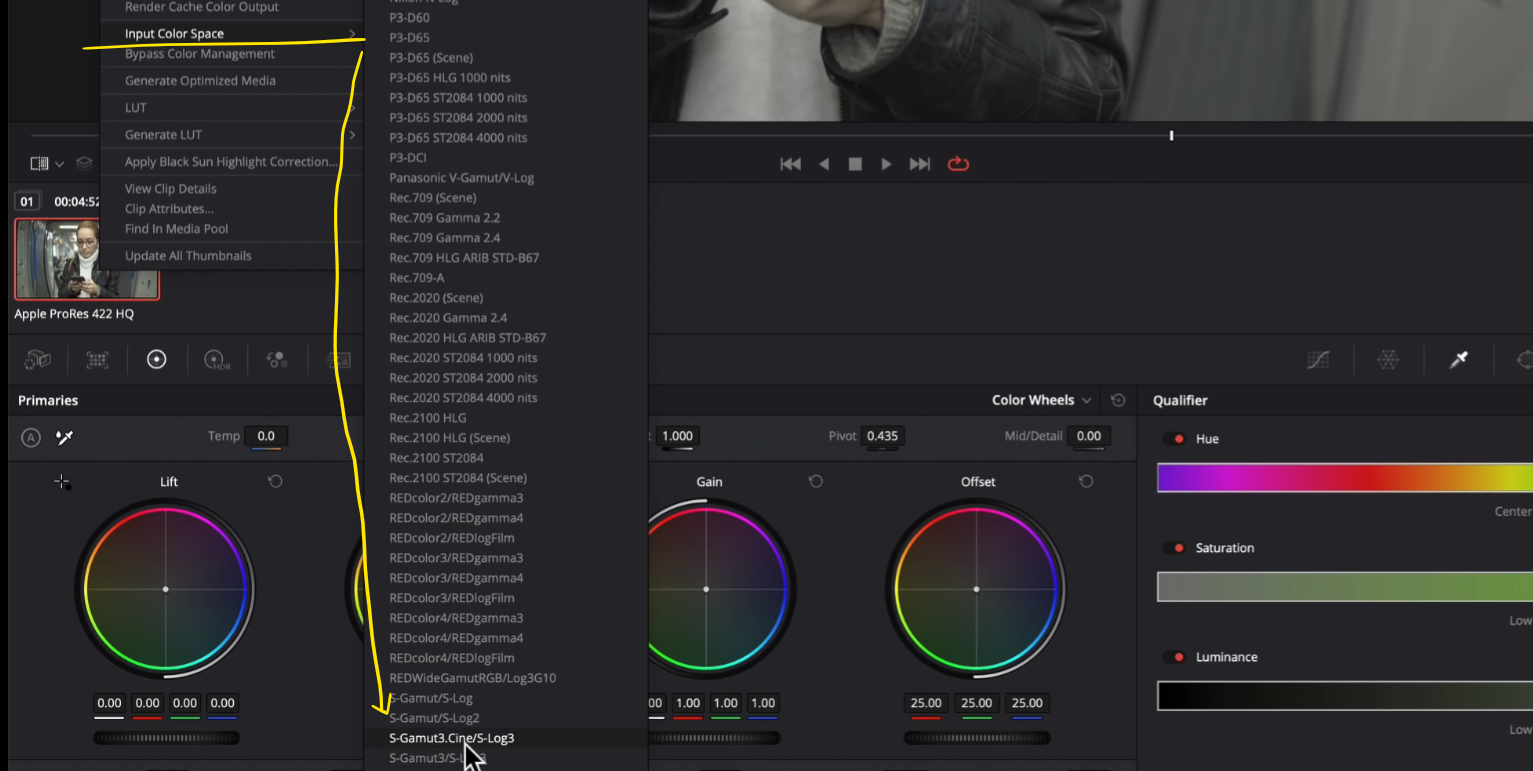
Now once that is done, nothing changes so we have to right click on the clip, go to input color space, and select SGAMUT3. That way it can properly bring it from a log space to a rec.709 space.

Now, looking at our anchors, what do we have to do to match the images? We have to get the walls in that cyan/green world, then match the black points and the contrast and bring the overall image down quite a bit. Then we have to take the skin and blend it.
Quickly we are going to build out a node tree.

Now, on my second node I am going to start moving my contrast and pivot. I will add contrast and I am going to move my pivot all the way down.


Now moving to my first node, I am going to select my eyedropper white balance tool, and click on her sweater.


Now on the bottom of our two layer mixer nodes, we are going to qualify her skin. You’ll notice that our qualifier will be very loose, so we will have to work to get it close to what we want. It doesn’t have to be perfect.


Now moving to our look node (node three), this is where the magic is going to start to happen. This will be the overall look besides the skin. I am going to use my offset and start attacking it pretty heavily.


Now to blend in the skin, we will have to go to our skin node, and go to our key node and take the key output down.


Now that we have taken care of that, we are going to create a new node to clean up our black points. I am going to use my log wheels to clean up my shadows by bringing in the yellow, then I am going to crush them. Then I am going to go under my midtone and start messing with the wheel. I will bring it down to pull out some of the red.


Now I am going to create another node for my custom curves. I want to make sure my editable splines are checked on.

I am going to click on the bottom and pull it down a little bit.


Now we can create another node and call it global adjustment. What I want to do is go under my HSL curves, specifically hue vs hue and take my blue to focus on the darker blue (not cyan).


The last thing I want to do is create a parallel node to our global adjustment node and qualify only the highlights so that I can match the color to our reference.


Now I am going to use my gain to put that color in there.


Now this look is very natural. We focused on our anchors and we didn’t have to create any windows to track. We created this look with nine nodes.
Just like that, we are done! Let’s check this look in full screen!

Man it feels good to be back doing look recreations. I hope you learned how easy it is to create a look sometimes. You just have to analyze the image and keep your anchor points the same throughout. See you in the next one!
MORE LIKE THIS


