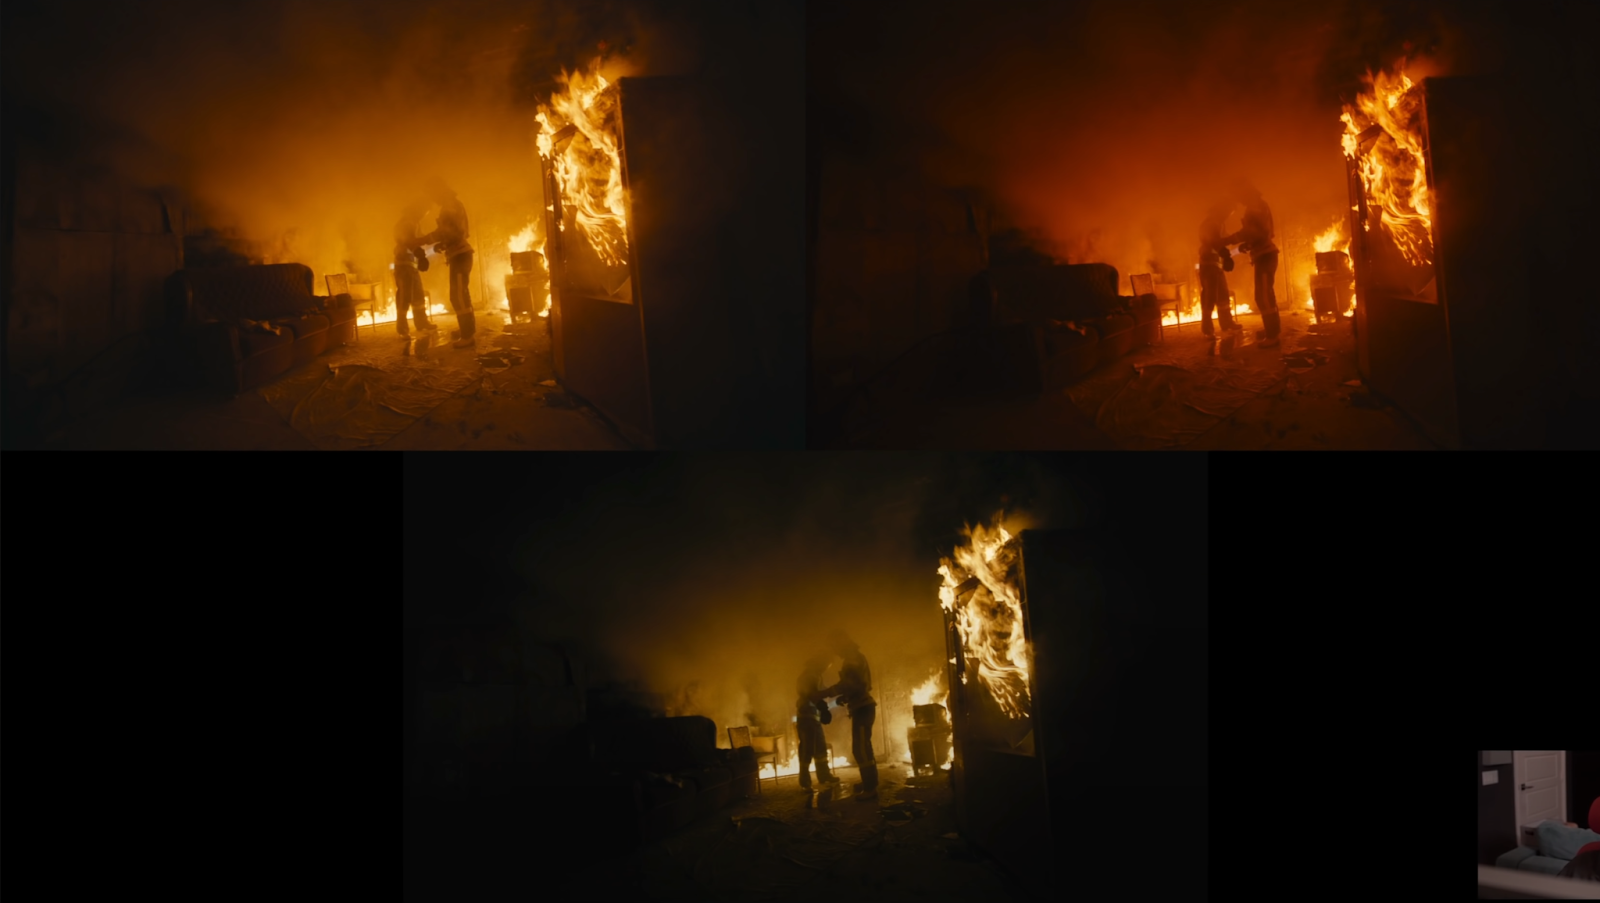
Recreating Fire Scenes from the Most Iconic Hollywood Films
What’s going on everyone! Welcome back to yet another epic tutorial. Today we are taking three completely different movies and recreating a fire scene from 1917, Skyfall, and then John Wick 1. We are going to do all of these from scratch too so get PUMPED.
Let’s get started. Let’s take a look at the clip we will be using today.
This is from Arri Alexa.
The first look we are going for is from Skyfall.
The second look we are doing is from John Wick 1.
Then the third look we are doing is from 1917.
These are three completely different looks with different ideas/colors for the fire. We are also going to be focusing more on the color palettes than creating vignettes. I am also assuming that these movies are using Kodak 2383 as their base, so that’s what I’m going to be doing. Don’t quote me on it, but that’s what I will be doing.
Now starting on our skyfall look, we are going to make our node tree.
Now moving to our third node, we are going to use our color space transform to convert this from Arri LOG-C to a Cineon Film Log color space.
Now moving to our fourth node, this is where we will use our lut. The lut we are going to use is built into Resolve. It’s the Kodak 2383 D55 version.
After that we are already close, but the flames feel clipped out. So to fix this, I am going to go into my second node and pull down on the gain. Then I am gonna lift up the gamma a bit to open the image up.
You can see that the fall offs are better, and it just looks closer. With those changes, we are pretty much there. Let’s look at these side by side.
If you go in with experience and have the knowledge of knowing what to use to really nail it, then it’s just going to happen. At the end of the day it’s all about capturing the vibe, not pixel peeping and doing a 1:1 match.
Before we call it a day, I am going to drop on our film grain with the 35mm 400T preset.
And just like that, we are done.
Now what I want to do is go back into our second node, and focus mostly on the offsets. I am going off the red in the image. I don’t like the gunky green in the fire.
Color grading is all about capturing the essence of the color palette and throwing your own flare onto it.
Now I am going to use my printer lights to dial in the look. I am going to start by adding red. Then to match the blacks, we will aggressively pull down on the lift. Then I would add some cyan into my lift to balance out the shadows a bit too.
With those little changes, we completely matched the John Wick look. Once again, we are focusing on the overall essence, not a 1:1 match.
So now we are onto our 1917 look. This one is very different from the others we’ve done. So we are going to reset our second node to start fresh. Then I am going to start by bringing down my gain just a bit. Then I am going to try and match the contrast by bringing down the lift.
Now I want to start dialing in the color by using the offset. I am just going to grab the wheel and start moving it around and seeing how close you can get to the color.
It’s still a bit off, so we are going to create another node and go into our hue vs luminance and pull some of the saturation out of the highlighted areas.
Now I am going to go back into the second node and work more on the offset.
This feels pretty good. So we are done with that look.
Now you saw how different these three looks are, and we were able to create these looks from the same shot. Let’s check these out side by side.
Just look at how different these are, despite being the same shot. These all have personality and are highly stylized but beautiful. Now let’s check out the tristack.
Now you may think, watching something like this, that you won’t be dealing with footage like this ever. But that’s not the idea. The whole point was to understand the logic and the thought process behind how a professional colorist would approach certain scenes. Especially if you’re asked to create certain looks. So with that, work hard, get obsessed and get possessed.
MORE LIKE THIS


