
A Powerful Technique for Creating an HDR Effect

What’s going on everyone! Welcome to yet another Quick Tip Tuesday video where today we will be discussing a powerful technique to create an HDR effect. This will be done using some simple tools inside Resolve. These are in any version of Resolve, even 16 and 17, not just 18.
Now here is the shot we are working with.

Obviously it’s super dark at the bottom and brighter at the top. So what we want to do is basically create an HDR effect without making it look fake.
What you want to do first is add a gradient window and turn it so that it hits just the bottom of the image.

Then I want to go into my primaries and start raising my shadows up. But when I do that, you can see something weird happens.

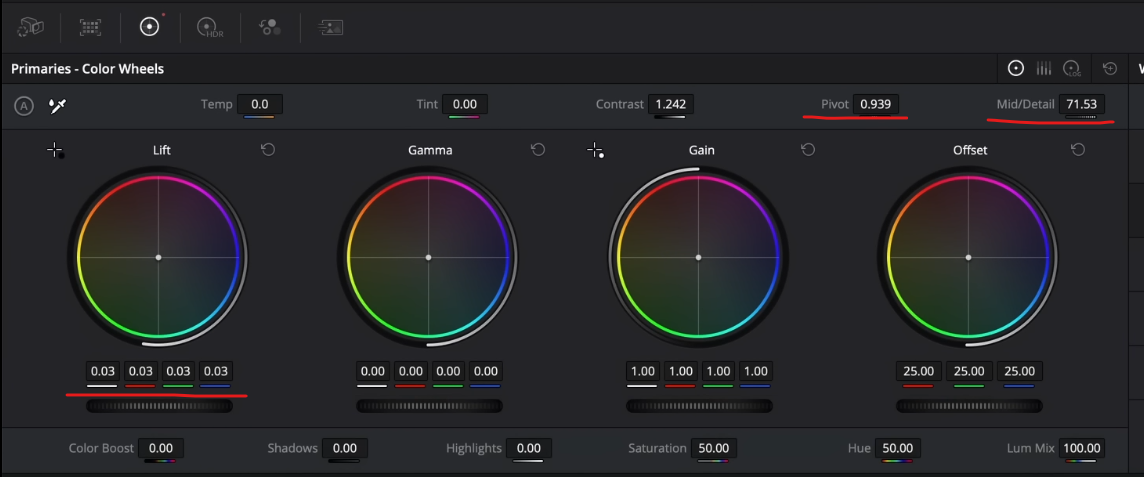
It’s all blue and weird looking. So I am going to go into my printer lights (offset wheel) and start making changes. I’m going to start by subtracting blue, then adding red. Then I’m going to crank my midtone detail a bit too.


Once that’s done I want to go ahead and add an outside node, by right clicking on the current node, and adding an outside node.

In this node I want to add some more contrast, then pull down the pivot a bit. Then I want to raise my lift a bit.


Now this is basically the gist of the tutorial, all done in under two minutes!
However, there is more that we can do if we want to. In our outside node, we can crank the midtone detail if we want which helps give definition into the clouds. We can even take our pivot down even more to add some more contrast if we wanted to. Then bring our lift up a bit.

Now one last thing you need to remember to do is work with our keyframes. When you roll through the video, you can see that it doesn’t look great in some instances. The gradient messes with things. To counter it we want to go into our keyframes and turn on the color keyframes.

Now I am looking for movement. Where does the movement end? It ends somewhere around 3:06. So I’m going to park it there, right click on the keyframes and create a dynamic keyframe.

A dynamic keyframe is going to not just jump from point A to B, but it’s going to interpolate in between. Then I am going to go to where it starts and do the same thing, add another dynamic keyframe. Then I want to bring up our gradient to remove the darkness on the buildings.

I’m sorry for “cheating” on this. It wasn’t really a 2-minute video, but I had to add this additional step to make sense of how you’d use it in a real world scenario. Now let’s check out that final look.

Now what makes you lethal as a colorist is knowing when to use which tool. That’s what adds to the effectiveness as a colorist, and that pays big time. You will always be fighting against time, so knowing when to use a certain tool, will save you time.
MORE LIKE THIS


