
How I Create a "DREAMY" Look in under 120 Seconds | DaVinci Resolve 17 Tutorial

What’s going on everyone! Welcome back to another quick tip Tuesday video. Today we are going to be going over how to get a “dreamy” look in under 120 seconds. Why under 120 seconds? Because everyone is busy and no one has time, so let’s hit start and begin.
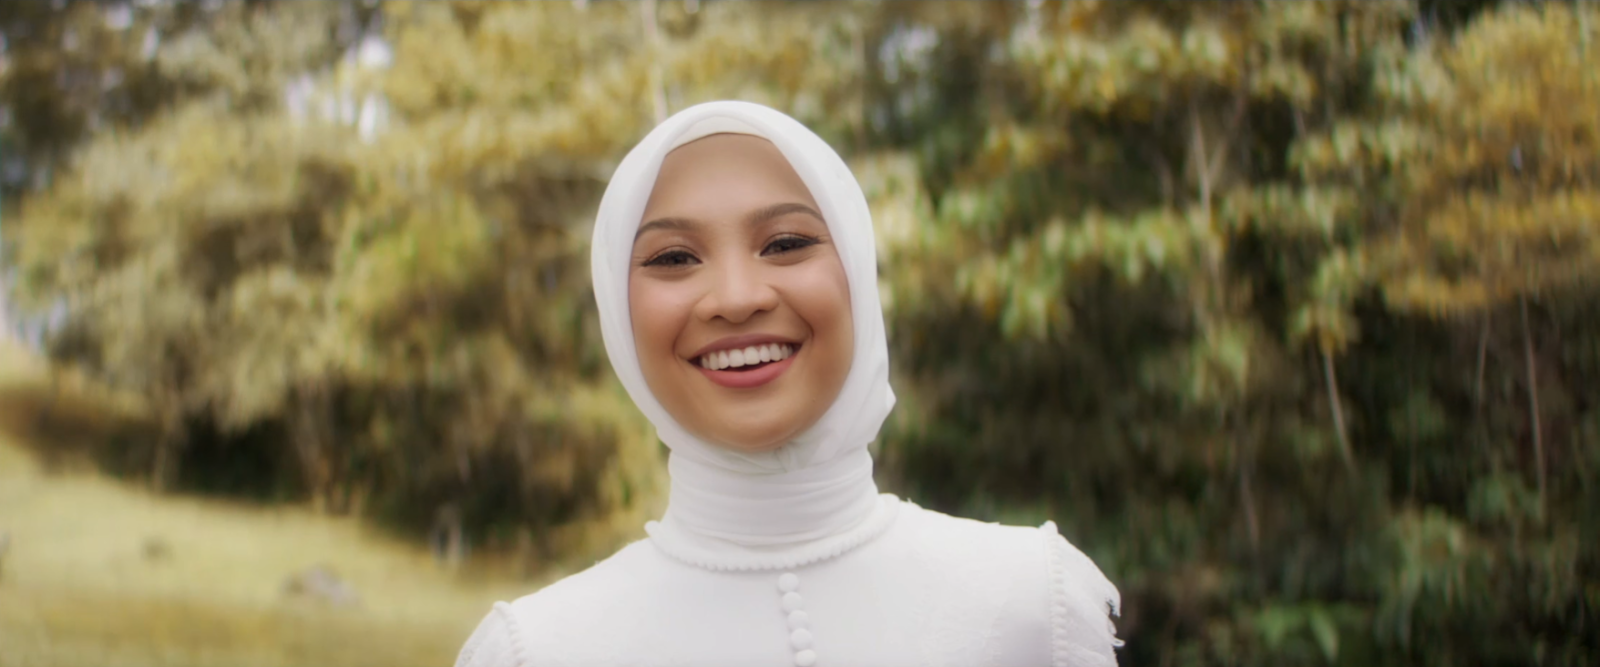
Here is the shot we are working with.

I’m going to start by creating three nodes.

Now we are going to drop a CST onto the last node and convert it from Pocket 4K BRAW log to rec.709.


Now we are going to drop our glow effect onto the second node and this is where the magic happens. We are going to change our composite type to softlight. Then bring the shine threshold to the left. Then we are going to take our spread to the left a bit. Then lift up the gamma. Then I will pull down the saturation a bit.


Then for an extra-curricular, I am going to use my first node to work on the greens. I am going into hue vs hue and selecting the greens/yellows, and I am going to swing the hue to make it a bit more fall.


Just like that, we created a really nice dream sequence. Now you can make more adjustments if you’d like. Boom under 120 seconds.
Now, real quick, when it comes to this, you can go easy on the reds a bit. You can use the offset to dial back red and add magenta to keep the skintones proper.

So that is how you create a glow effect/dream sequence! I hope this tip was helpful and that you learned a lot! Remember, work hard, get obsessed and get possessed.
MORE LIKE THIS


