
Advance Techniques to Get "Film-Like" SKIN TONES | DaVinci Resolve tutorial

What’s going on everyone! Welcome back to yet another epic Quick Tip Tuesday video. Last time I showed you how to remove the green gunk from images, and this video we are going to take it a step further and how to make these skintones pop.
What we are going to do is create a node and a layer mixer after our first node.
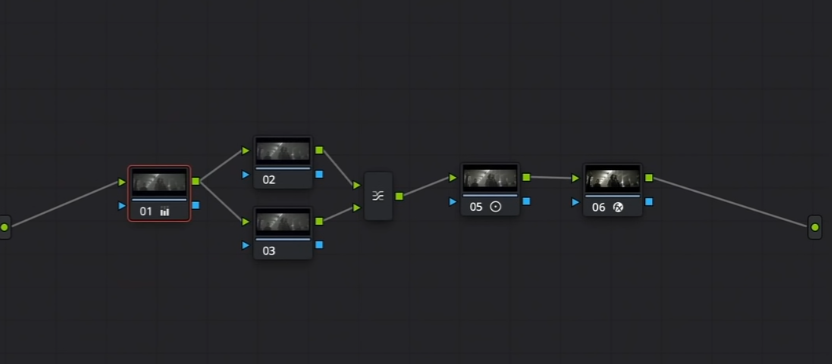
Since we made the green gunk go away, we were able to separate the skin a lot more easily. So what I am going to do in our third node, is use the qualifier and select her skin. When I do that, here’s what we get.
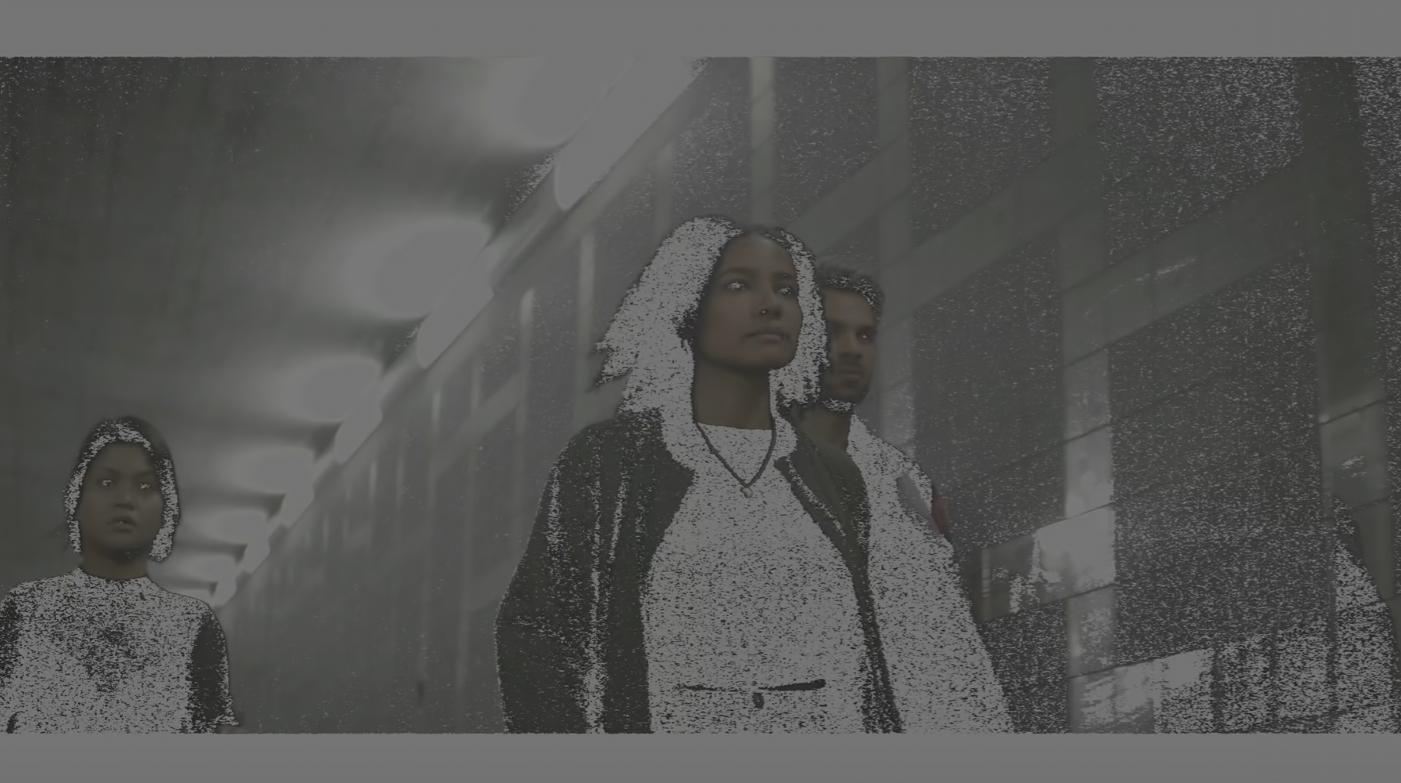
Not bad. All we need to do is reduce some of the properties to this photo.

Now all I am going to do is add some contrast to the skin. Then I am going to take my pivot to the left to brighten it up. Then I am going to reduce the midtone detail. Then add a bit more red with the gamma.


Now in the second node, to help separate the background, I am going to add +1 cyan to my printer lights.

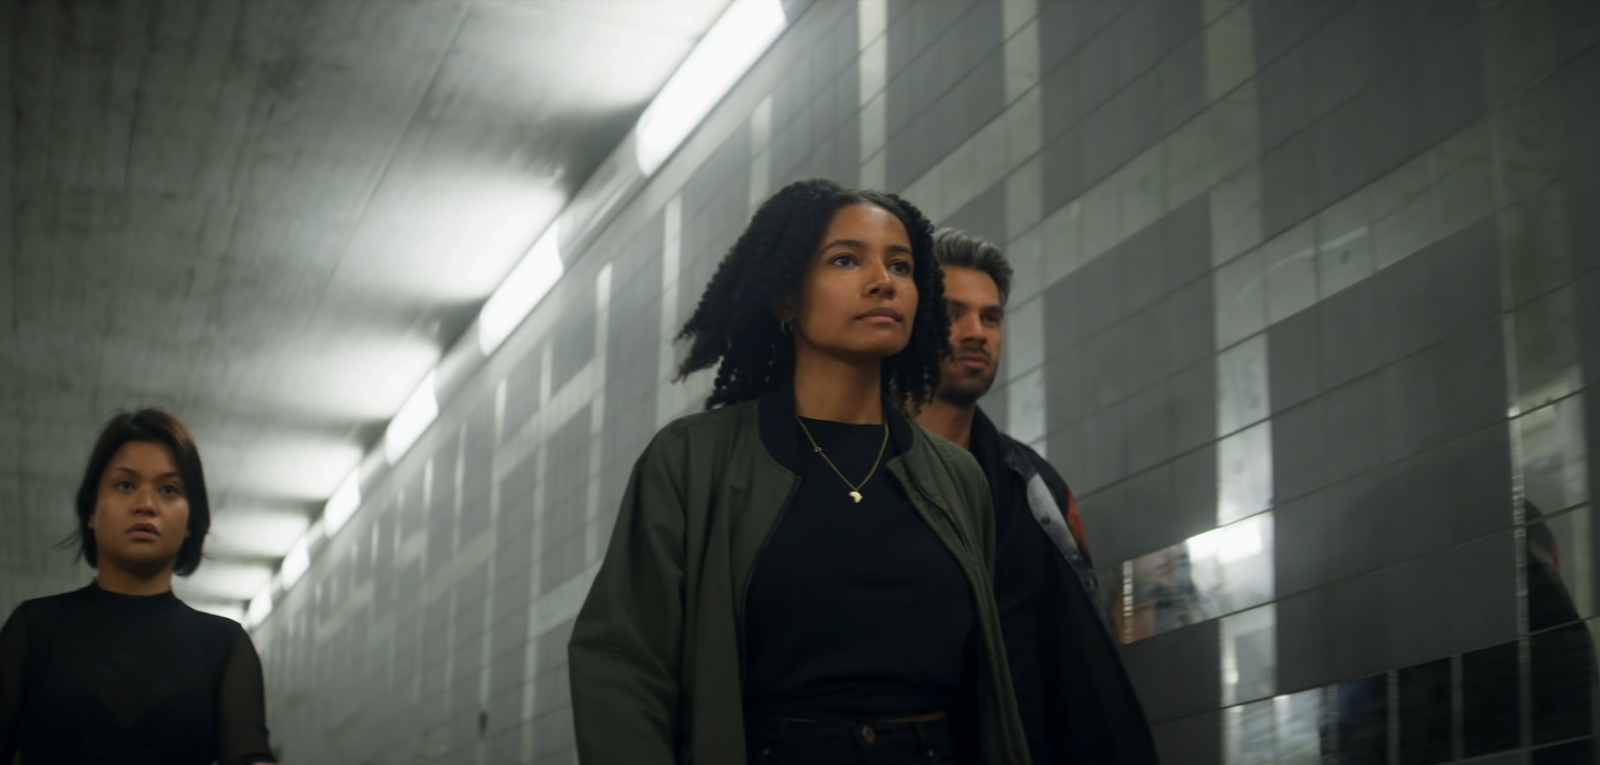
Boom there you have it. Yes it’s a bit extreme, you can split the difference, but at this point it’s a preference thing. If you think the skin tones are just a bit too strong, we can go back to our skin node, and undo the gamma adjustment.


Now there is no change to the gamma, just contrast and pivot to even out the skin tones.
Now this is strong, but that’s the look. The looks are pushed. Remember what I did on top gun? The film negative they used was so strong and so separated. So it’s okay to push it a bit.
We can even see through this video that it only takes a few steps to really pop out the skin tones. You can even see the key will hold up if we playback the video. Hopefully this was a helpful video.
MORE LIKE THIS


