
Cinematic Look Made Easy | DaVinci Resolve 18 Tutorial

What’s going on everyone! Welcome to yet another epic tutorial. Today I am going to show you how to create a cinematic look in the most efficient way possible. Now let’s get into it.
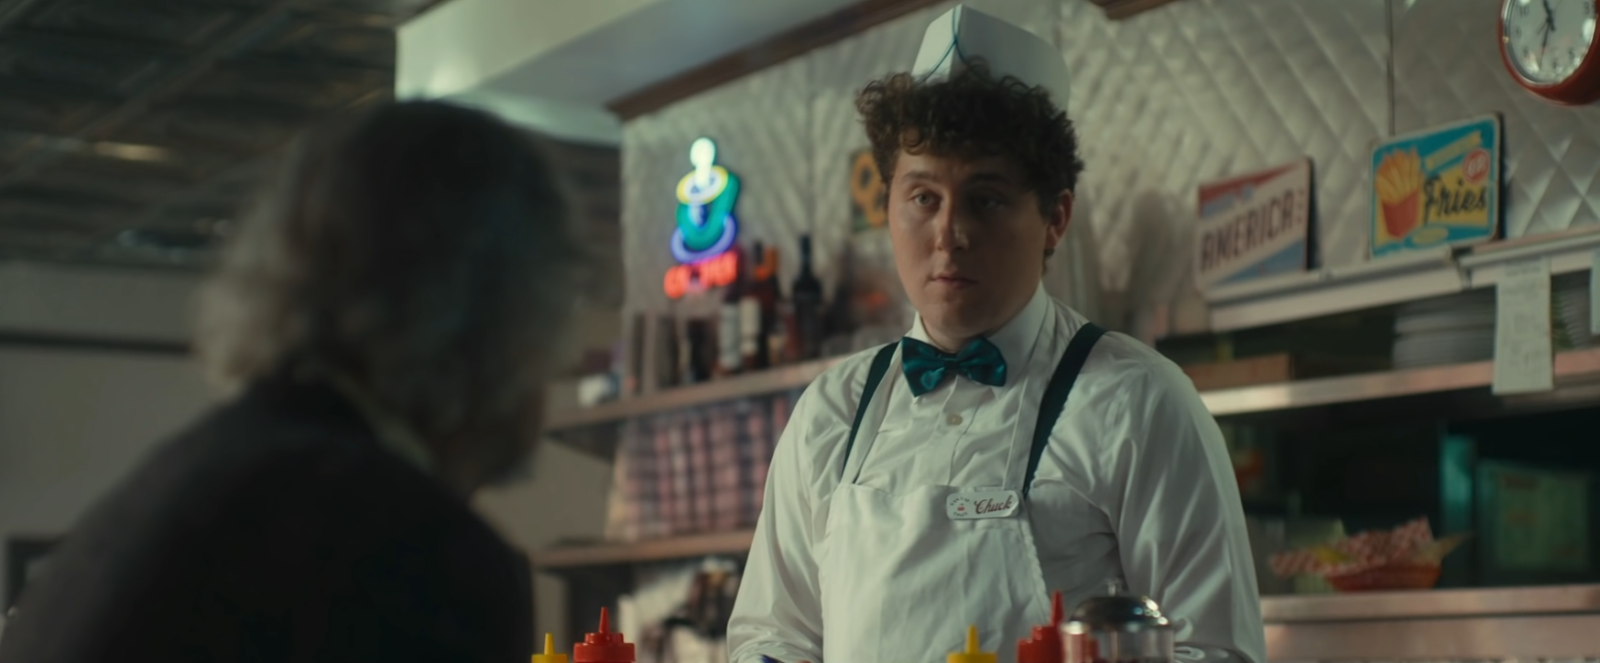
This was shot with RED Gemini in LOG.

The first thing I am going to do is drop a color space transform onto the clip to convert this from LOG to Cineon so we can use a film print emulation LUT.


Then I am going to create a new node and go under the LUTs tab and find film looks and apply the Fujifilm 3513DI D55 LUT that comes included in ALL versions of Resolve.

Once that’s dropped on, it already looks so good.
But if you can see the neon lights, there is something funky going on with them. So to correct that, I am going to go into my CST node and check on the “use custom max output” setting. Then I want to change my gamut mapping method to saturation compression.


Now that we are set up properly, I am going to go into my first node and start to balance this out. There’s too much red. I am going to start bringing down the offset wheel towards blue/cyan/green.


Now I am going to move the clip over to a new frame in a different part of the shot like this.

Now when we bring it over here, you can see there’s just too much green in our image.

To get rid of that, I am going to start using my LOG wheels and take the shadows the opposite way of green to remove the green.
So now if we go back to our first frame, we can see that it’s looking a lot nicer.
So now, I am going to stay in the first node but start using my printer lights to give it more of a cinematic look. I want to start by taking out some yellow, then adding some green and yellow. If that’s too much, you can start messing with other parameters. However I am going to leave it like that.


Then I want to create a new node after the last node. Now after the Cineon conversion, it kind of nuked our highlights so I want to go into my LOG wheels and boost the highlights.


This just brings the color back into his shirt and brightens it up.
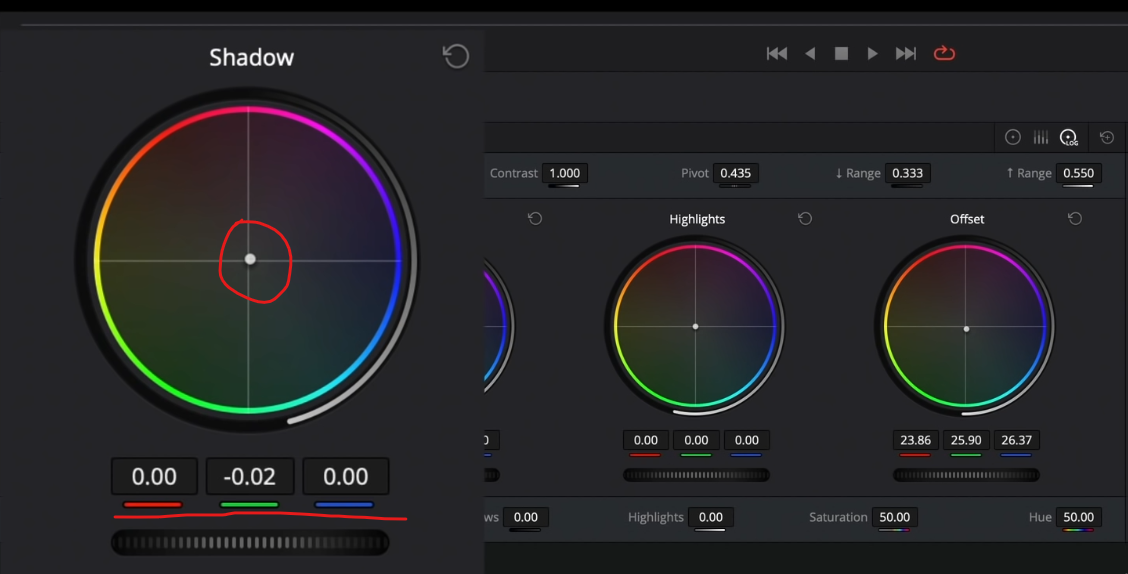
Now what else do we want to do? What I want to do is go back into my first node and bring the shadows more towards magenta.

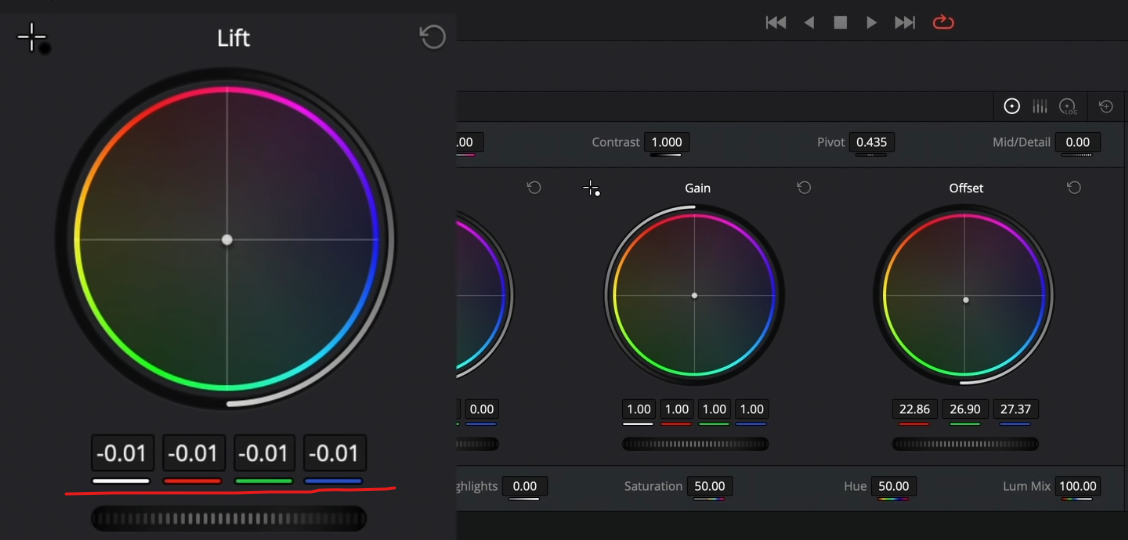
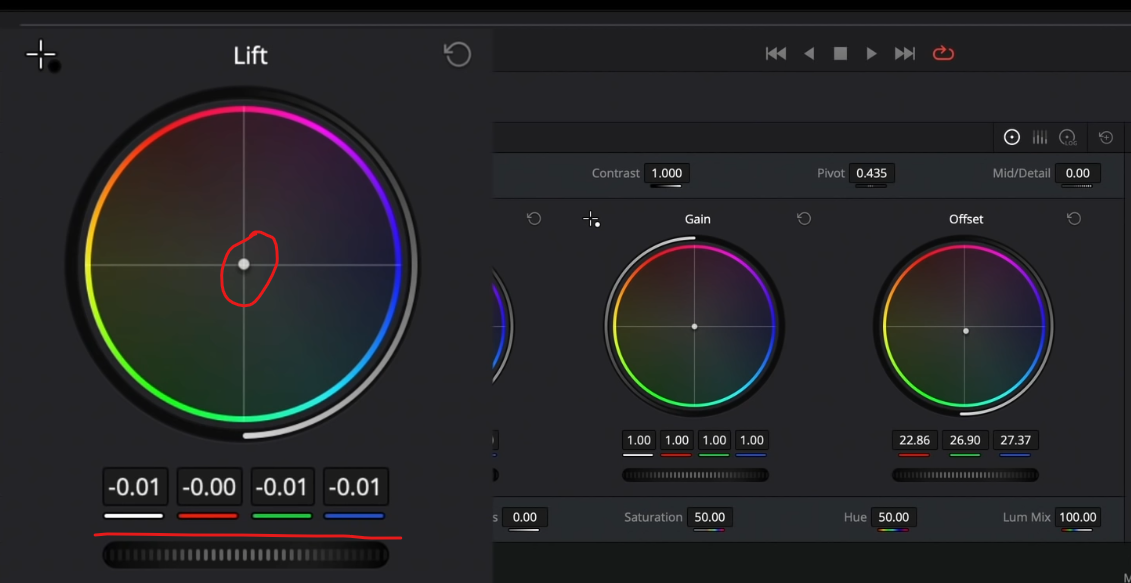
Then I want to take my lift down to add some more contrast. But just a bit.

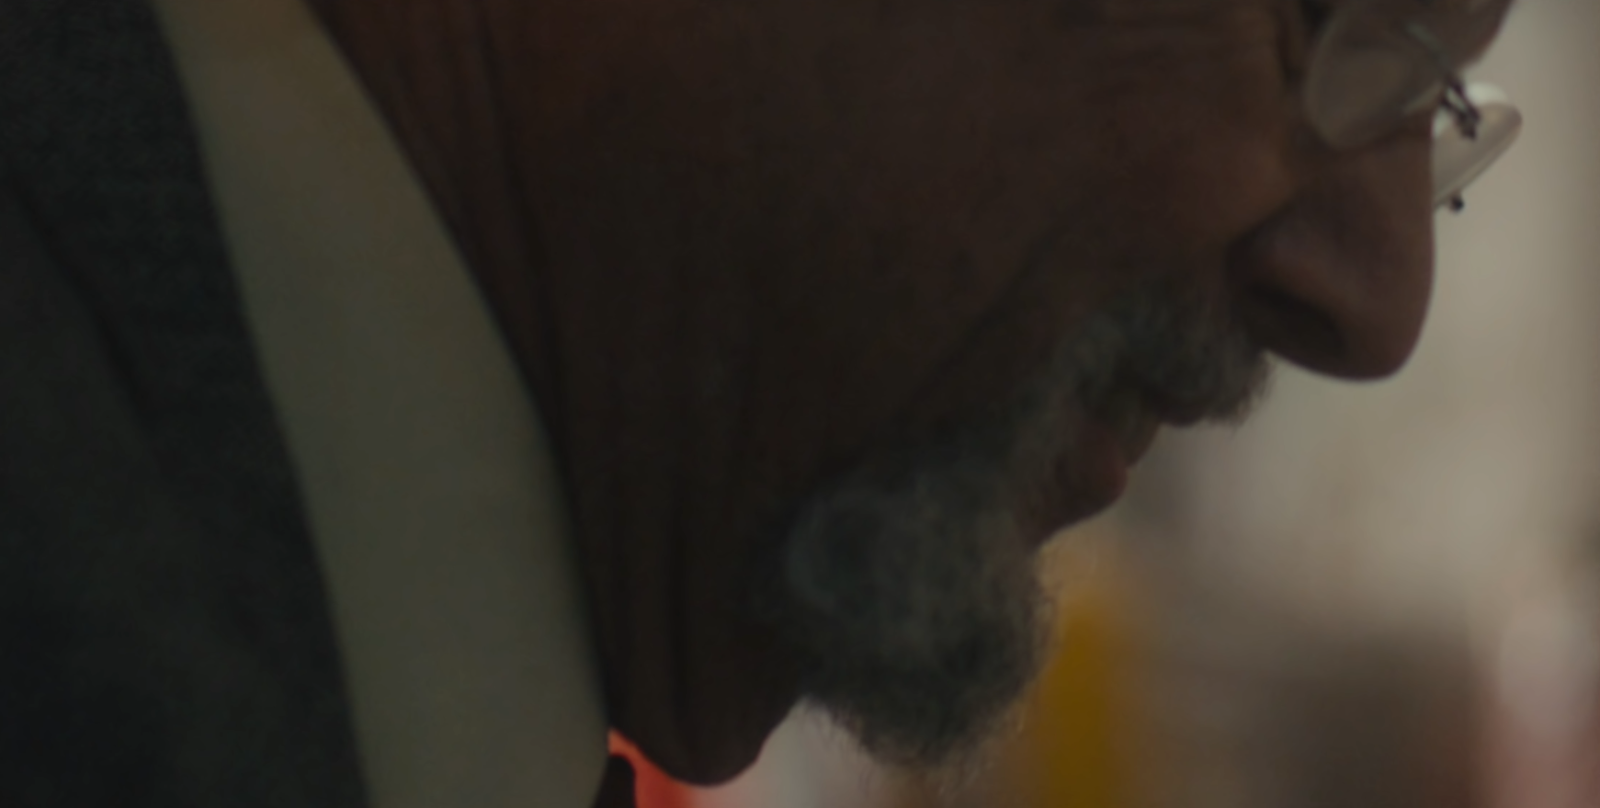
Now if we go through our shot, it looks so good. It’s a very natural looking image. I wouldn’t change much, but I’d add some red back into the shadows.


I think this looks so good. It brought back some color in his skin and overall it’s looking really good.
Now I do think we need to dial in our contrast a bit more. I am going to start playing with the contrast slider.

Doing that makes every color just pop. I feel like the contrast changes are welcome. It’s a very cool, stylized look.
Then at this point what I’d do is hit shift + S to add a node prior to the first one so that I can add some grain. I’m going to drop on 35mm 400T so that it’s not over the top.

Boom. Look how clean it is, yet it has so much flavor. It was built on the film print emulation we used, but we still had to do a lot of work to get it where we needed to be. Hopefully the lesson you got from this is there isn’t a one-size-fits-all, but if you commit to going with a certain film look, you can build a look DNA on top of it to get a unique look.
MORE LIKE THIS


