
How to Get Netflix's Money Heist Look | DaVinci Resolve 17 Tutorial

What’s going on guys! Welcome back to another epic tutorial. Based on my instagram poll, 60% of you wanted this video. So here it is. I’ve been meaning to do this for a very long time and I am so excited. This look is perfect for music videos and narratives. This is a pretty stylized look, which makes it less versatile. This look is done in ACES.
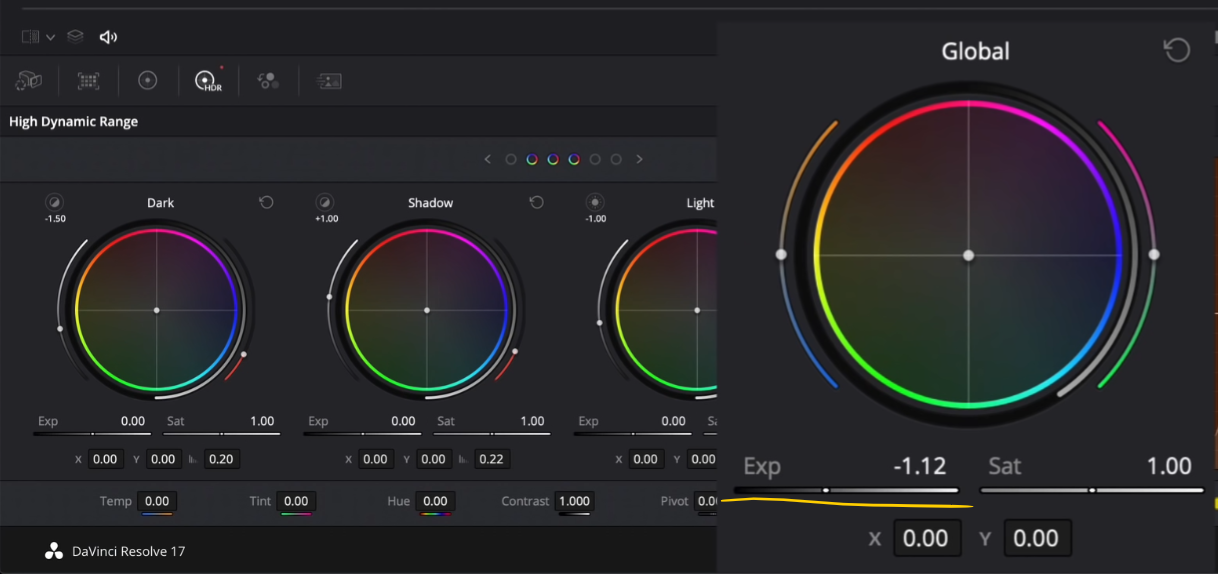
Now let’s get into it. We first need to analyze the shot using our color palette.

You can see with this effect that there is a lot of green and orange in the shadows/midtones. However, if you look at the scopes you can see there’s not a lot of green or cyan. The scopes show it being more warm.
Now I want to try something different here. I want to reverse engineer this shot. Now starting with the skin, you can see it’s literally green, other than the slight orange cast from the practicals. Now I am going to use my gamma to cancel that out by adding more blue/magenta.

Then in our shadows under our log wheels, we are going to balance out the blacks a bit too.


It’s really cool to see where someone started and the choices they made.
Now this is the shot I am choosing to work with.

This is obviously way off, but that’s okay.
Let’s go ahead and set up our node tree. Now quickly, because we are in ACES I do have a post-group clip converting everything from ACES to rec.709. But our color science is using ACEScct. This will show us how great ACES is.

Yes you are seeing that right. Three nodes only. Let’s get into this.
We are going to start in our primaries node and using our HDR wheels, we are going to bring down the exposure on the global offset.
Then once I’m there I want to go under my log wheels and drop my shadows.

Now moving to my primaries wheels, we need to crank the contrast. We are going to increase our contrast slider a bit.


Just in that node, we are already off to a great start. We are in the same place as when we reverse engineered this.
Now moving to our look node, we need to add that green, but make sure our anchors (our black points) are clean. Using our gamma, we are going to push that green into our image. I do want to clean up our top points a little bit, so I am going to use my gain and reverse it just a little bit.

Now we do need to be cognizant of our blacks, so to do that we need to go into our log wheels and use our shadow wheel to balance out those blacks.


Now moving to our secondaries, we are going to go under hue vs hue and select our light in the top left. Then we are going to bring that down to match the more yellow/orange color in our reference.

Then I am going to use our hue vs luminance and select the red on the painting and drop the luminance to make it match her jumpsuit.


Now the beauty with all of this is that we didn’t qualify, so nothing is breaking. This is the power of ACES, and the way I built this grade.
Now we put too much green into our midtones, so I am going to go back into our log wheels in our look node, and add some blue/magenta into our midtones.


Now that did affect the light, so we are going to go into our secondaries node and select our light under our hue vs saturation curve, then bring down the overall saturation.


Just like that, we are done. Look at how far we came and how easily. Let’s check it out in full screen.

Now I hope this tutorial did two things. First, I hope it got you intrigued about ACES. Secondly, you don’t always have to rely on complex node trees to get the extreme look you’re going for. This was three nodes and we transformed the shot.
MORE LIKE THIS


