
How to Preserve the MOST amount of Dynamic Range in your Footage | DaVinci Resolve Tutorial

What’s going on Qaznation! In this video I am going to show you how to preserve the most dynamic range out of your image. What we are working with is Ursa Mini 4.6k, shot in LOG so we have tons of dynamic range. The problem is there is a lot of white in the image. So the second I create an S curve or work on exposure, everything is going to blow out. So how are we going to tackle this?
First off, here is the shot we are working with.

Now, I am going to create three nodes and drop a color space transform onto our second node.

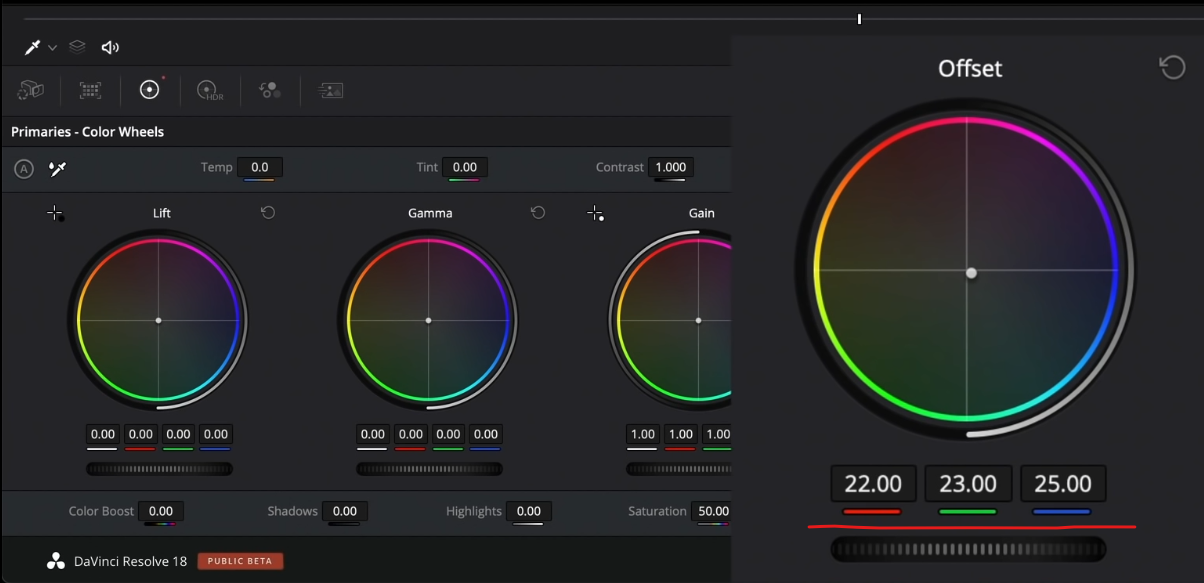
Before we do anything, we need to talk about our color management settings in our project settings.

I have mine set up this way because I absolutely love how every tool behaves. Since Resolve 17, all the tools are content aware. Meaning, you can use your lift, gamma, gain in any color space and it will behave accordingly.
Now that we have that all set up, we are going to do our CST now. I am going to select the Blackmagic 4.6k Film Gen 3 for my input color space, and for my input gamma I am going to select Blackmagic Design 4.6K Film.


Since we selected our cineon film log in our output gamma, we are going to use one of the built in film look LUTs that come with Resolve. The one we are going to use is the Kodak 2383 D60.


What a rookie would now do is they would create a node after the conversion and LUT and then they would make corrections. They would raise their gain, but what would happen is if they raise it too far, it would clip really quickly.

Then they would drop their lift and make it super contrasty.

But now a proper way to attack this would be to actually go into our first node before the CST and LUT. One of the advantages of doing this is that when you raise the gain a lot, you won’t clip your highlights because the LUT is making sure that everything stays inside the bounds that the LUT has created. We however won’t be using lift, gamma, gain. Instead we are going to use our custom curves. We are going to create a bunch of points in our curve to have lots of granular control. Then we can adjust everything to our liking.


Now look at how beautiful this is. And the advantage of this is that everything is intact. We are pushing it hard, but yet nothing is blowing out.
Now I see that there is too much yellow and everything is sitting in the warm color space. So I am going to go into my printer lights and I am going to subtract one or two red and a few yellow.

After this I’m noticing that we can keep pushing the contrast a bit, so we are going to make some adjustments.


Just look at what we’ve done.

We haven’t added any saturation or any other adjustments. Now you may say, that I spent 5 or 6 minutes creating this curve and well the beautiful thing about this is it’s my look DNA. Once I get this down, it can be applied on a group level and then that will be my look. This is the heavy lifting.
Now let’s compare the amateur to the pro.


To keep pushing it a bit, we are going to add half a cyan and magenta into the image.


I mean just look at ours vs the beginner.

The way we did it was able to maximize the dynamic range, give us beautiful highlights and pushed shadows and her skin tone is sitting perfect.
So with that, remember, work hard, get obsessed, and get possessed.
MORE LIKE THIS


