
Color Separation SECRETS for Beginners | DaVinci Resolve 17 Tutorial

What’s going on everyone! Welcome to another epic video. Today I want to talk about something that really got me started color grading. That was how to create color separation. When we talk about all these beautiful looking movies, the thing that really stands out is that there is tons of color separation. So how do you do this effectively and quickly? We are going to do that now.
I am excited to show you these techniques. The shot we are working with is from Panasonic GH5s, so 8-bit 4:2:0.

The way I am going to do this is with four nodes, but I am going to add two more nodes to the end.

On the 6th node, we will be using our CST.


Then on our fifth node, I am going to lift the shadows to get that cool faded film look. Then I am going to drop the highlights as well.

Now moving to our first node, we are going to use this as our temperature and tint node. I will start by cooling off my temperature to cool off my warmer tones, but balancing warm and cool tones. Then we are going to move our tint towards green.

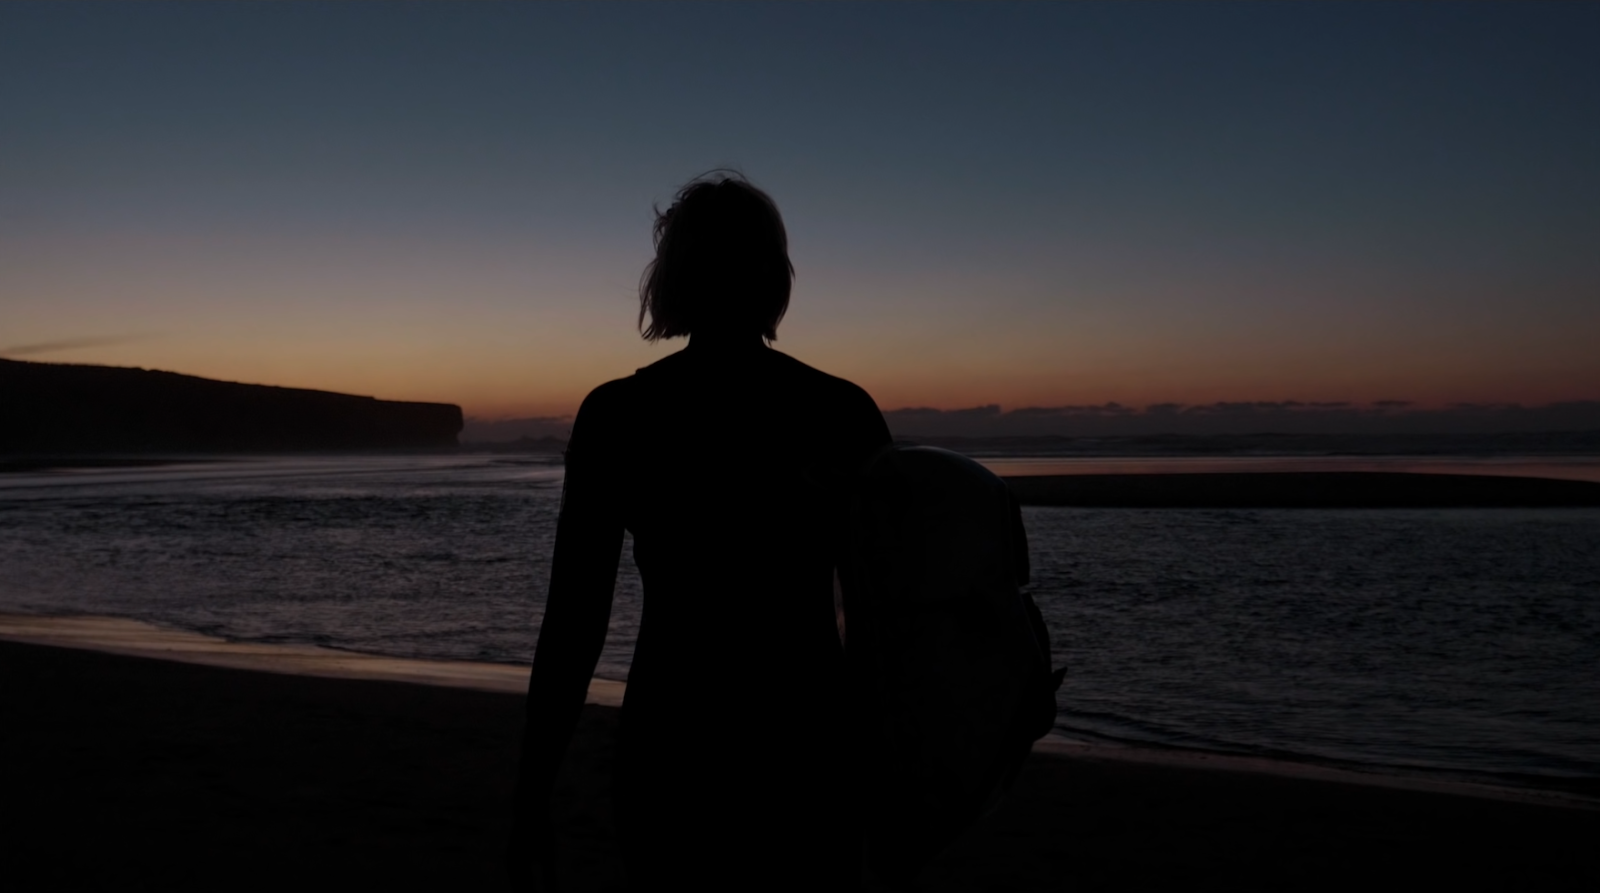
Now moving into our second node, we are going to use our log wheels. I am first going to crank back our high range. Then I am going to add some more warmth into our highlights using the highlight wheel. Then I am going to use my midtone to really create our separation. I am going to add some teal/green/blue into our midtones. Then I am going to use my shadows to separate the water.


Just look at what we were able to do. The best part is this will hold up from shot to shot. There are no keys, there are no windows. This is why I emphasize primaries over secondaries.
Now moving into our third node, we are going to use our HSL curves. What I am going to do is start using my hue vs luminance to bring down the warmer parts. I am going to bring it down a bit, just to add more depth.

Then what we can do is go under our hue vs saturation and crank up the saturation a bit to just make it pop a bit more. Then we can add some more teal/blue into the image as well.


Then in the fourth node, I am going to use the color warper. I am going to use it to swing the hue in the teal, then also add some saturation. Then we are going to do the same thing with our warmer tones.


Now there is something funky going on in the bottom of the image, but it’s just a resolve bug. Nothing that we can do, so we are actually going to keep our color warper node turned off.
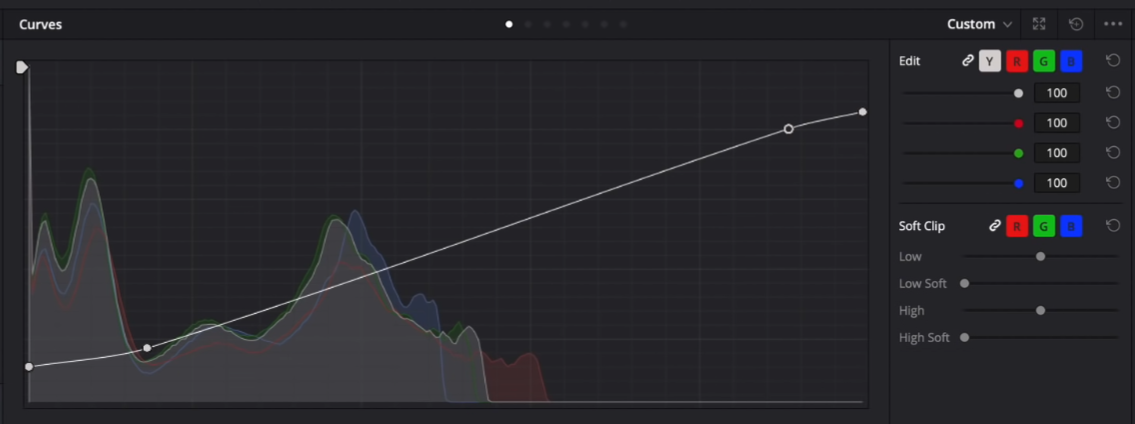
The last thing I want to do is bring up the low soft on my curves to bring back detail in the shadows.

But just like that we are done! Let’s go ahead and check it out in full screen.

Hopefully this gives you a clear and concise game plan when it comes to creating color separation without using qualifiers and tons of power windows, which is just impractical in the real world. With that, work hard, get obsessed, and stay possessed.
MORE LIKE THIS


