
What NOT to do when Color Grading | DaVinci Resolve Tutorial

What’s going on everyone! Welcome to yet another awesome tutorial. Today we are going to be discussing what not to do when color grading. These are three of the worst things beginners do when starting to grade.
Alright, getting started, the biggest mistake that beginners make is not knowing their camera information. That is detrimental for many reasons. Your cinematographer wants to see what they saw on set. Most of the time, that’s just a rec.709 lut. Then they will want to make it better. For this, I am going to create a simple four node tree, and use my CST on the last node to convert this to rec.709.


Now we know where we stand with the image.
The second mistake that beginners make is spending way too much time on a single shot. In an ad you have about 60-70 shots and if you spend too much time creating tons of windows and perfecting one shot, you can’t copy that to the next image. We are going to do that scenario here. I am going to start with my primaries in my first node by bringing up the gamma a bit to open the image up.


Now we are going to focus on areas individually. Let’s create a window around her face.

Then I want to go ahead and bring the highlights down a bit using my highlights slider.


Then I want to move into another node and create a gradient node on the left side.

Then I want to lift up the gamma a bit, then cool it off and add a bit of a Hollywood touch to the image.


This can be replicated more easily, but what I am talking about is doing a lot more.
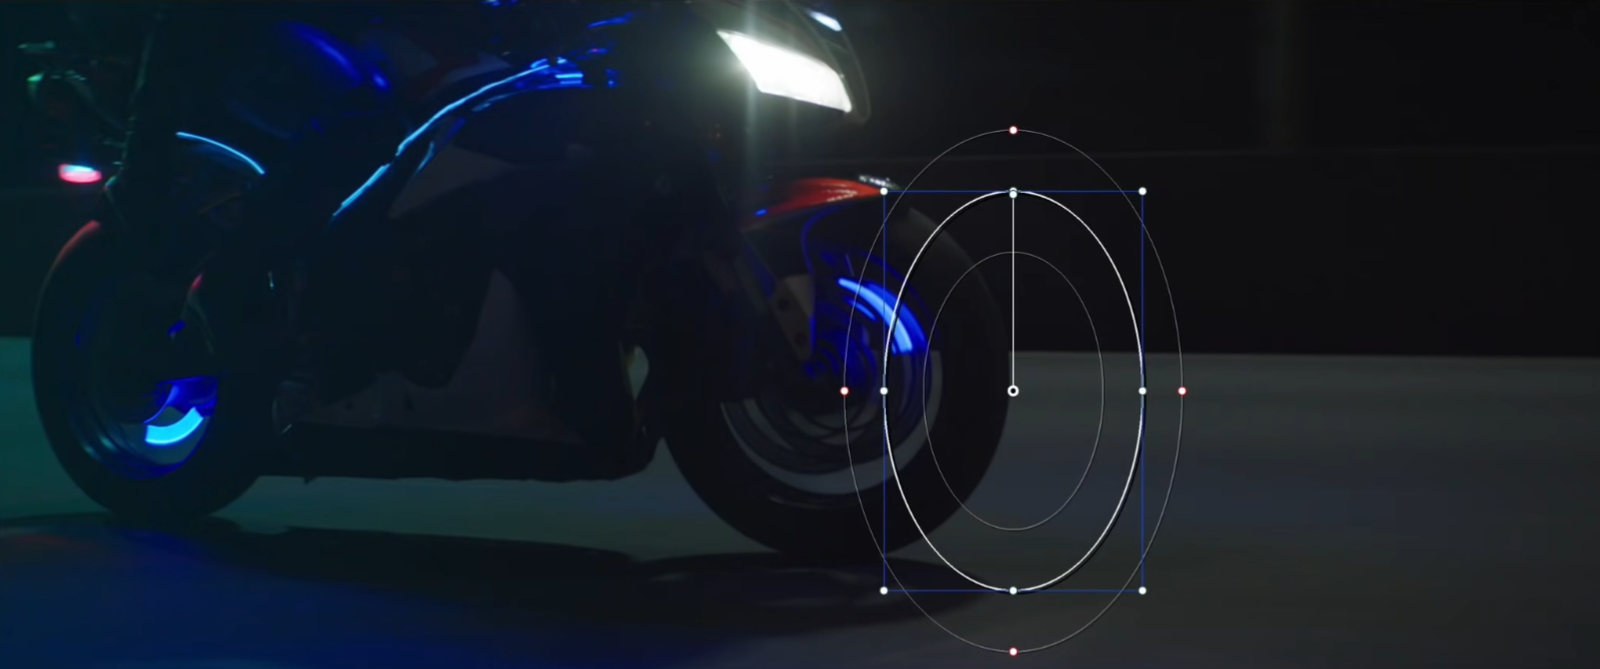
Look what happens. We don’t need that gradient, it’s doing nothing. That power window is lighting up the front of the tire, this is just not working.
You want to make these types of changes at the end, once you’ve gotten the base pass done, the base look done. Once everything is approved, if you have time, you go back in and make these adjustments.
The third big mistake that beginners make is they don’t focus on their primaries, they focus on their secondaries. For example, they will go under their qualifiers and use the luminance slider to select only the shadow areas.

Then they will use the lift wheel to lift up the shadows.


Then they will go and select the reds using the qualifier.

Then they would bring the saturation down on that a bit.


Then they would go into another node and grab the face, and bring the saturation down again.


The problem here is the key is cracking. It won’t hold up and again, it can’t transfer from shot to shot.
Now let’s do this correctly. What do we need to do with the image first off? We need to bring up the overall exposure. There are a couple ways to do this, but I am going to use the HDR palette. This first thing is you want to click the three dots and change the color space to the correct color space.

You will do the same with the gamma. Once that is all done, we can go under the global adjustment and bring it up. This basically works like your camera. So when we take it up to 1, we just basically added a stop.


Then in our second node, we want to take out some of that red using our tint by adding green, then cool it off a bit using our temperature.


Just like that we are done. Let’s check out the final look in full screen.

So there you have it. I just wanted to show some quick and easy ways to avoid these mistakes. I promise you, if you are a beginner and you haven’t tried this, do it on your next project and look at the results. With that, work hard, get obsessed and stay possessed.
MORE LIKE THIS


