
Master this One Skill as a Colorist | DaVinci Resolve 17 Tutorial

What’s going on everyone. Welcome to another epic video on this channel. Today we are going to be discussing one skill that you need to master as a colorist. This skill is very obvious and you use it every day, but it’s more about how to use it properly and to your advantage. We are talking about balancing your shot. Let’s get into it.
I’m about to show you the power of balancing your shot. I’m telling you that this is the simple most important skill you can gain in your color grading career. You can’t survive without this technique. Now, I am going to build my node tree.

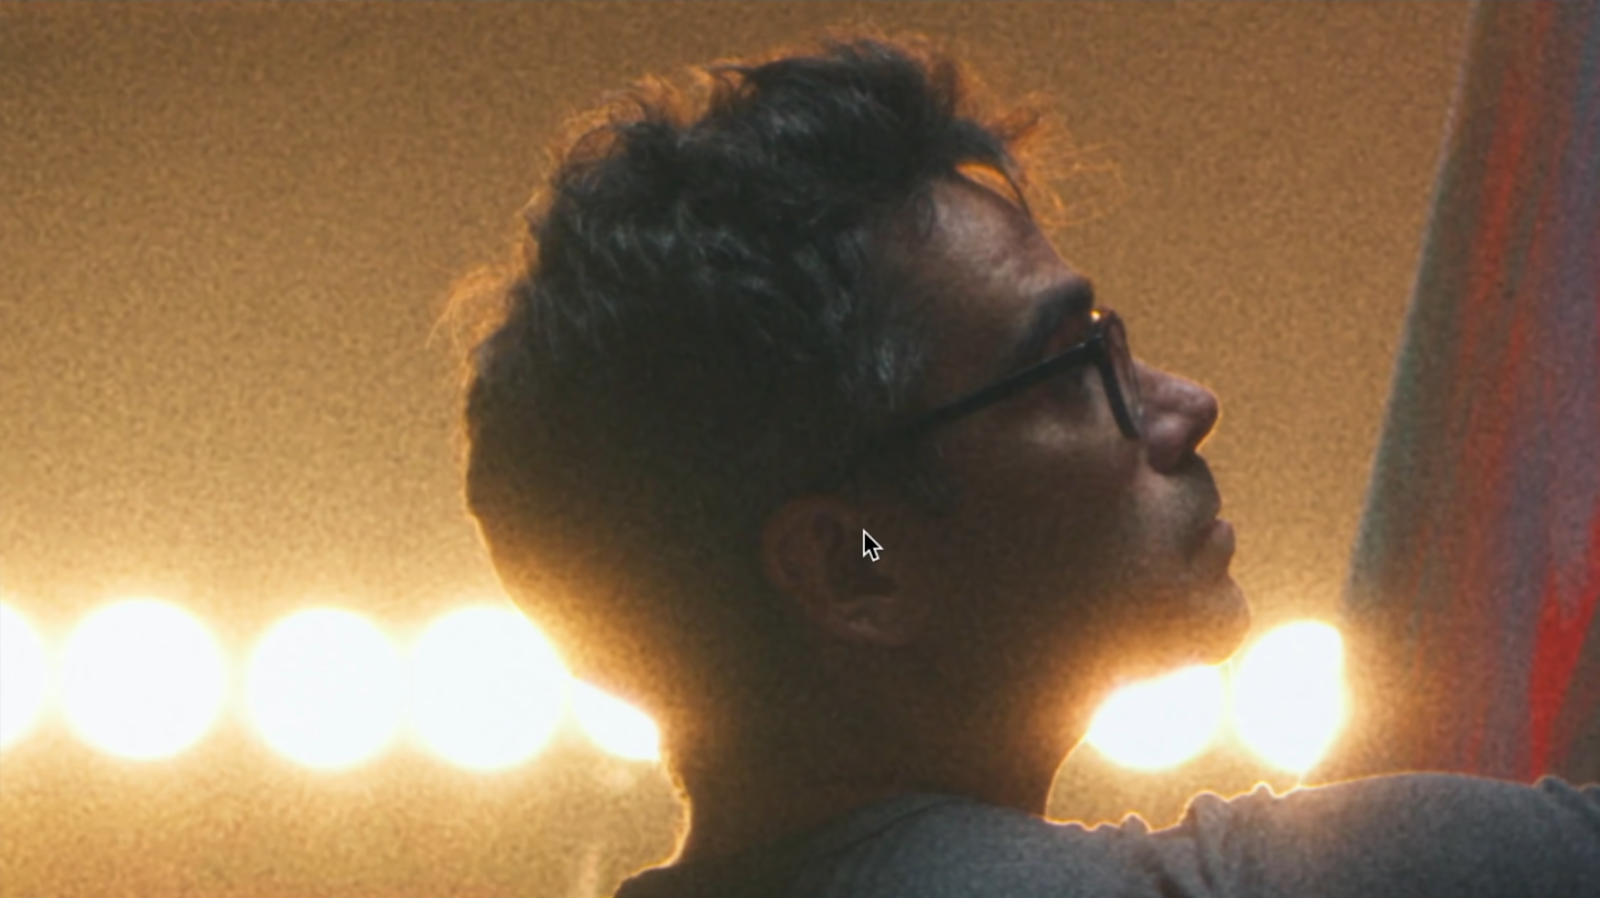
We will also be working on this frame right here.

Alright, the first thing we are going to do is starting off with either temperature and tint, or offset (which I will be using). Now what do we see in this image? There is way too much red in this image, even the scopes are telling the story.

To correct this, I am going to pull my offset into the opposite direction. What I am really anchoring on is his skin. As long as it is in the ballpark, I am okay.


Just look at that before and after. That’s the power of offset.
Now moving into my primaries node, this is where I am going to get aggressive and start creating some solid separation in the image. I am going to start by bringing my lift wheel down, and then bring my gamma up to bring back the skin.


Okay, moving into our third node, we are going to use our contrast slider to add some contrast.


Now moving into my log wheels, I am going to try to pull our shadows down a bit towards blue to stylize it some. Then moving to our midtone, we are going to pull in some orange.


Now in my HSL curves, I am going to go to hue vs hue and bring my yellow towards the red side, then move into my reds and focus on my skin and bring it to look a bit more natural.
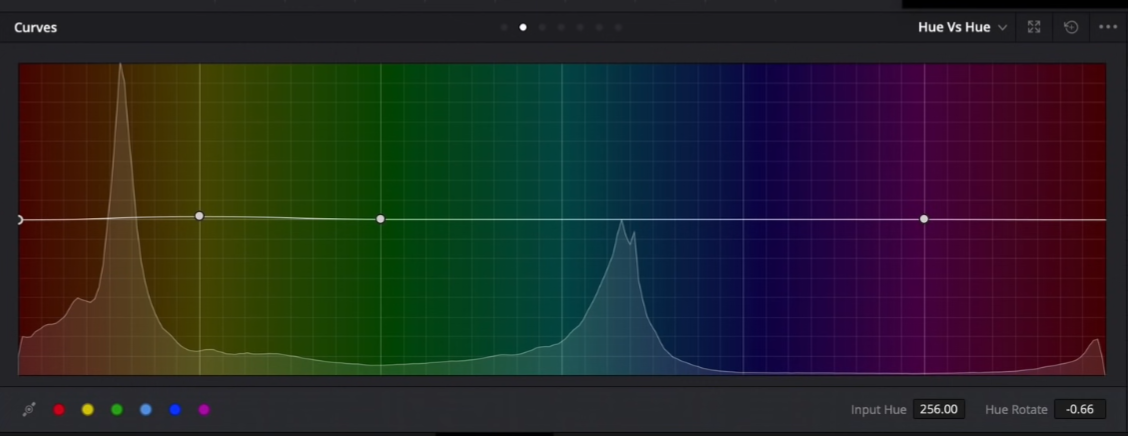
Then under my cyan I want to pull down on the luminance in our hue vs luminance tab.


Now moving to my cyan node, I am going to go under my color menu at the top -> select presets -> and select cyan to qualify the cyan.


Then I want to dial back on my saturation so that it isn’t distracting. Then I am going to go under my highlights slider and crank it back.


Just look at what we have done. This is the power of balancing your image. Balancing isn’t just the white balance. It’s about making sure everything works together. You may even look at the scopes and say the black points aren’t truly balanced, and that’s true. I’m trying to create color separation in my image.
Now moving into my glow node, I am going to drop on glow. We will change the composite mode to softlight, then take our threshold back a bit, and then blend it a bit in our global blend.


There are so many things that glow does. Not just the blooming effect on the highlights, but also it is almost like having multiple power windows because it is putting the emphasis where it is supposed to go.
Now, moving to my grain node, I am going to use my favorite preset, which is 35mm 400T and then I am going to crank the grain size and strength.

Now there are two more steps I would do to just perfect this image even more. The first would be to create a node called global adjustment. Here I want to go under my highlights in my log wheels, and crank it up a bit. Then I want to crank back my high range. My focus is the girl in the painting.


Now obviously we are blowing out some stuff, so we are going to create a node prior to our offset node (or our first node), and call it highlight recovery. Here I am going to go under my HDR and pull down my highlights. I don’t want to do too much, but just enough.


Alright, we are done! Just remember that this has to be done in the right order. Let’s go ahead and check it out in full screen.

There you go. Balance, balance, balance. That’s the name of the game. Whether you are working on a documentary, or whatever it is. Even if you are creating extreme looks, balancing is key. Especially when it comes to shot matching. It will save you so many times. So work on it and give it a shot, even on some projects you’ve already done. With that, stay possessed and look for the next one!
MORE LIKE THIS


