
Primaries vs. Log Wheels | DaVinci Resolve 16 Tutorial

What’s going on guys, welcome back to another tutorial. Today we are continuing in our color grading basics series with this video, primaries vs. log wheels. This video is here to break down the difference with the most sense possible.
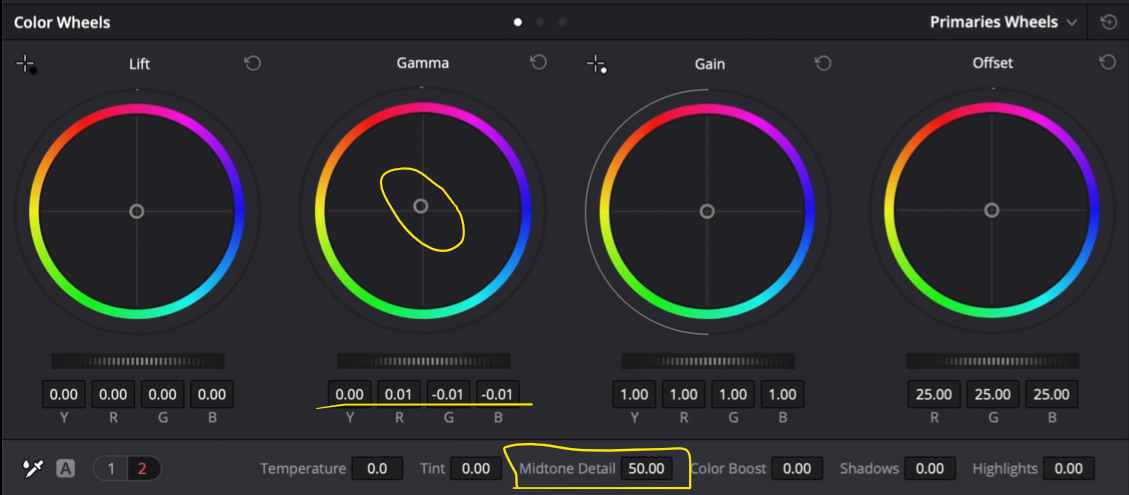
Before we even start color grading I am going to show you the difference between these. Starting with our gain, let's increase it and see what happens.


Now if we bring it down, what happens.


These are gentle curves. Very organic. Now let’s switch to log wheels and go under highlights and raise it and see the difference.


What is the difference? The line that’s happening. This can lead to banding. This is breaking the image because this is a very finite control. This is for more granular control than overall.
All of these are the same throughout the rest. As an initial look, don’t use log wheels. Use it as a finishing tool to make granular changes. However, using your low range and high range to dial in where exactly your log wheels are making the changes, can help with the look, but also help it look more soft.
Now let’s jump into the tutorial. Here is the big reveal:
Primaries come first before the log wheels. Primaries are used to dial in your base before you go in to create a look. Log wheels are perfect for creating a look and giving you a little push or nudge. But primaries set the tone for the look DNA.
Starting in our first node, I am going to start by bringing down my lift, then raising my gain. Now in my gamma, I am going to drop it a bit just to add some juice into the skin.


Now you are going to see the beauty of using the log wheels in tandem with the primaries wheels. Let’s say we want to do a teal and orange look. I will start by pulling down my lift, then bring my gamma up to the warmer side to neutralize the skin.


Now the shadows are a bit too harsh, so I am going to use my shadow wheel under the log wheels to clean up the shadows.


Just look at how we were able to clean up those shadows. Now I can go back to my primaries wheels to adjust the look even more, if needed. But you need to use them together.
Now to add some pop, we can open our RGB curves, click on the three dots at the top and open editable splines. Then we can bring it up from the top. Then we can pull it down from the bottom to keep that drama.


Now, we are clipping at the top. So how can we handle that? Go into our log wheels and pull down on our highlights just a little, you can bring it down.
It would not have worked with primaries as it would have affected the whole image. This allowed us to hit just the top.


Just look at how far our image has come just from these two nodes. This is what I meant when I said at the beginning, you have to use them in conjunction to create cool looks.
Now I am going to add three new nodes, just to have fun with this. Starting in the first node, we are going to qualify his skin.


Now that that is out of the way, let’s raise the gamma color wheel to add more juice into his skin and I want to take the midtone detail up.

Now I am going to go under sharpening and add some sharpening to the overall image.

Then on a new node, I am going to add some glow to these settings.


Overall, we are crushing it a bit at the bottom so I am going to show you a quick technique. In my glow node, I am going to qualify the image to leave the shadows as is.


And there we go. Let’s check out the final look in full screen.

I hope you guys really understand the difference now between primary vs log wheels. There’s no such thing as one vs the other. If you use them in tandem, you will be unstoppable. I’ll see you in the next tutorial!
MORE LIKE THIS


