
Secret To Getting Film Looks | DaVinci Resolve 17 Tutorial

What’s going on guys! Welcome to yet another awesome tutorial. Today we are going to be going over the secret to getting film looks. Think of your favorite movie and most of them are using luts. I know I say luts are bad, but there are different types of luts, it just depends where you get your luts from. Take, Joker for instance, this came from a show lut. Jill, the colorist for the Joker, worked with the cinematographer to cook up a lut before they started filming so he could put that lut into the camera when they were filming to help him with lighting. Now this doesn’t mean you can slap on a lut and be done, but a lut is the look DNA or the foundation of the grade.
The purpose of this tutorial is to show you how easy it is to create film looks in DaVinci Resolve.
Let’s get started. This is going to be pretty simple, but very exciting. Starting with our first shot, let’s pick our hero frame.

As always, let’s build out our node tree and get started. This is going to be a 3 node grade.
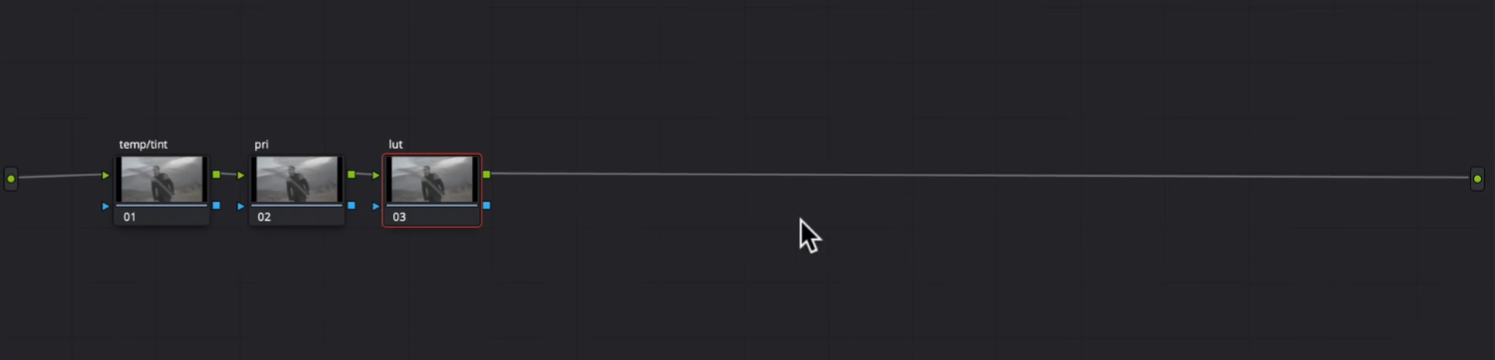
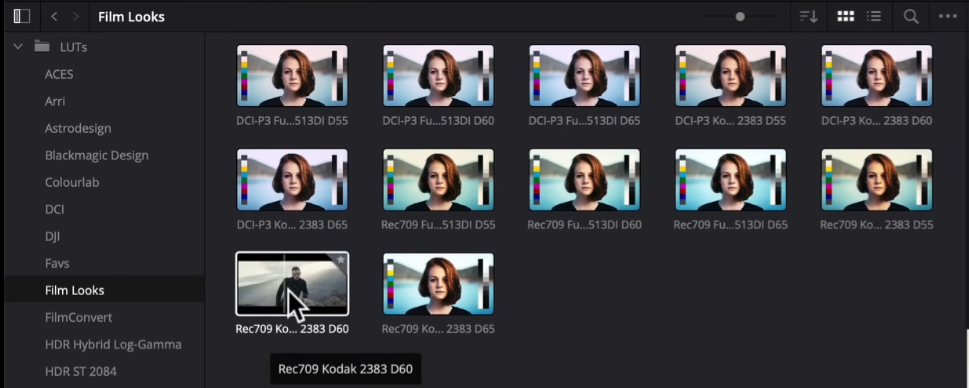
Starting with our lut, the one we are going to be using is actually built into resolve. It is the Kodak 2383 D60.

You can see that even after just the lut we are almost there, we just need a few corrections.
Moving to our primaries node I am going to start by cranking the saturation all the way to 100.


Next I am going to move into my temp/tint node, I am going to mess with the temp and tint just a bit.


Just like that, we are done with that shot. So simple, so easy, and look how beautiful.
Now moving onto the next shot, we can just copy and paste from the previous image, and look how great it looks already. It’s a bit red, so I will adjust that, but it’s that simple and easy to use this from shot to shot.


Moving to my temp/tint I am going to cool it off a bit. Then I am going to add more green in my tint.


Look at that. It’s done in one node.
The point I am trying to make is that once you create the look, you can just copy and paste to the other images. Then all you will need to do is tweak some of the shots, but otherwise you are good to go.
Moving onto our next shot, we are going to just copy and paste from the previous grade.


Tell me this isn’t a look that you’ve seen in movies.
Now let’s move to our primaries and pull back on our saturation a bit.


We are done. I think that took a minute to do and look at the result.
What I hope is that this tutorial gives you that eureka moment. Color grading is not always difficult, it’s knowing how to do it, and researching.
Now let’s check out these looks in full screen.

Now if you enjoyed this tutorial, take this and run with it. Go have fun and make awesome stuff.
MORE LIKE THIS


