
The Easiest Way to Grade Underwater Footage | DaVinci Resolve 17 Tutorial

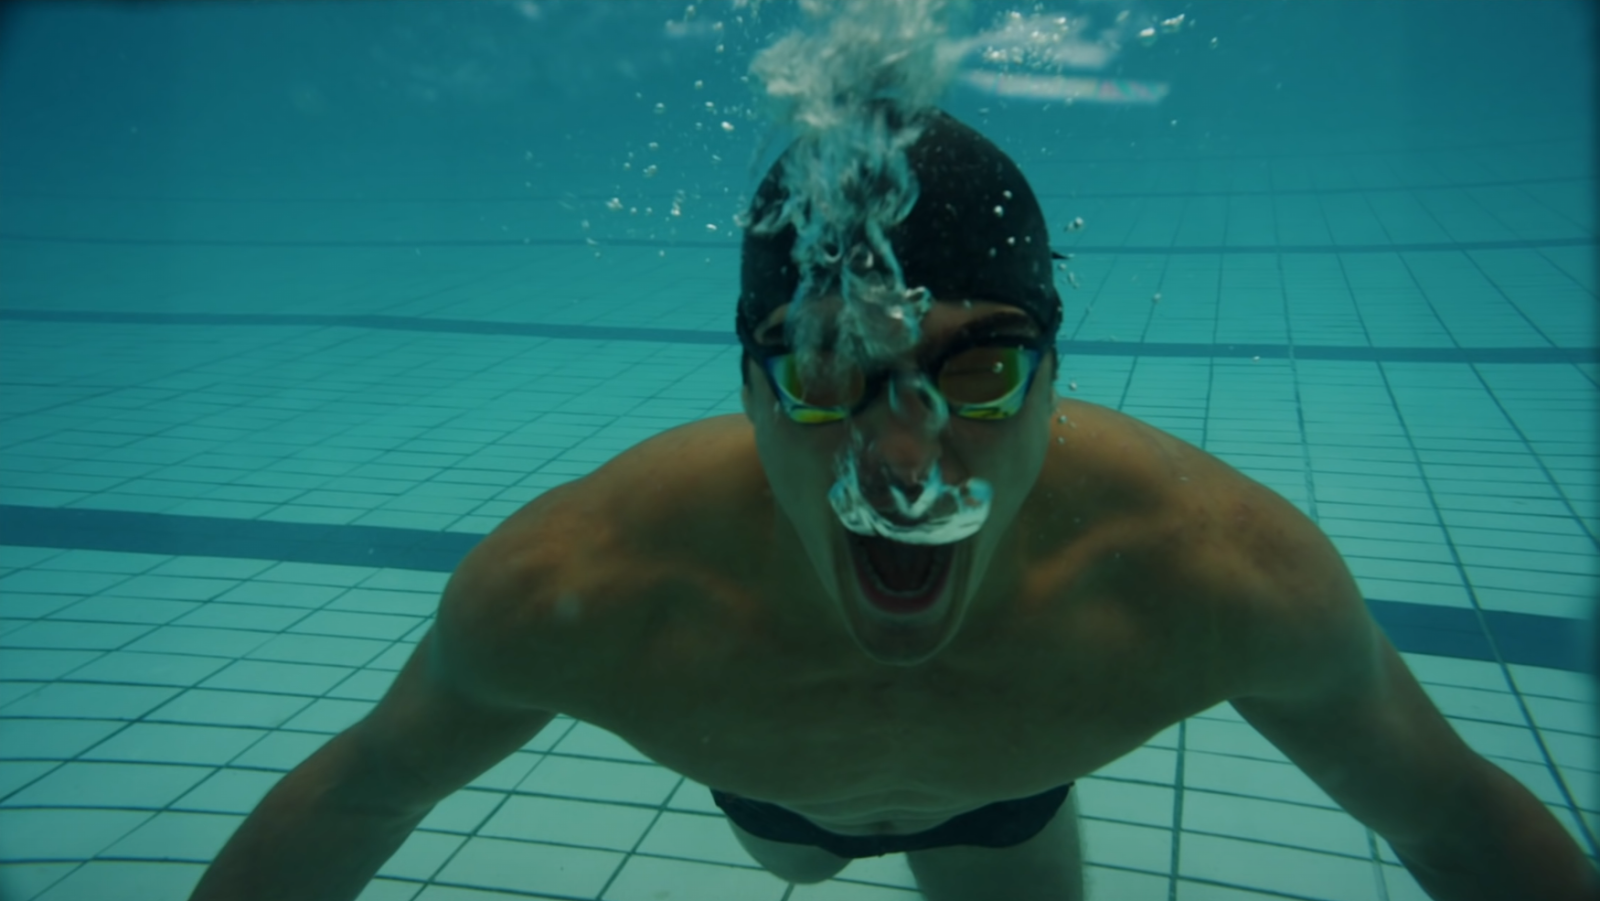
What’s going on everyone! Welcome back to yet another epic tutorial where today we are going to be covering the easiest way to grade underwater footage. A lot of people have asked for this in the past, but I am going to take it a step further. Not only will I show you how to grade it, but how to get perfect skin tones. In our shot, we have light coming through the top, hitting the floor and bouncing back. Since the floor is teal, you are picking up all that cast.
Alright, let’s get started. First thing you need to know is what was it shot on? This is important to convert it to rec.709. Now with that out of the way, let’s analyze these scopes.

Now we are getting a lot of cyan and you can see that because the red is lower than the green and blue. It gives us this murky/teal thing.
So now let’s build out this node tree and we are staying with a simple 6 node node tree. I am arranging it in this staircase, for a reason. Also I am using grain first because when things are shot on film, the grain is built into that film. So when you develop it, it’s already got that grain on there.

Now starting in our cst node, we are going to convert it from RED Gemini to rec.709. Also make sure to change the gamut mapping method to saturation compression because it will fix the crushed reds on the scopes.


Now before I work on the skin tones, I like to work on the contrast and get the exposure right beforehand. Now under custom curves, we are going to have fun with it and create our own curve.

Now I want to move under my luminance vs saturation. This will help out with any unnecessary color in the highlights. So we are going to bring down the highest areas.

Now we are going to the primaries node to fix everything. We are going to start with our printer lights and add red to take away the cyan. Then we are going to subtract some yellow. I will add one cyan.
Keep in mind that the ground is casting a lot of that color onto him, so we don’t want to overdo our correction.

Now we are going to use our log wheels. They give you granular control which is great when working with underwater footage. You can see his skin is still picking up color, so we are going to use the shadow wheel to add some more red/magenta/blue into his skin. Then I am going to use my midtone to do the same thing. I am going to add more magenta and blue.


Now, that cleaned it up a lot and even the water is looking proper.
Now moving to my curves node, I am going to use the hue vs saturation. I am going to start by bringing down my yellows, greens, and reds.

Then moving to my hue vs hue I am going to swing my blues and make it a bit more cyan.


Now moving to the sauce, we are going to use glow. To start, we are going to change the composite mode to softlight, then bring the shine threshold all the way back. I then want to go to the saturation and kill it. It’s adding too much color glow. Then I want to drop the spread a tiny bit, then drop the gain in my glow, but up the gamma a bit.


Now under character, I want to use my midtone detail and crank it to about 50ish.


Then moving to grain, all you have to do is set it and forget it. We are going to be using the stock 16mm preset.

Just like that, we are done! You can do more to the image, but I like where it is sitting. Let’s check it out in full screen.

Once you understand everything from start to finish, you will be able to go from A to B in less than five minutes. We didn’t use any qualifiers or power windows. We did it the right way so it’s easier to transfer from shot to shot. With that, work hard, get obsessed, and get possessed.
MORE LIKE THIS


