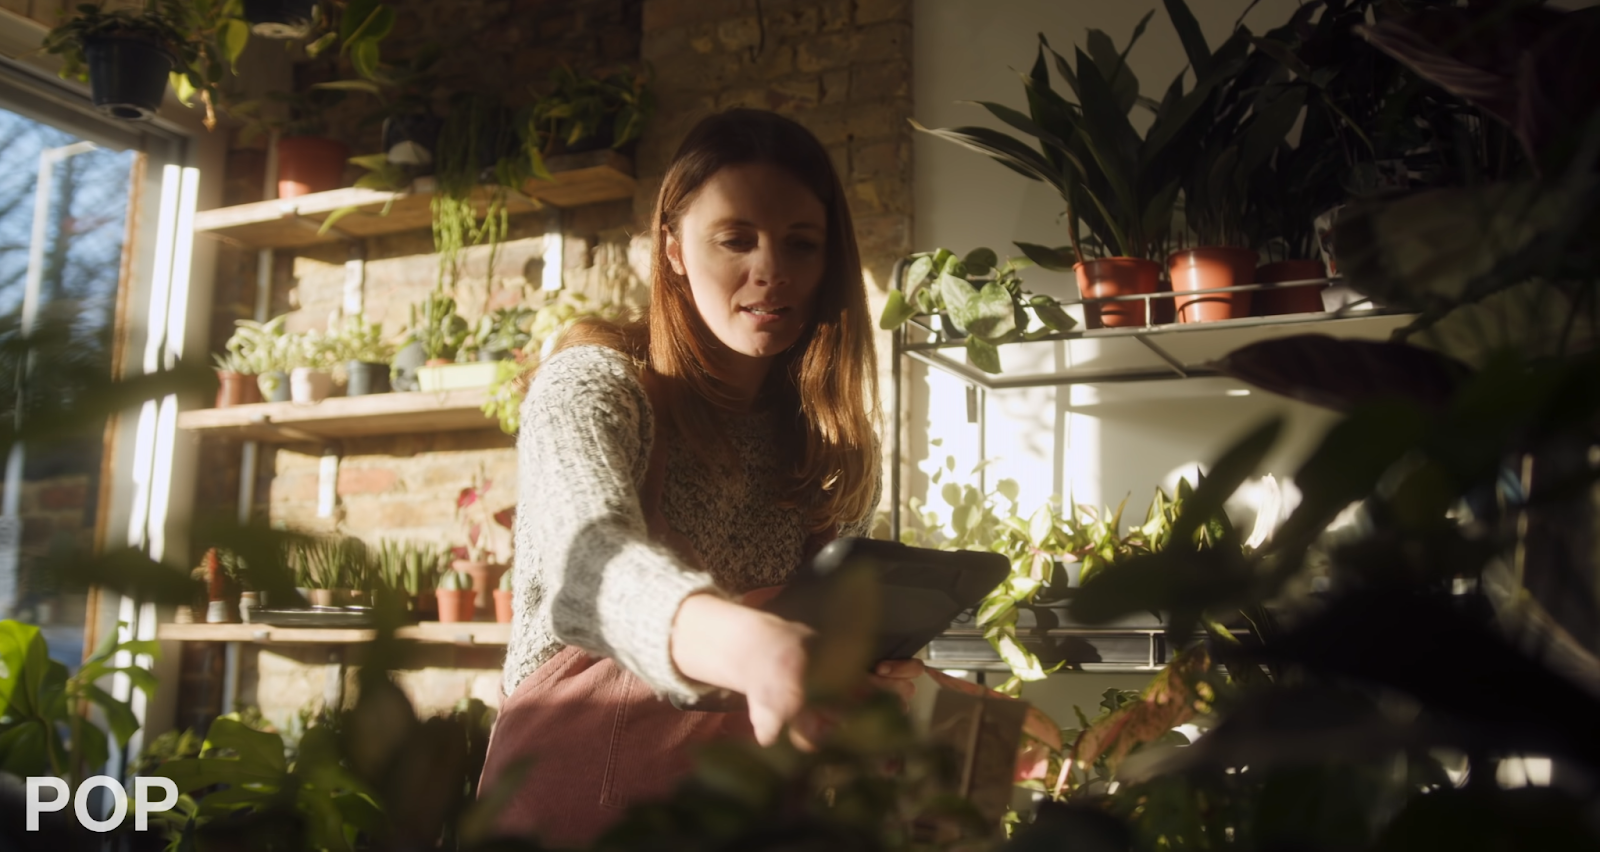
When The Client Can't Decide On The Look, DO THIS... | DaVinci Resolve 17 Tutorial
What’s going on everyone! Now we’ve all been there where the client doesn’t really know what kind of look they want. Or they just don’t care. So what do you do in that instance? A majority of the time people will just take it upon themselves and not ask enough questions and cook up something, present it to the client and the client hates it. To avoid that, sit them down and keep it brief and simple and ask them specific questions, like what is this about? Are we looking for a poppy/natural look to be on the safe side? Or a warm, softer look? They’ll ask for a few examples and then that’s the start. Then you cook up a couple looks really fast, no secondaries or custom curves, just to show the client and you can go from there.
Alright, let’s get into it. We’ve already talked to our client so we know exactly what we need to do. This footage is from the Pocket 6K, shot in rec.709.
We’ve got our work cut out for us, not only because we have a couple looks, but because it was also shot in rec.709. I am going to start off with the creative look first.
All of these will be a simple one node grade, so that we can get these looks back to the client as quickly as possible.
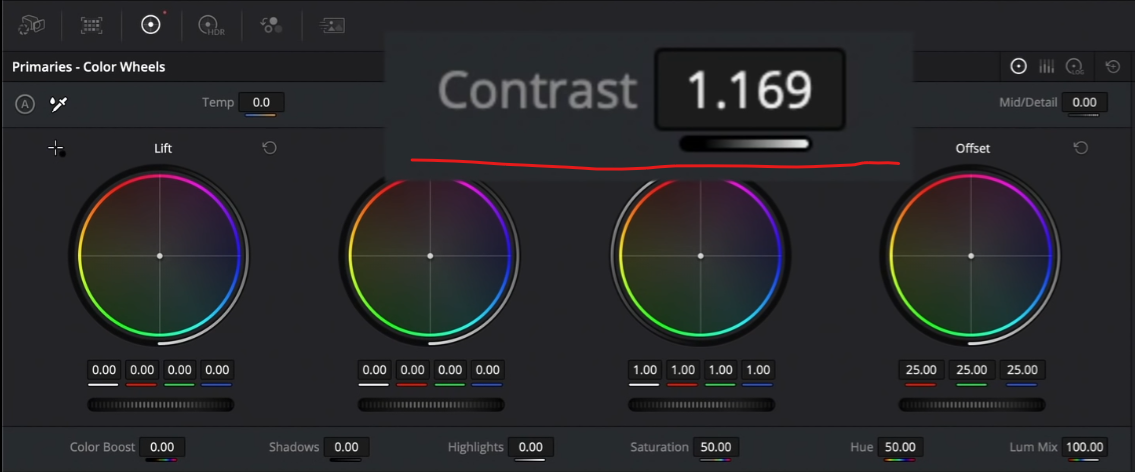
Starting in our first look, we are going to pump in some contrast. We will use our contrast slider to get that. Our creative look needs to be dreamy/fuzzy.
Then I want to pull some saturation out of my highlights. The way I am going to do that is by going into my HDR palette and under the light section, drop the saturation.
Now we need to add a bunch of warmth into the image to get that warmer look. I am going to use the offset wheel to get that using my printer lights.
First thing is to start by adding some red into the image (+2 red). Then I want to add some yellow (+2 yellow), then I want to take out some green (-1 green) and add some cyan (+1 cyan).
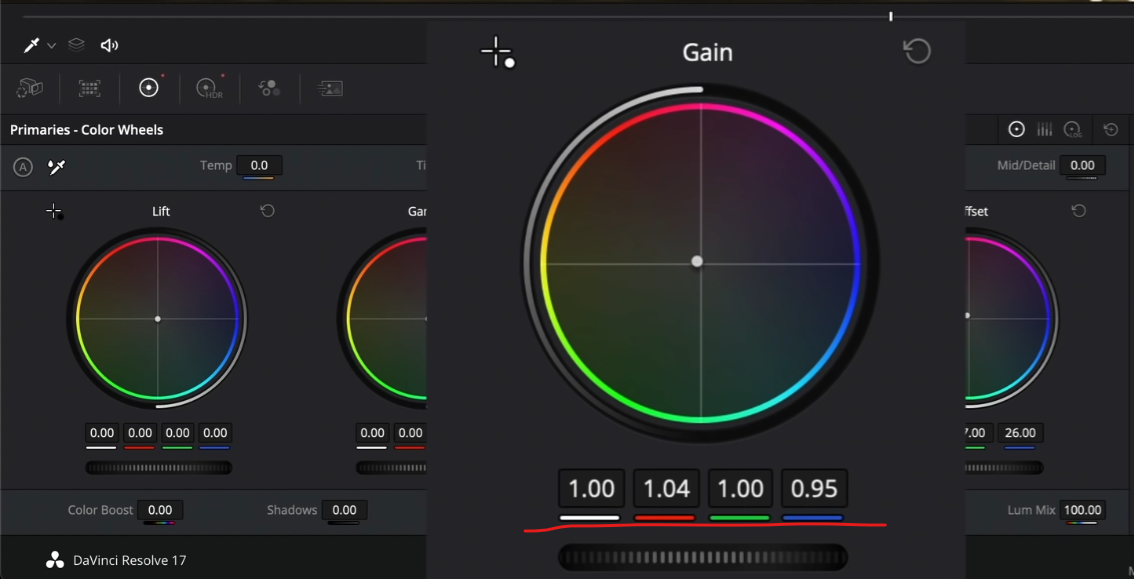
Now we want to exaggerate this a bit so using my gain, I am going to start adding more warmth.
Now to break away from the same warm colors, I am going to add some cool tones into the shadows by using my lift. I am going to add some cyan into the shadows.
This is a suggestion, but it helps break up all those warm tones. Now we’ve been able to create that creative warm look. But what else can we do? I want to go into my offset and remove some of that green.
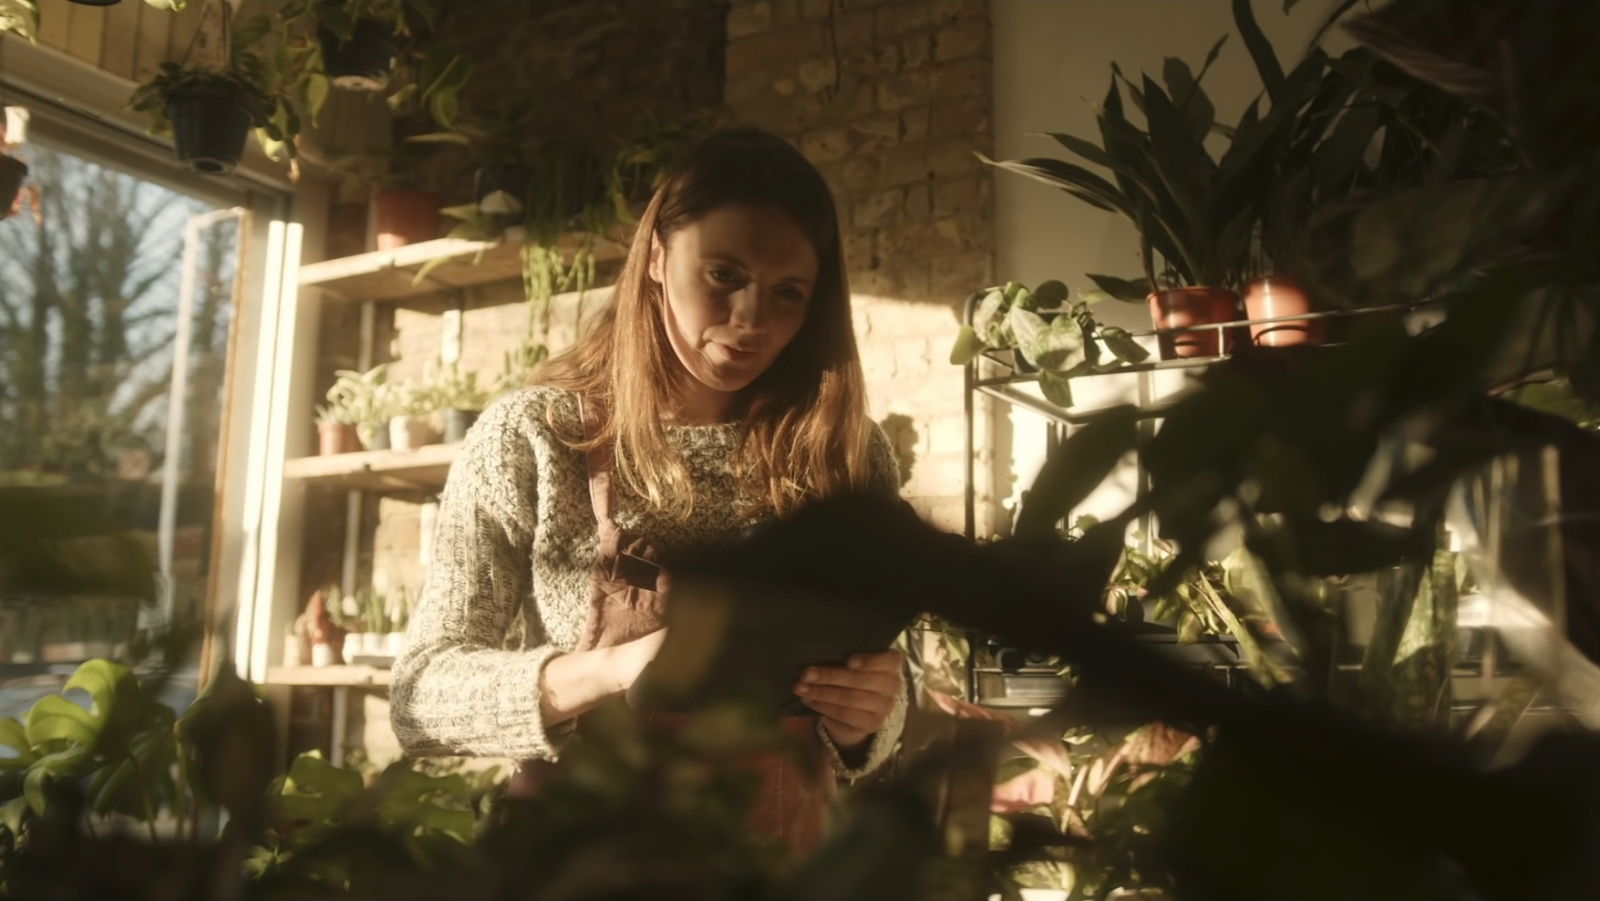
You can see it's a bit extreme, but I like it. I feel like we created something nice. And it’s believable. It’s a beautiful dreamy, warm look.
Now moving onto our second look, this will be our “safe natural” look. We want to start off by adding contrast.
Now there is way too much green and yellow in our image, so we need to take that out using our offset. We are going to start by just taking out tons of green and yellow. Once we do that, everything is sitting so much more proper and everything is where it should be. Then I am going to crank the saturation a bit.
Now if we hover over her skin, we can see on the vectorscope that her skin is sitting perfectly on that skin indicator line.
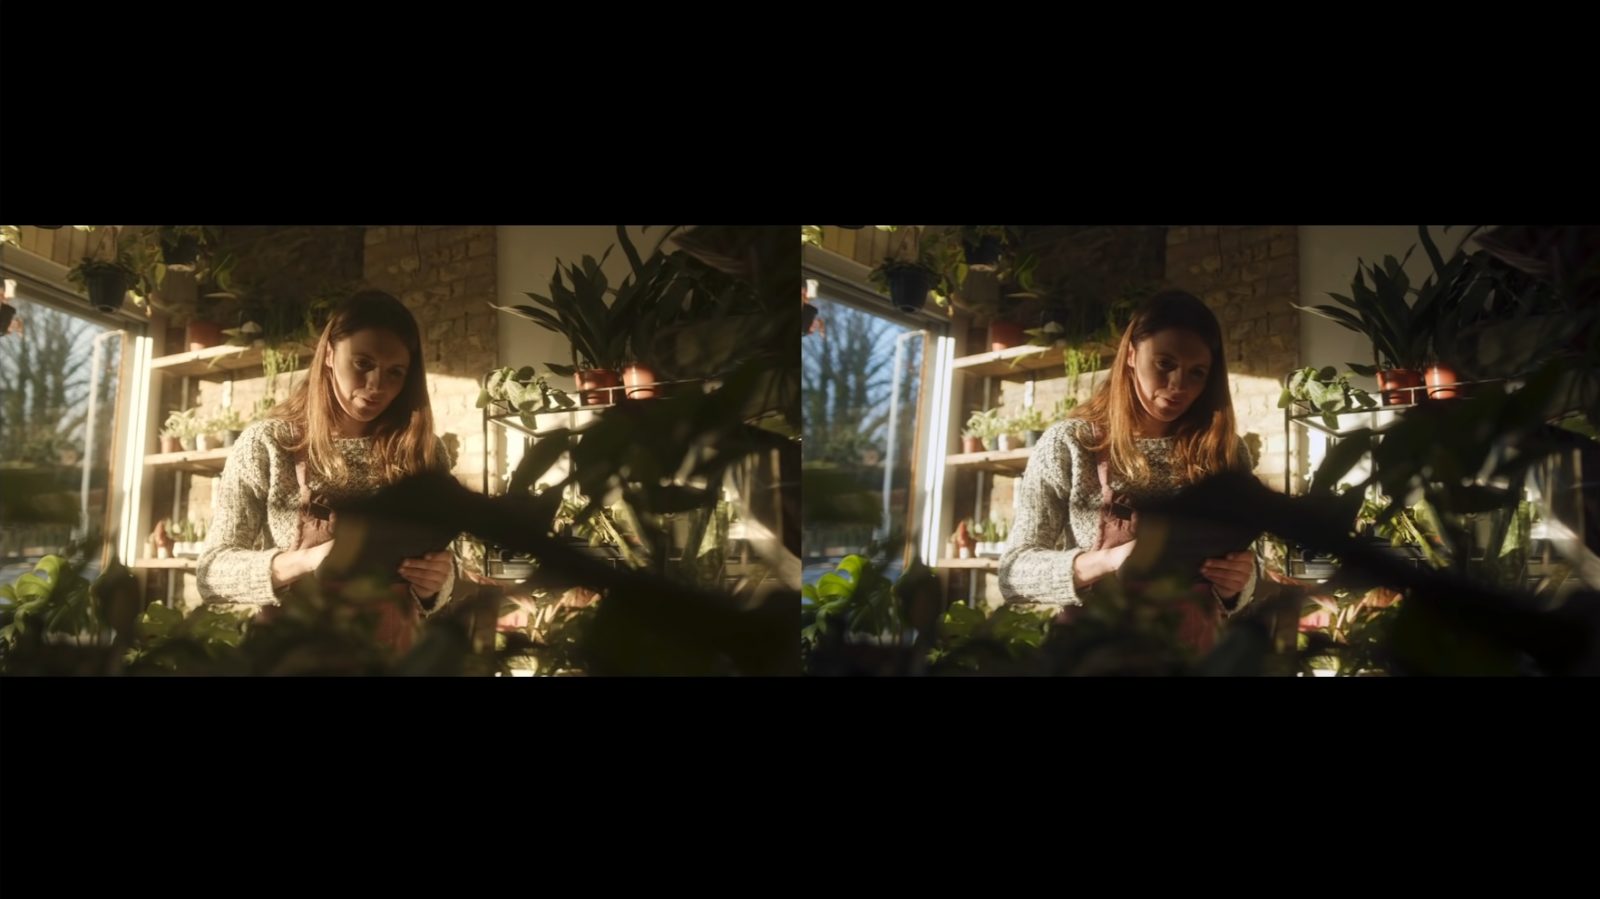
This looks great. It could be our natural, poppy, or safe look. Now we want to go ahead and split them and compare the two versions we created.
Then once the client sees these, they can decide what they want. They may like the warm look, but then say they want us to bring the blacks down or add more contrast. We can also use our log wheels to clean up our shadows as well.
One more thing to do in the creative would be to bring the exposure down a bit more. To do that, I am going to do that by pulling down my gamma and gain a bit.
Then after all these changes, I want to add a bit more saturation into the image.
Now everything feels like it belongs. The exposure now feels right.
Now once all of this is done, the next step is called a “look-book.” How to present that and how to create it is covered in my masterclass.
Now after all those changes, let’s look at the side by side again.
Now let’s look at them in fullscreen.
I love doing these types of tutorials because this is the closest thing to real world scenarios. Hopefully there was a lot you took from this. With that, work hard, get obsessed and get possessed.
MORE LIKE THIS


