
5 EASY Steps to get a Bleach Bypass look | DaVinci Resolve 17 Tutorial

What’s going on everyone! Welcome to another epic tutorial. Today we are going over 5 easy steps to get a bleach bypass look. You know that this will be all practical, no fluff with this tutorial. If I were to characterize this look, I would say gritty, grungy, dirty.
First thing we are going to do is change our project color settings.

Because this was shot on RAW, it will decode it and turn it into a rec.709 color space.
We are going to first build out our node tree.

Now step number one is to right click on the layer mixer and change the composite mode to overlay.


This is the most crucial step. You cannot create a bleach bypass look without this step.
Second step is to go to the first layer mixer node and take the saturation down to 0.


These two steps are the basic steps to that bleach bypass. We are getting the silverish qualities in our highlights, these really deep high contrast looks. The next three steps are to really hone in the look and give it your signature.
Now moving to our second node, I am going to take my offset and raise it up until it starts to look half decent. Then I am going to grab the white balance eyedropper and select his shirt.


That’s step number three. Just to go ahead and balance out the image and brighten it up a bit with the primaries.
Now moving into our sixth node, we are going to go into our log wheels and raise my highlights a bit, then dial back our high range until it gets some detail on his face. Then I am going to bring down my shadows and crush it.


Then moving back to my second node and moving into my primary wheels and take my lift and cool it off. Then I want to add more saturation to start seeing more separation in our image.


Now the final step to this look is to grunge it up. The first step in accomplishing this is to bring down our sharpening to sharpen up the image.

Then I am going to go under my last node and I am going to add my film grain. This will not be ordinary. It needs to be exaggerated and pushed. I am going to start with my 35mm 400T, and I will take the grain size and crank it. Then I am going to take my strength and crank it.


Now I am going to do two extracurricular steps that are not necessary, but will add more juice and flare. Going into the first node, I am going to go under my highlights in my HDR palette to bring back the detail in his shirt collar. I will dial back my highlights until there is detail recovery.


One more thing I am going to do is go under node seven and add glow to the image. I will change the composite type to softlight. Then I will take my threshold and spread all the way back. Then I will bring back the global blend.

Then I am going to qualify the image to deselect the highlights.


And just like that, we are done! Let’s check this out in full screen.
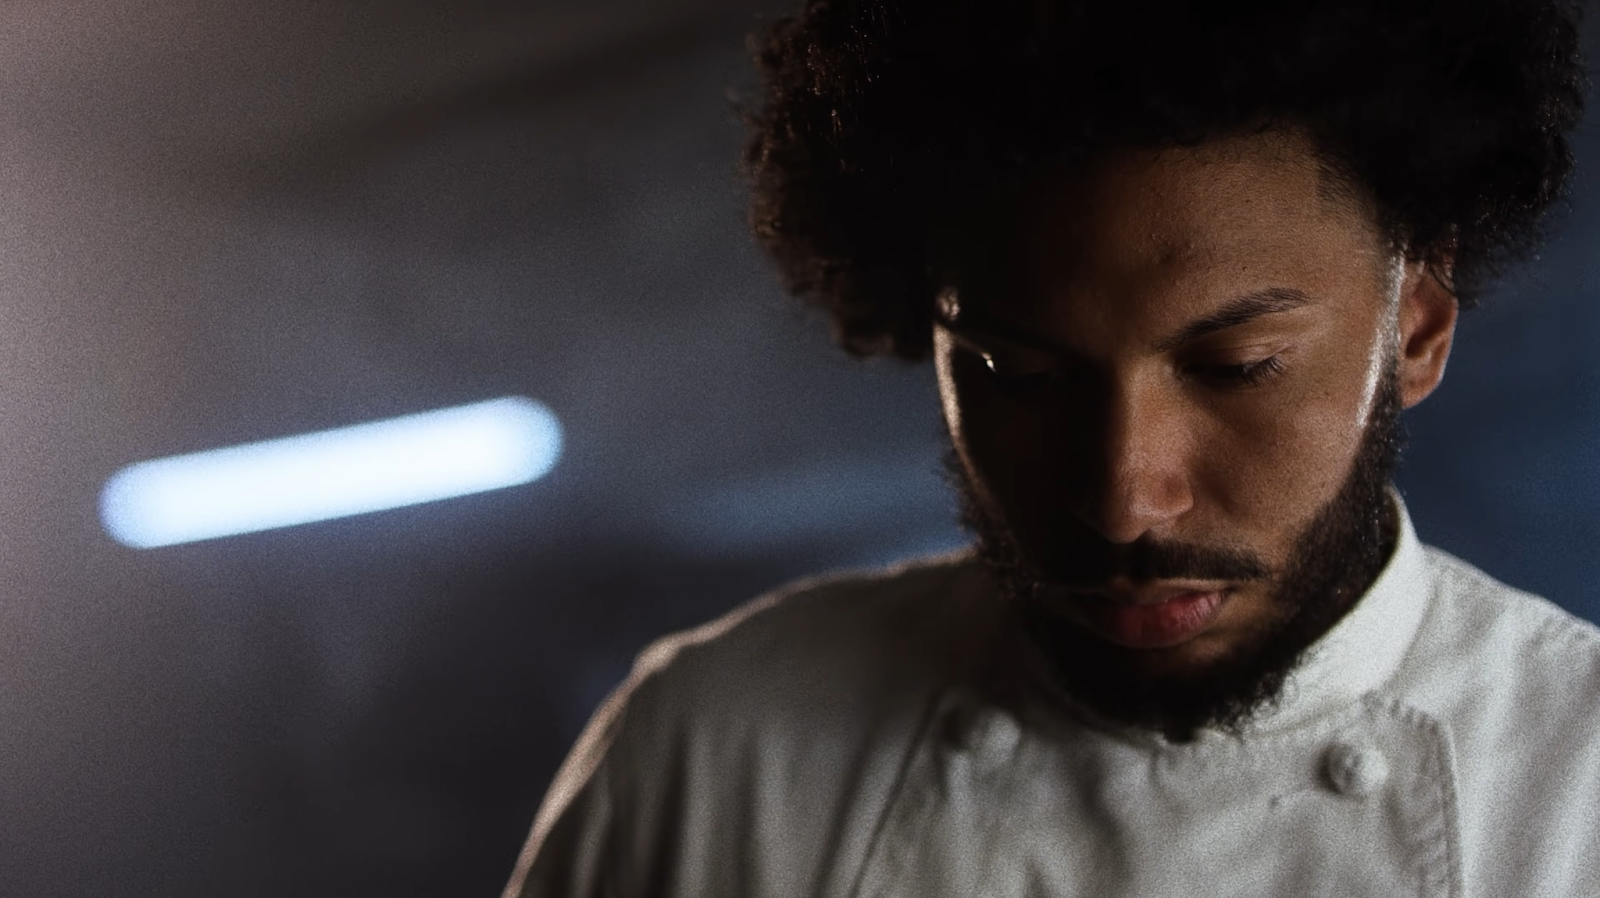
There we have it. I got into color grading for this specific look. It’s one of my favorite looks and I don’t use it as much as I used to. But give it a shot and have fun with it!
MORE LIKE THIS


