
How to Grade Footage with NO Camera Information | DaVinci Resolve 17 Tutorial

What’s going on everyone and welcome to yet another epic tutorial. This is a pretty important topic to discuss. What do you do if you don’t have any camera information? I have worked on series where we didn’t have the camera information, and I would just get to work. Some cameras aren’t in ACES, so this is an important topic.
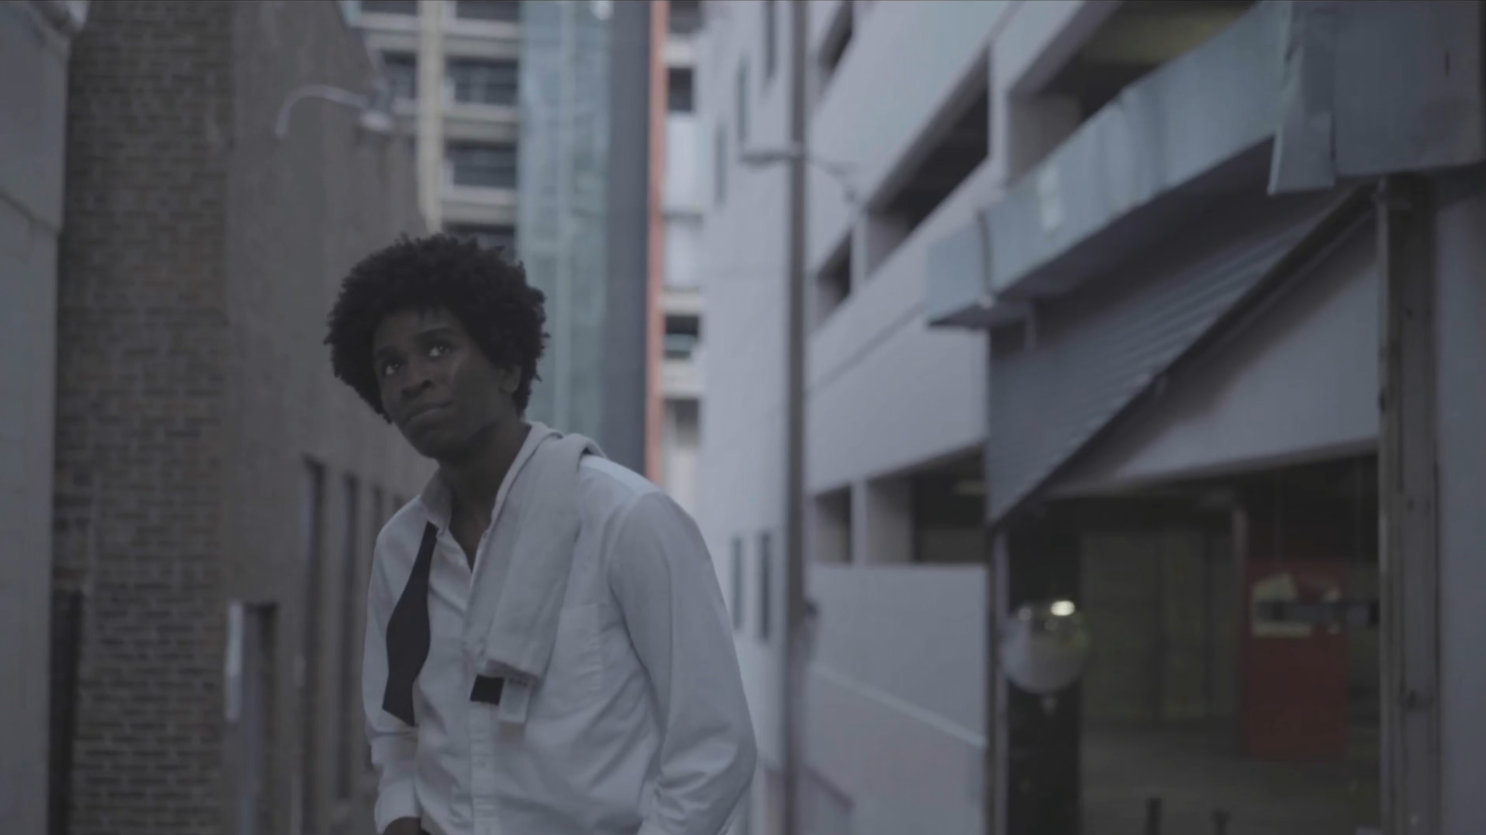
Okay, so here is our shot and we have no idea what it was shot on.
Let’s first go through a couple of different things you can do before jumping into the process I will show you. Number one, you can start messing around with different camera conversion LUTs, or CST.
Now here is what you can do. We are going to emulate and create our own camera profile curve that will be used on a bunch of clips for the unknown camera. To start off, we are going to be in our custom curves. I am going to create a node at the end, to act as my conversion node. I am going to start by throwing up a point in the top end, then one in the bottom end, then one about ¼ of the way up the curves range, then one more around ¾ of the way up the curves scale.

What I want to do is create a good conversion base that allows me to do more afterwards. After the curves, I am going to add some saturation to the image.


Now looking at our curves, what’s going on?

You can see this staircase thing happening at the top, yet the bottom parts are perfect. That means are black points are proper. So what we are going to do is go into my gain, and start subtracting blue. Then add some red. This balances out our highlights, but makes our midtones a bit too warm. To counteract that, we are going to add some cool tones to our midtones.


Now we have a couple of choices. We can leave our image like this, which has a really nice soft look and has come a long way from our log to this. But what I am going to do is move to our log wheels and pull down on our shadows.


Now looking at this image, I want to adjust my gain to have a bit more warmth, and counter a bit more with my gamma.


That’s all I would do to this image to get it from a log, to a proper conversion. Then you take these two nodes, apply it across the project, and you’re in a great space to continue the grade. If we really want to bring more contrast in, you can drop the shadows a bit more, but it’s up to you.
Now let’s check out this look in full screen.

So as you can clearly see, there are so many different ways to go about color grading. It’s highly subjective. So just do you!
MORE LIKE THIS


