Music Video Color Grading SECRETS | DaVinci Resolve 17 Tutorial
What’s going on everyone! Welcome to another epic tutorial where we will be covering some secrets for color grading music videos. Today we are going to be pushing this look so much and that is the name of the game for music videos. You need to let go of the “natural feel.” Music videos are driven by emotions.
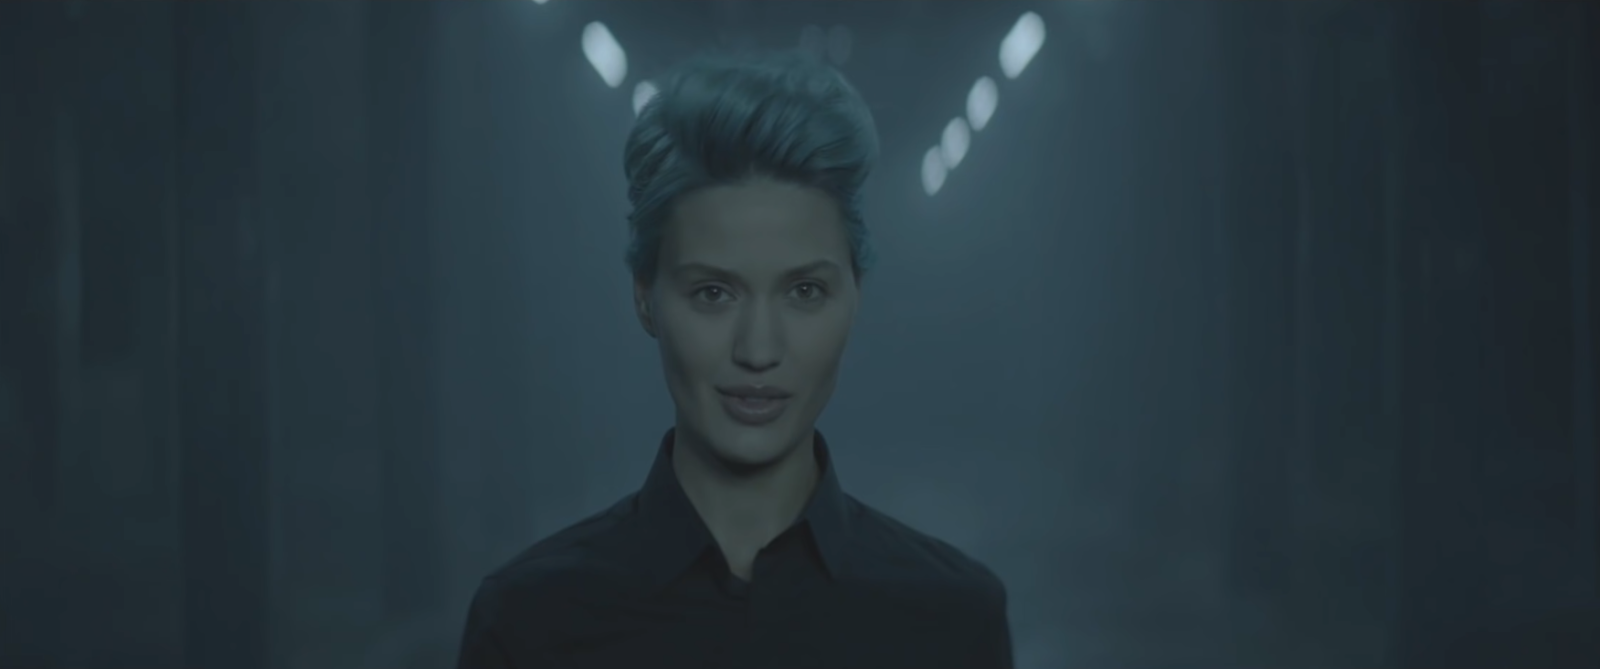
Alright, here is the shot we are going to be working with.
The first thing we want to do is change our color management settings in our project.
As soon as we make that change, it gives us a rec.709 look.
The thing with this shot is this rec.709 look could be a look in-and-of-itself. It’s stylized, lit well, but that’s the beauty because now we can push it from here.
We are going to first create a node tree structure.
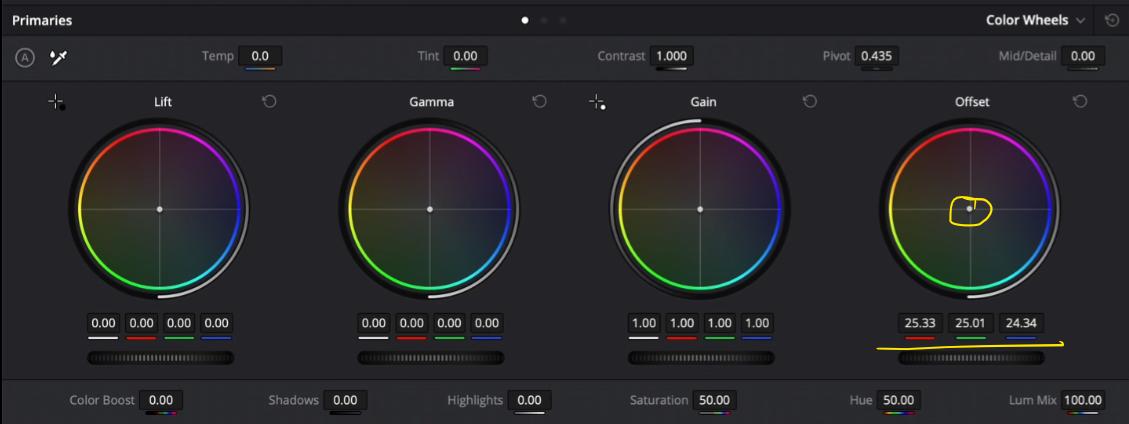
Now starting in our first node, I am going to give it some magenta to focus on the skin, then add some warmth to make that skin look beautiful.
You can see we just made a huge dent.
No going into our second node, we are going to qualify the skin.
Then we are going to add some offset to get the skin to sit flush on our skin indicator in our vectorscope.
Then I actually want to get rid of the qualifier and just apply it to the whole image. It’s okay.
Moving to our third node, I want to use some HSL curves. Starting with our hue vs hue I want to pull around our cyan.
Now moving back to my temp and tint node, I will rename it to primaries. What I am going to do is add some contrast to push the look a bit. Then I am going to take my lift down a bit and bring my gamma and gain up a bit as well.
Now this is looking pretty natural, but we are going to start pushing it. It’s not necessary what I’m about to do, but that’s the beauty with color grading.
Moving to my sixth node, I am going to qualify her skin and open it up a bit more.
Now we are going to move to our fifth node where we are going to start by adding contrast and pushing it a bit more. Then under my gamma, I can move the color wheel to add some of that color.
Now moving back to the skin node, I am going to go into my midtone in the log wheels to pop her out a bit more.
Then I want to go under midtone detail and pull back on it to smooth out her face even more.
Now moving into our eighth node, I am going to use my open effects. I am going to drop aperture diffraction on it. This adds some flares to the lights.
Now I am going to drop in light rays to our ninth node and stretch our length.
Now when you hit play, the light rays are moving with her. It’s so cool.
Now, moving to the eleventh node I am going to drop on glow and adjust some of the parameters.
Now this next step really isn’t necessary, but it can be done. I am going to put a window and shape it around her. Then I am going to soften it heavily and invert it.
Now moving into my curves, I will make sure my editable splines are checked on, and then I will grab it from the bottom.
Now the final step is grain. Nothing is completed in Qazi’s universe without some grain. So we are going to start with our 35mm 400T and add grain strength and size.
The final thing we are going to do is add just a hair bit of noise reduction.
Boom, we are done! Look at the crazy look we created. Each stage could have been a look itself, but just look at this final result. Let’s check it out in full screen to see it in full glory.
So hopefully this was helpful. The purpose of this video was more than just showing you all the cool OFX in Resolve, but also saying that if you want to work on a music video and stand out, you have to push the limits. Be experimental. With that, I hope you learned something and stay possessed!
MORE LIKE THIS


