Common Mistake Beginners make when Creating the Teal and Orange look

What’s going on everyone! Welcome to another video talking about beginner mistakes and how to go about using the professional method. In this video we are going to be talking about the teal and orange look. Why do you think people hate this look? It’s simple. There’s too much garbage out there and when it comes to creating a modern day teal and orange, you have to have the skillset to do it right (John Wick, Mad Max, Joker, etc.). In this video, we are going to change that. We are going to do the wrong way first, then show the pro way. And this look you can save as a powergrade and use it on other videos.
Let’s get into it! Now I will give the beginner the benefit of the doubt that they might know what a hero frame is. So here is what we are choosing.

I am going to set everything up the way a pro would so that way we have a level playing field. For this we are going to go into our project settings and choose DaVinci YRGB Color Managed and DaVinci Wide Gamut.

Now when we hit save, nothing happens, so what we are going to do is right click on the clip, change the input color space to the color space of choice (in our case here it’s REDWideGamutRGB/Log3G10.


Just like that, we have a properly converted log to rec.709 image. Now a beginner would probably not know all of this, but I’m trying to level the playing field a bit and give them the benefit of the doubt.
The biggest mistake that beginners make is that they don’t have a proper node tree structure. First thing the beginner would do is start with exposure using the primaries. They would bring the lift down, then bring the gain up.


Now they would add another node and just go straight into creating the look. They would bring the lift down to the teal color, then raise the gain up to that orange.


Now this may look a lot different and cool that this came from a rookie, but this is completely wrong and I will show you why with the professional way now.
I am going to start off by creating and structuring a node tree.

Now in my primaries node I am going to start off by bringing down my offset a bit. Then I am going to juice it up with my contrast.


Now moving to our printer lights, we need to analyze the image. What do we need to do? There is too much magenta, so we will add some green. Then we want to add some red.


Just like that we were able to balance our image right out of the gate. That’s the power of printer lights. A pro would go ahead and balance their image before creating a look.
Now we are going to move into our teal and orange node. We will use our lift, gamma and gain like the beginner but do it the right way. So to start off, we are going to use our lift to pull in that teal. Then instead of using my gain, I will use my gamma to subtract that and add the orange.


Now this is not terribly far off from the beginner grade, but that’s why I have the teal and orange corrector node.
A quick note to know before doing this, you need to focus on your anchors. These are blacks, whites, and skin tones. If you can keep these all relatively true, that’s a successful grade. The look can be sold if you keep your anchors correct.
In this node, we are going to use our log wheels. In our shadow wheel, we are going to remove the green that we are getting in his hair. Then I am going to use my midtone to add orange into his skin.


Now I want to go under my look adjustment and give our look a bit more juice. I am going to use my lift to pull it down.

Now moving onto our next node, we are going to add glow. Then we are going to change our composite mode to softlight, then bring our threshold and spread all the way back, then blend it in.


Now I am going to move into our highlights node and use our luminance qualifier to select the highlights.


Now that I have that selected I am going to use my highlight slider and drop the highlights.


Now it does need a bit more pop, so moving back into my look adjustment node I am going to take my editable splines in my curves and give the image that pop it needs.


Now if you want to see a more extreme teal and orange, I can do that. I will go back into my teal and orange node and take my lift more towards that teal.


Now I have to go back into my teal and orange corrector and pull my green out in the shadow log wheel.


Now to me, this is looking good. However we can pull some yellow into it by dropping our gain highlight bar down.


Then we can go into our curves and pull our red and yellow saturation down in our hue vs saturation.


Just look how clean this is. You can really save this as a powergrade and slap it on anything.
Now we are going to add some grain using 16mm archival print as our preset.


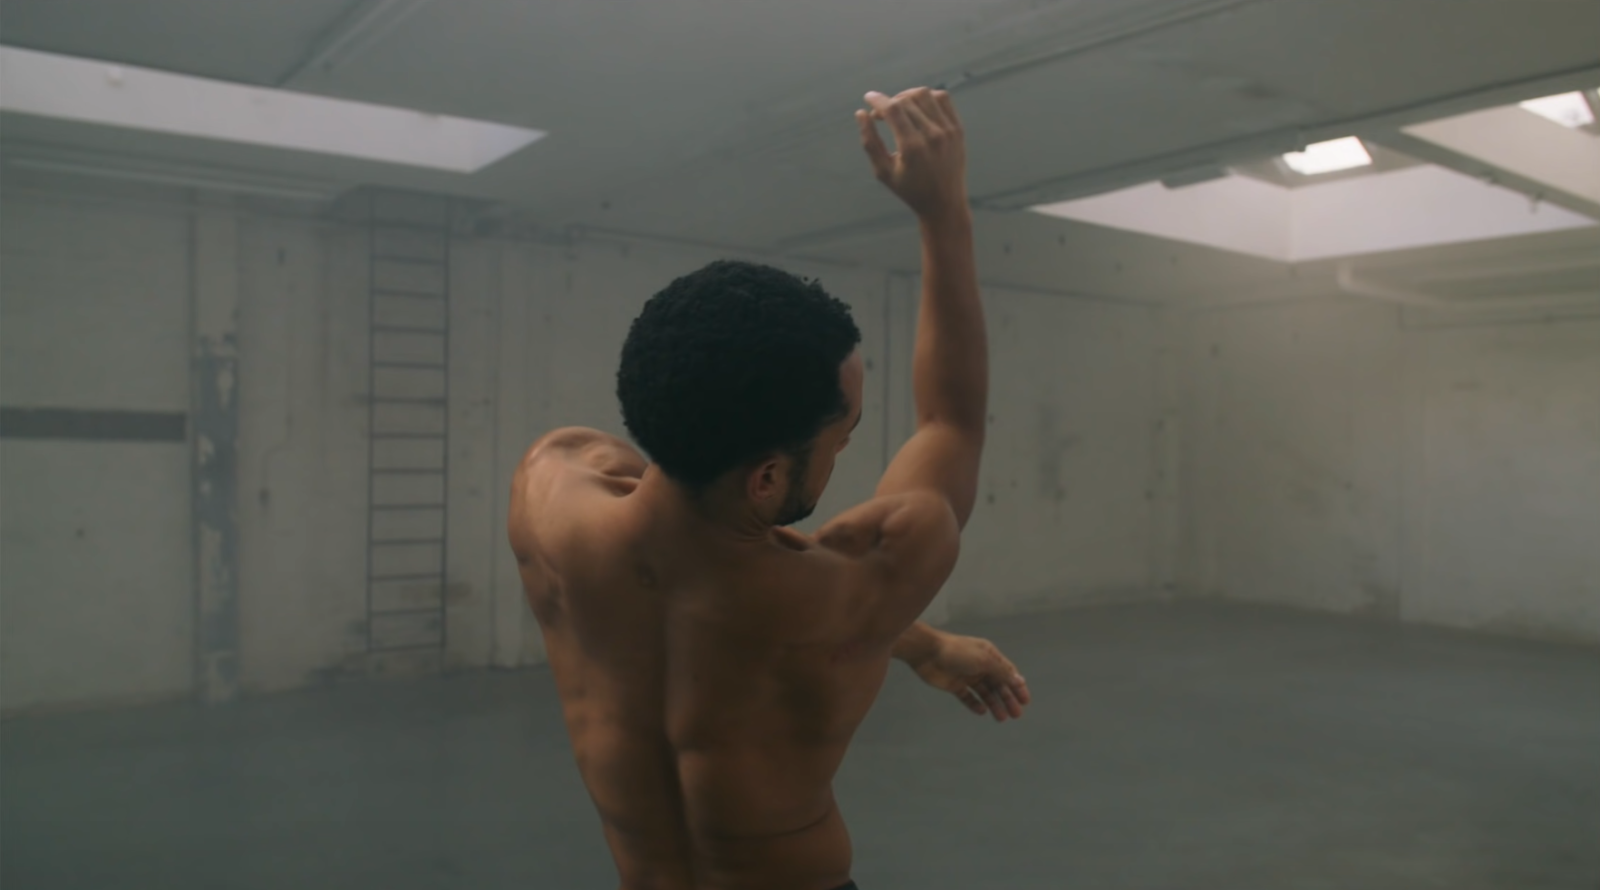
There we go. We’ve got this awesome teal and orange look. Our anchors are sitting perfectly and it is a very mature look. Now let’s check these out in full screen.


As you can see there are so many different variations in this teal and orange world. Once you do it right, you can start playing around with it. Again, you really need to learn how to structure a node tree properly. But with that, work hard, get obsessed, and stay possessed.
MORE LIKE THIS