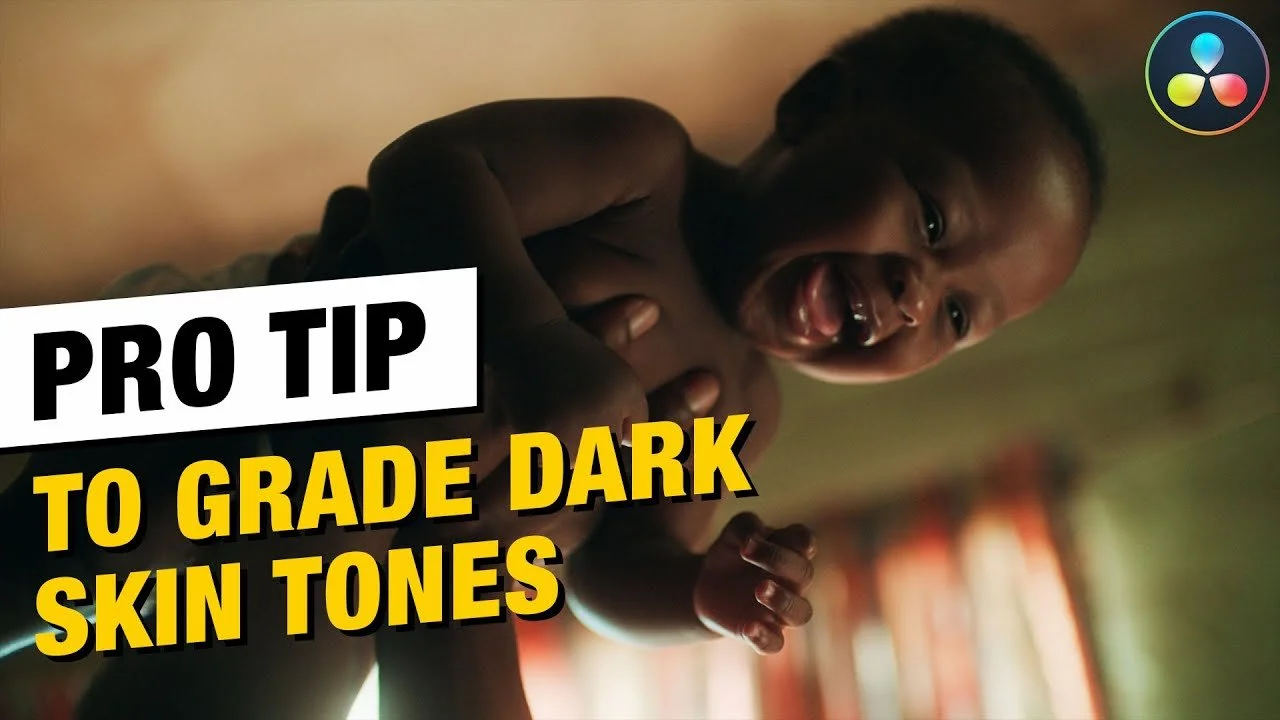
Common Mistake Beginners make when Grading LOG Footage

What’s going on everyone! Welcome back to another epic video. This time I am going to be showing you one of the common beginner mistakes. Grading log footage. This comes straight from my masterclass. So I am going to show you the wrong way first then show you how a pro does it.
Alright, let’s get started. This is the shot we are going to be working with.

It was shot on Alexa in log C. Normally what a beginner would do is say they want to protect everything in their shadows and highlights. Now that is an amateur move, but we are going to build this grade as a beginner. The first thing they would do is bring the lift down a bit, and bring up their gain.

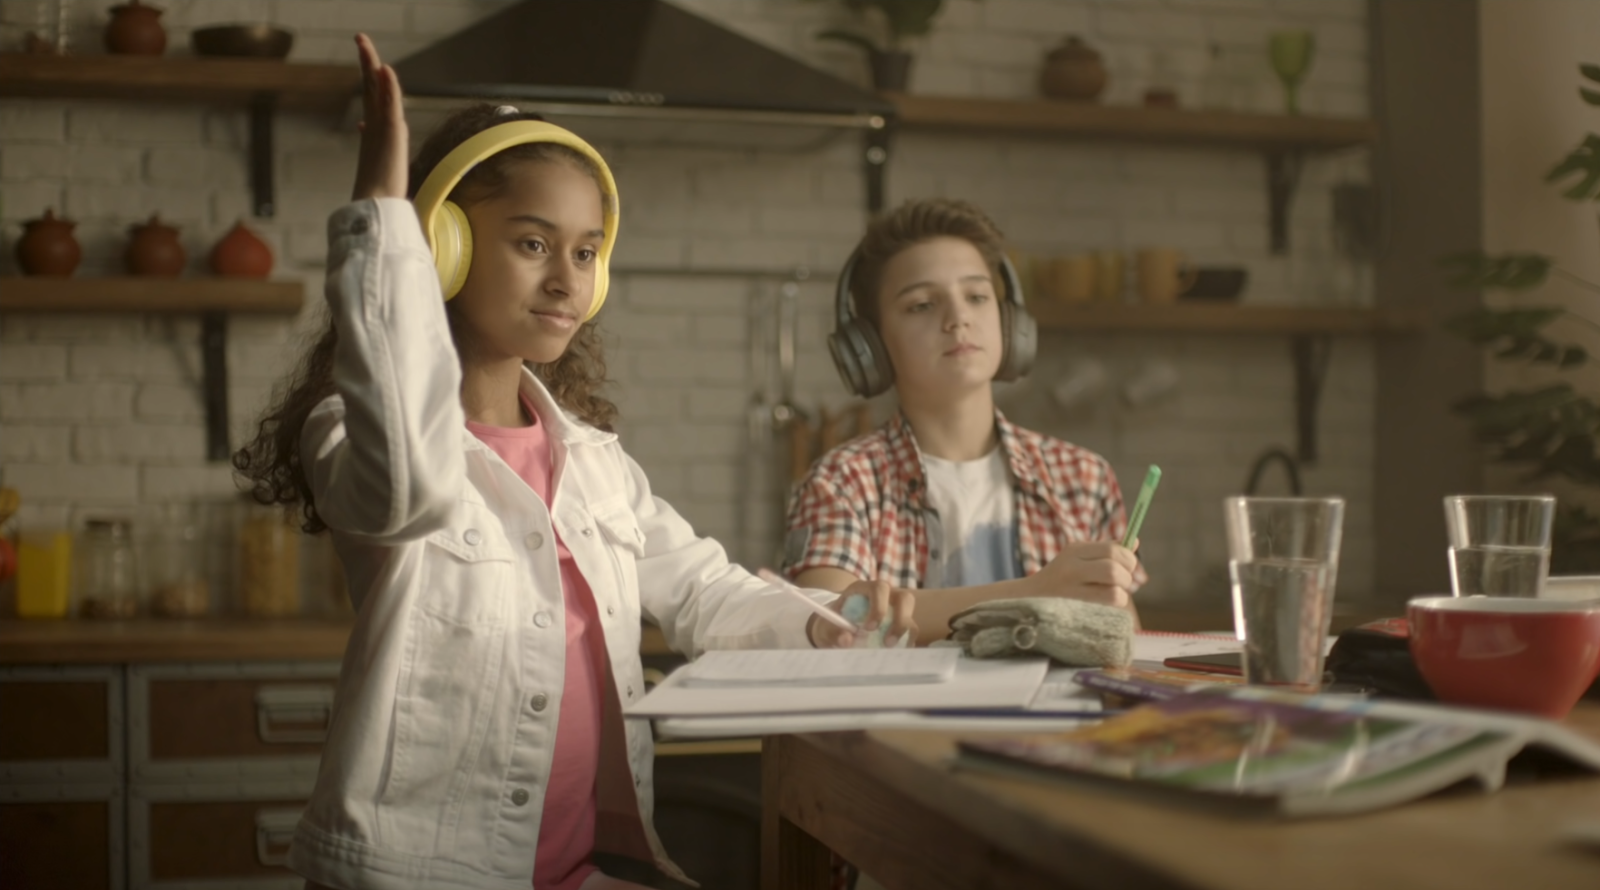
This is where they would leave it. They would be too scared to push it any more than this, thinking they would lose the dynamic range. They would add some saturation and balance the image out a bit using the temperature slider.

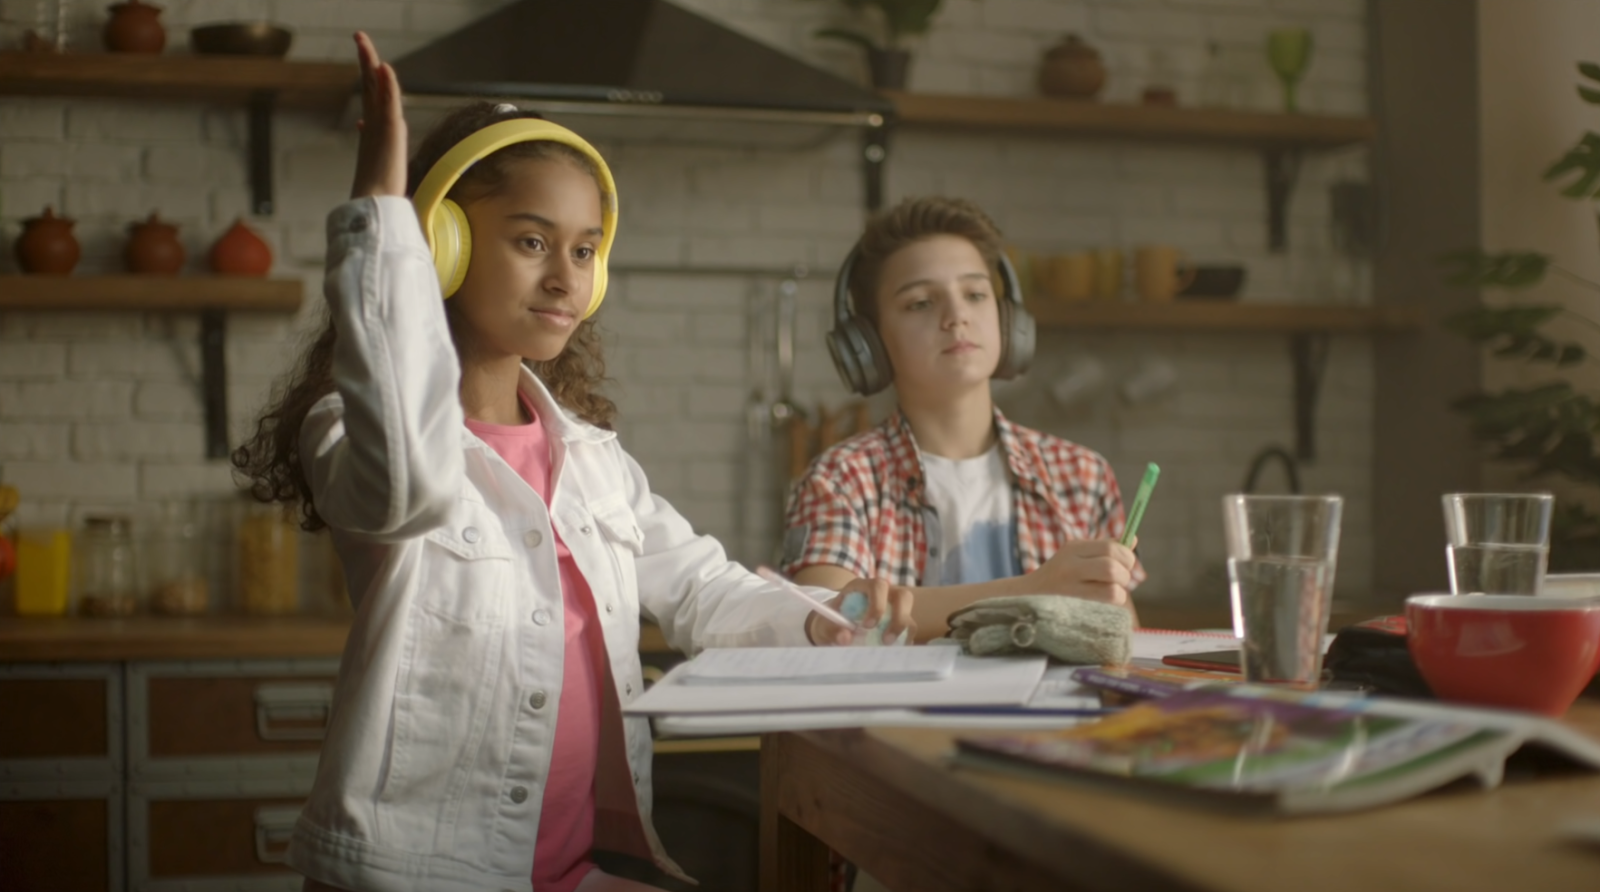
This is where they would leave it.
Now let’s look at some pro work.

Look at how pushed this is and how much contrast there is. This is just barely touching the bottom, but look at it compared to our shot. Our shot can be pushed so much more, but beginner colorists are too afraid to push it farther.
Look at this shot.

This is just pushed hard. There are some parts of the blacks that are gone, but that’s okay because look at how good the subject is.
Now let’s take that information into the pro grade. What I am going to do is add another version and reset the node tree. Now we are going to build out our simple four node tree.

Now there are many ways to convert this image to rec.709, but we are going to use the CST way.


Now moving into our first node, we need to bring down the highlights. It’s too bright. But first,
Don’t be afraid to mess with these tools. You won’t necessarily break your image, and even if you do, you can just right click and reset the node.
So the first thing I am going to do is bring down my gain a bit, then bring my gamma up a bit. Then I am going to crank my contrast.


Now I can see that there is way too much red and yellow in our image so we are going to balance the image using our offset.


Just like that we are very well balanced.
Now we do need to swing that yellow in her face a bit more towards red, so moving to our third node, we are going to use our hue vs hue and we are going to select her forehead and swing it up a tiny bit.

Now I want to use my hue vs luminance to select her headphones and bring them down a bit to add more depth.

Then I want to use hue vs saturation to bring up the saturation in her headphones.


Now moving to my last node, one of the things as a colorist is we have to shape light. We are basically a cinematographer's best friend in post production. Now we are going to add a gradient and bring it to the ride side of the image.

Now I want to go under my primaries and take my gamma and bring it down.


Look at that. We brought down some brightness on the right, but also brought in a tiny bit of saturation into his face.
Now just compare this to our beginner image. It’s crazy.

I mean come on. Our beginner shot almost looks like a log shot.
Now there are a few more things we can do to have some fun, but this image is fine here. Let’s check these looks out in full screen.


The purpose of this video is simple. I wanted to give you permission to push your images a bit more. That’s what’s happening in the real world. As you can see, the results were night and day. With that, work hard, get obsessed and get possessed.
MORE LIKE THIS