How to get the Joker Look Part 3 | DaVinci Resolve 16 Tutorial
Hello and welcome back to another tutorial. Today we are doing one more recreation from the Joker movie. This won’t be a 1:1 match because we are trying to create a vibe. The point of this is to get you to start thinking outside the box, not trying to get every detail perfect.
As usual we are going to first analyze the reference and to do that we are going to pop in our color palette effect. We can see that we have these vintage colors going on. There are just dingy colors that we created on set through different aged lights. What I like about this is that it is generally graded, so they did push it quite a bit. Even his skin tones aren’t juiced, they have a green tint to them which helps aid the story.
Let’s start by first creating our node tree.
Starting in our primaries node (first node), we want to start by cranking the contrast. Then I want to raise my gamma and bring my gain and lift down a bit. As always, it’s going to be that dance between lift, gamma, gain until the exposure is dialed in.
Then in my LOG wheels I am going to bring down my shadows, and adjust my low range to affect only the darkest areas of the image.
Next, I am going to move to my saturation node (second node) to start adding saturation into the image.
Now I want to move into my third node. This is where I am going to start getting that sickly green color into the image. We are going to go into our hue vs hue and select our cyan and start rotating our hue.
Now moving into our fourth node, this is where we are going to really dial in the look. I am going to do that by using my RGB curves. I am going to break the chain and select the blue channel and bring it down from the top.
The whole point of this is to create a look DNA that you can apply from shot to shot. You could even export this as a LUT, and make micro-adjustments throughout the rest of the film.
Now we are going to go to our sixth node (or skin node) to shift the skin. We are going to start by going into our hue vs hue curves and work on the skin. First, click the yellow channel and bring it down to rotate the hue a bit. Then do the same with the red channel to match our reference.
Moving to our eighth node (skipping our seventh for a bit), we are going to create a pretty big vignette to match our reference. Add tons of softness to it.
Now we are going to go into the curves section and make sure to check on editable splines.
From here we are going to take the upper knuckle and bring it up.
Then I want to switch to my outside node (node 9) and uncheck editable splines, and take the curves down to create the darkness around the outside of our subject.
Moving into our tenth node we are going to take our gain and bring it down just a tiny touch.
Moving into our eleventh node, we are going to do the opposite of sharpening. They have this misty look in the image. To recreate this, we are going to subtract midtone detail from the image.
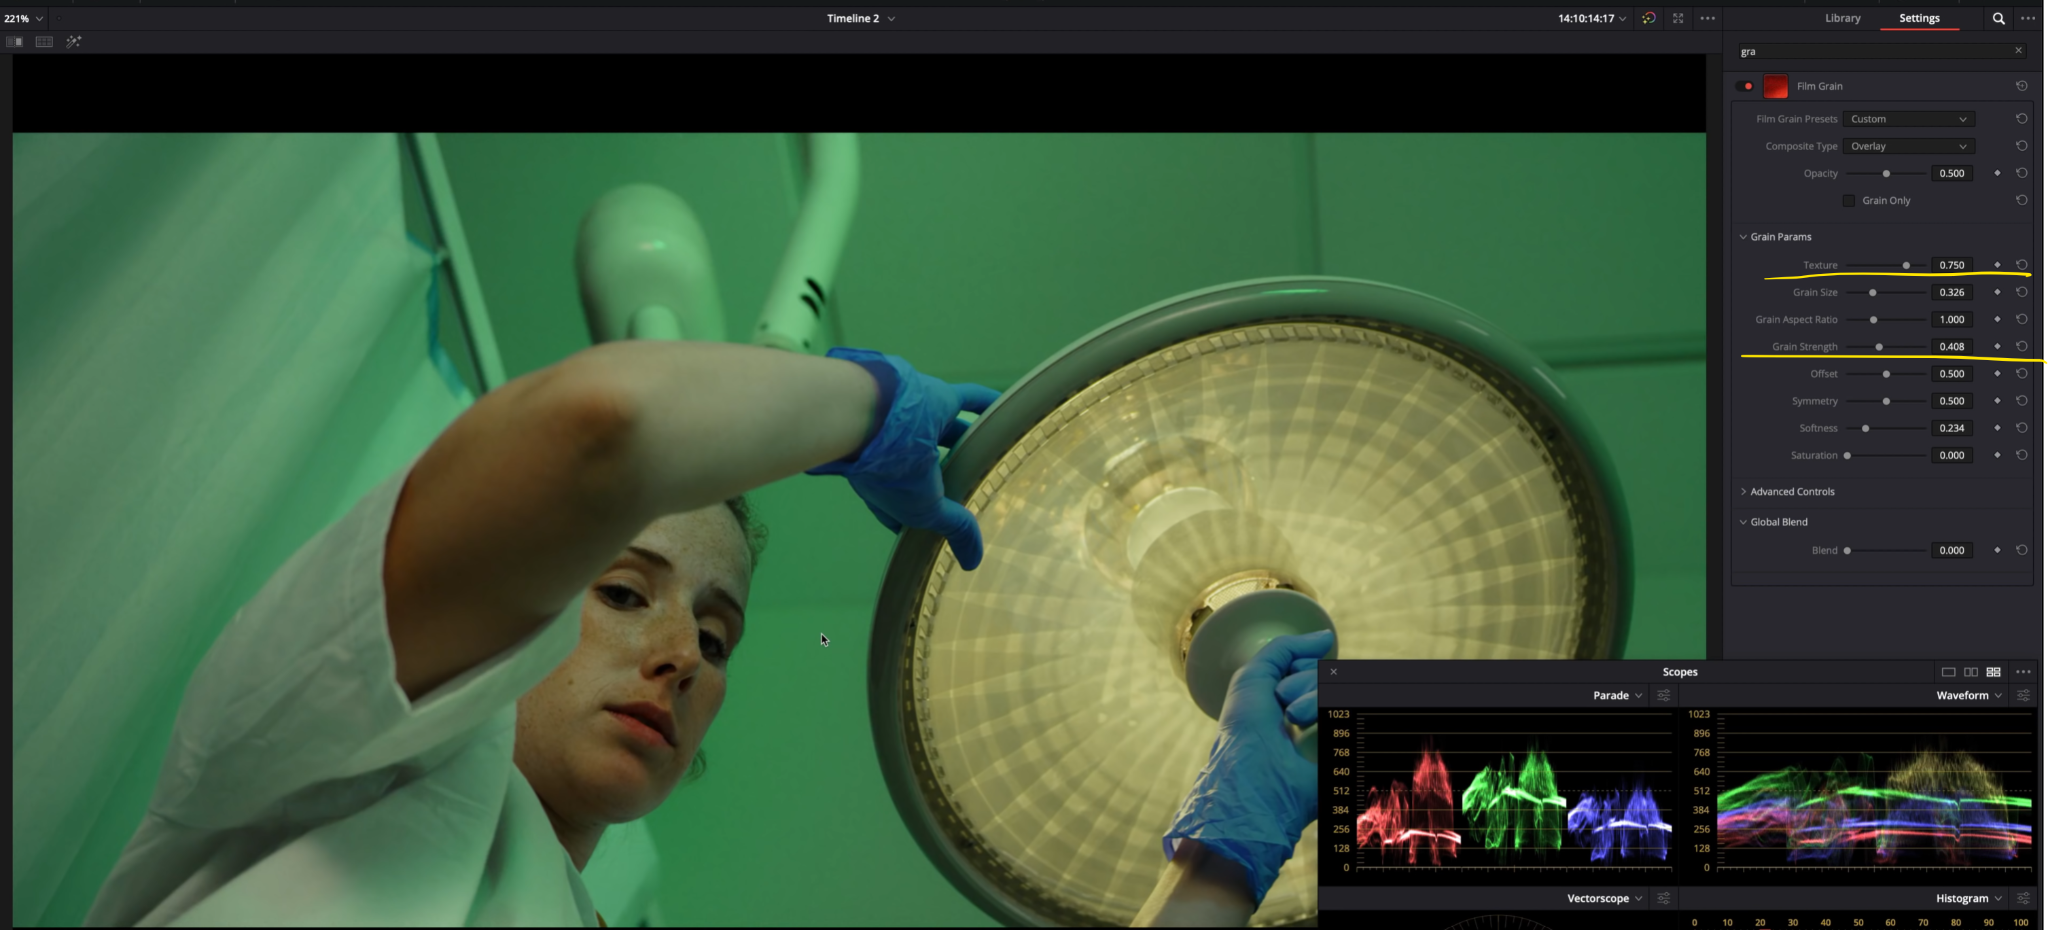
We are going to leave that there and move to our twelfth node and add grain.
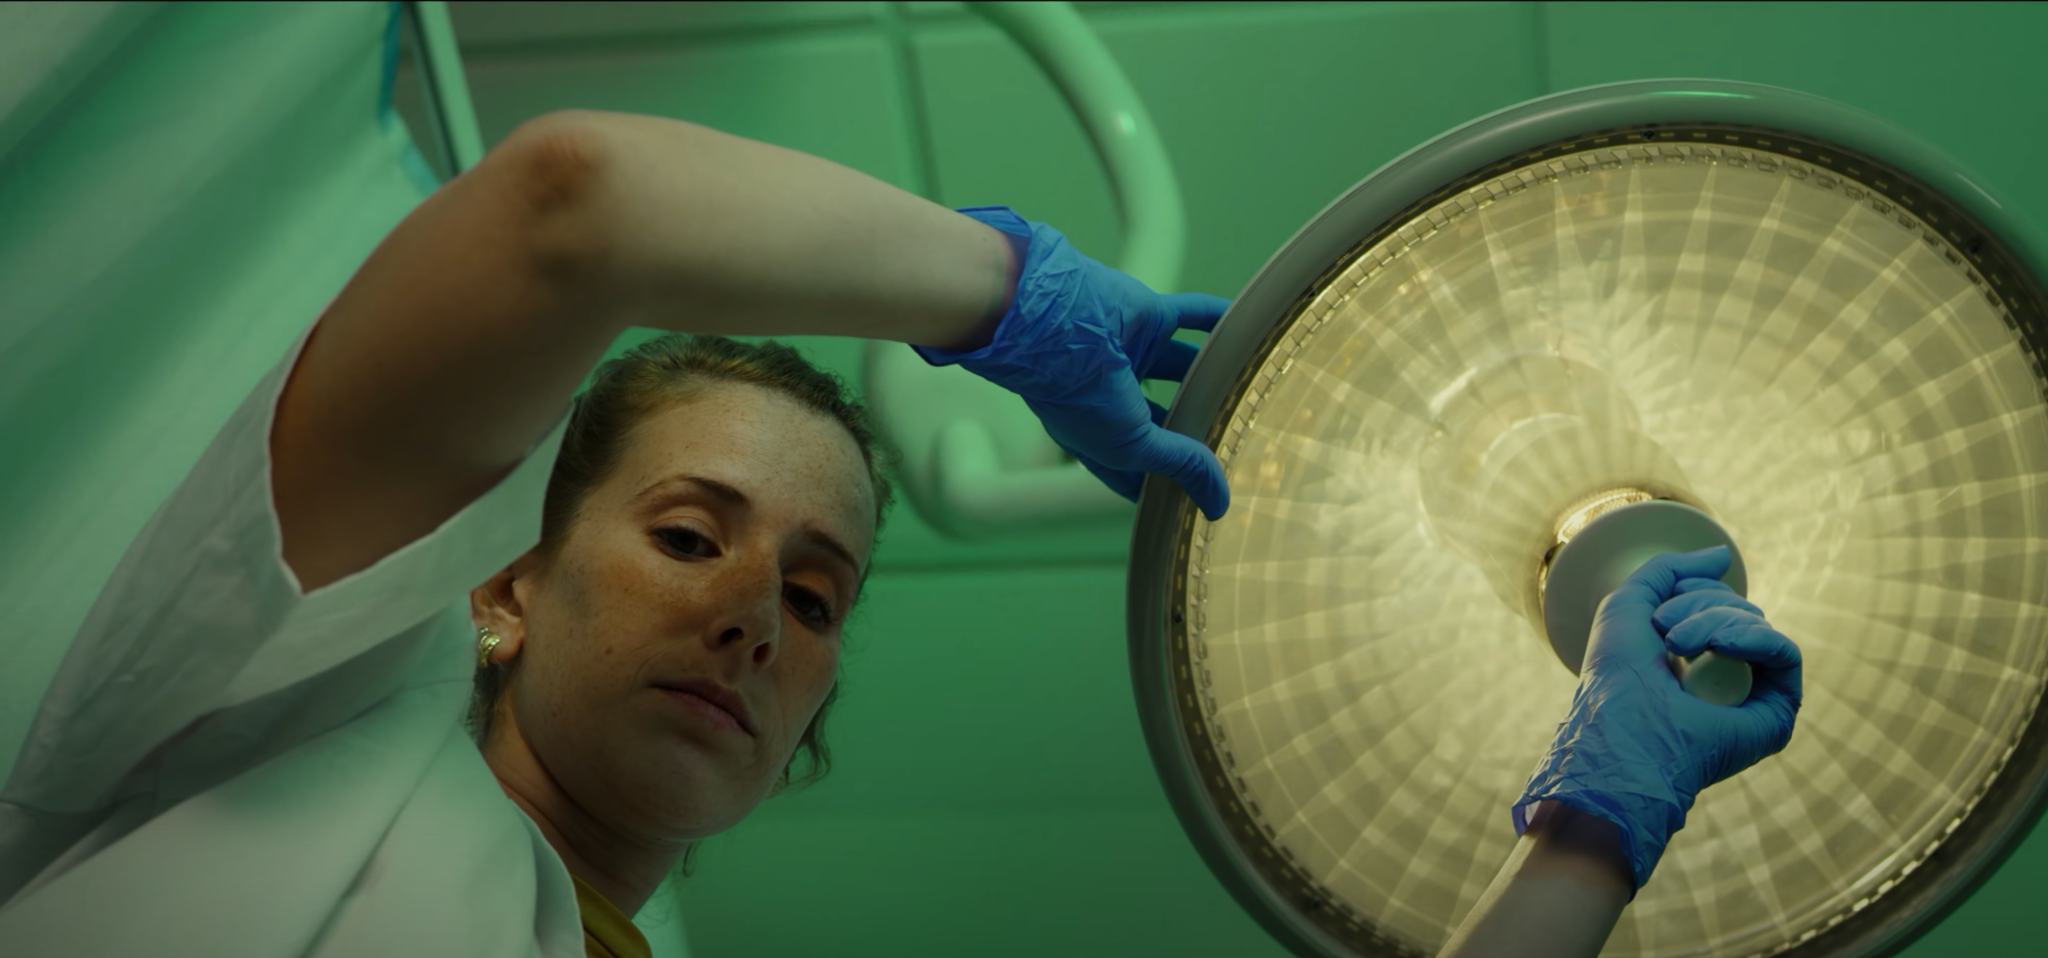
There we have it. This is a lot closer than I was expecting, but man is it looking phenomenal. Let’s check out the final look in full screen.
Well there we go. I hope you enjoyed this tutorial. Just remember, not all recreations have to be 1:1. You can create a look DNA that you can use across projects and make those micro-adjustments.
MORE LIKE THIS


